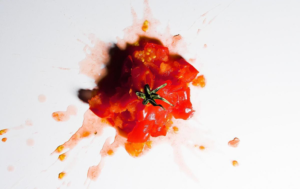
Does the tomato wash
Knowing how to properly remove a tomato stain at home, you can be sure of saving your favorite thing. Like any other natural dye, tomato juice is a stubborn stain. To remove it effectively and quickly, you need to know about some of the nuances:
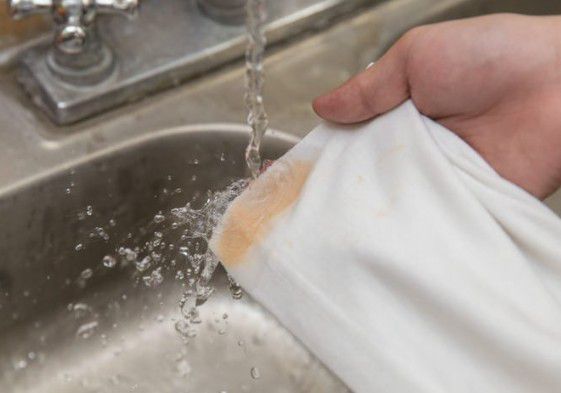
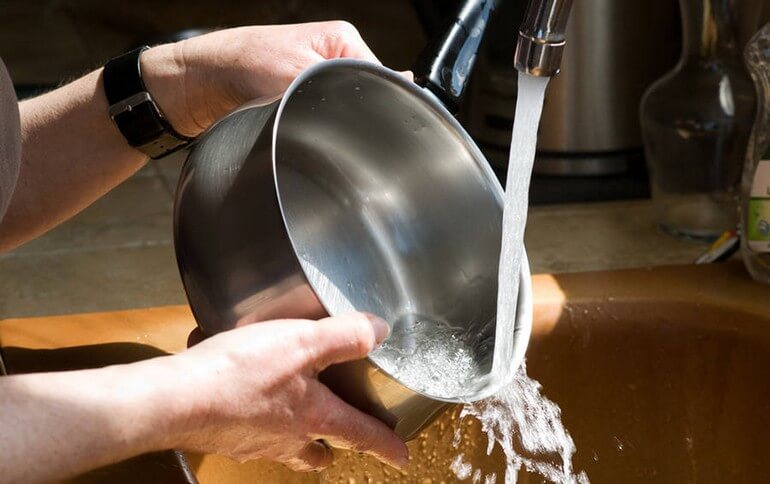
- After the appearance of a tomato print, you need to immediately wash it. It is best to use soap and a toothbrush, with which you can remove the maximum amount of tomato particles.
- Fresh or old soiling must not be treated with hot water. When exposed to natural dyes with boiling water, they are even more thoroughly absorbed into the fabric structure.
- Before washing a tomato from clothes, you need to soak the product in soapy water. This is true for old stains. The minimum soaking time is 30 minutes.
How and how to remove tomato stains
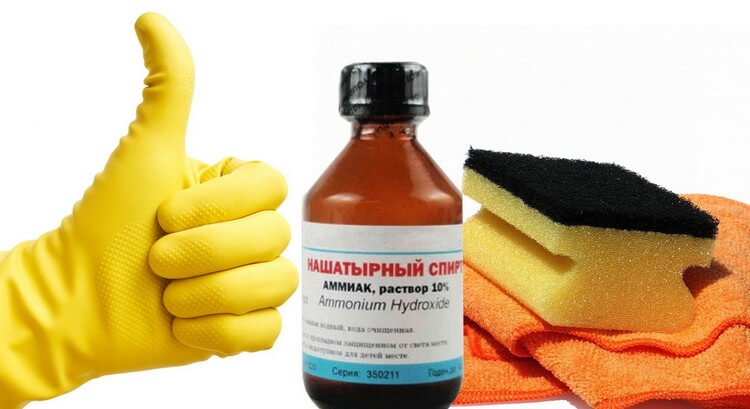
To understand how to remove a stain from a tomato, you need to figure out what type of pollution is taking place. A soapy solution with the addition of ammonia can cope with organic traces. For washing clothes at home, the usual powders are suitable, but the print should be washed before soaking. An interesting way in the fight against red tomato juice is rubbing the fabric with a slice of green tomato. After such a procedure, the pigments become discolored and the product can be washed with ordinary soap.

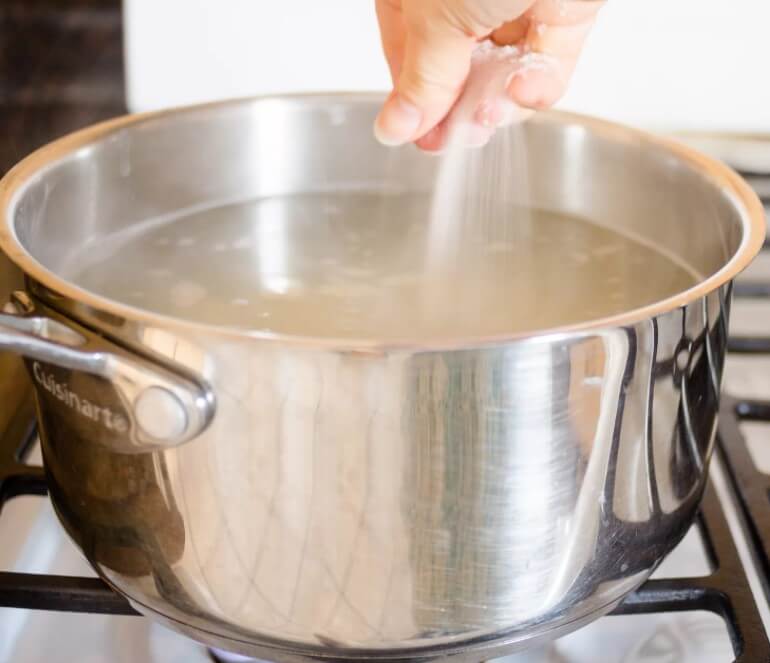
It will be possible to reduce tomato juice from jeans with hydrogen peroxide. You can wash tomatoes from clothes from different materials in the same way as other juices - laundry soap, dishwashing gel, glycerin. So that the pollution does not eat into the fabric, it is immediately washed with warm water or sprinkled with salt.
Household chemicals
Professional tools deal with juices from fruits and vegetables easily and effortlessly. But aggressive compounds spoil the fabric, which must be considered when choosing household chemicals.
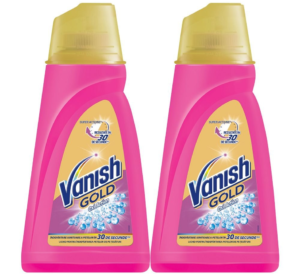
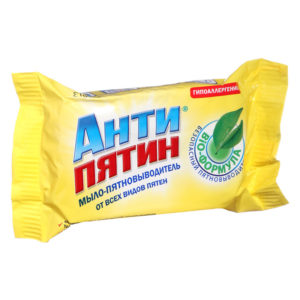
Soap "Antipyatin" will help get rid of fresh prints. Lather the contaminated area with your hands and rub well. If the soil is not fresh, the clothes are soaked and then washed with soap. "Antipyatin" copes with different types of pollution and is inexpensive. An alternative to soap will be products in the form of powders and gels. Vanish, Frosh, Ace brands are designed to wash tomato stains. Oxygen-based stain removers and wash enhancing products are considered safe and do a good job of removing stains.

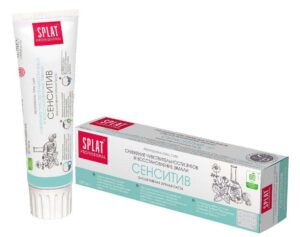
To remove a stain from a tomato from delicate things, Laska will help out. It removes stubborn marks weakly, but cleans fresh marks well.Moreover, it is possible to wash off stains from tomatoes from black, colored and white clothes - you just need to choose the appropriate remedy. The gel form eliminates the appearance of streaks and whitish traces, which is typical for powders.
A remedy such as dry Amway Pre Wash stain remover will also be able to remove a tomato stain. More precisely, it is used before washing. The spray is sprayed directly onto the imprint of the juice, and at the first opportunity, the entire product is washed in the usual way. This method can even remove old dirt.
Folk remedies
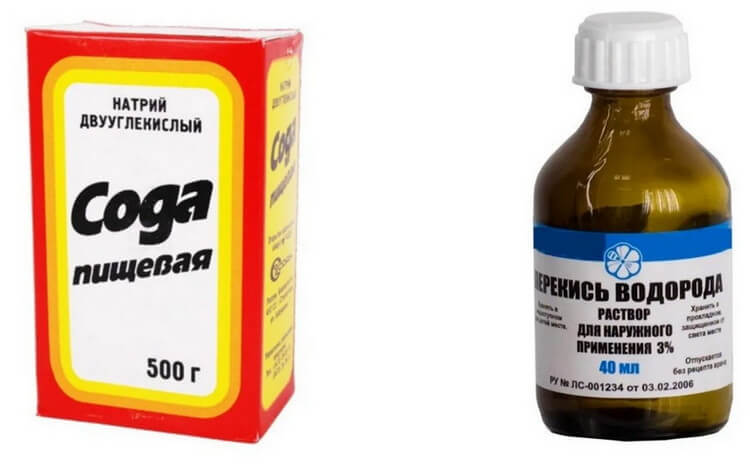
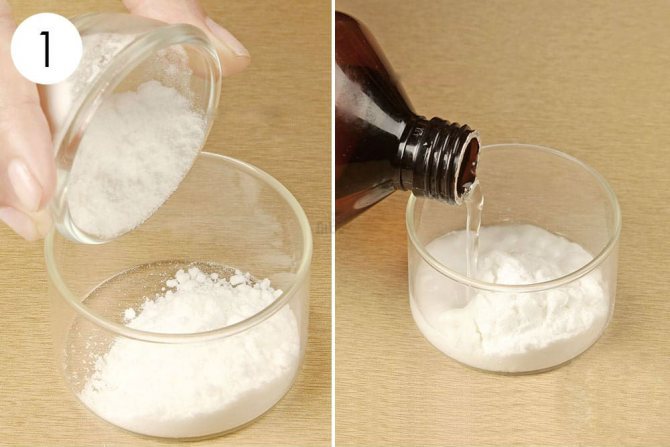
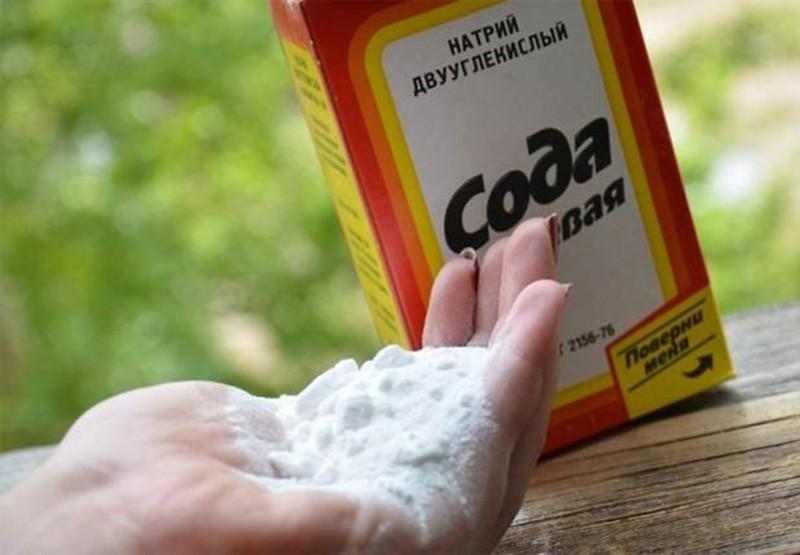
Improvised means will also help remove tomato stains from clothes. A composition such as aspirin and hydrogen peroxide is capable of removing tomatoes and not damaging the fabric. The components are mixed equally, aspirin is pre-pushed. For more delicate things, a mixture of peroxide and soda, taken in equal parts, is suitable.
How else to wash tomatoes from clothes using folk recipes:
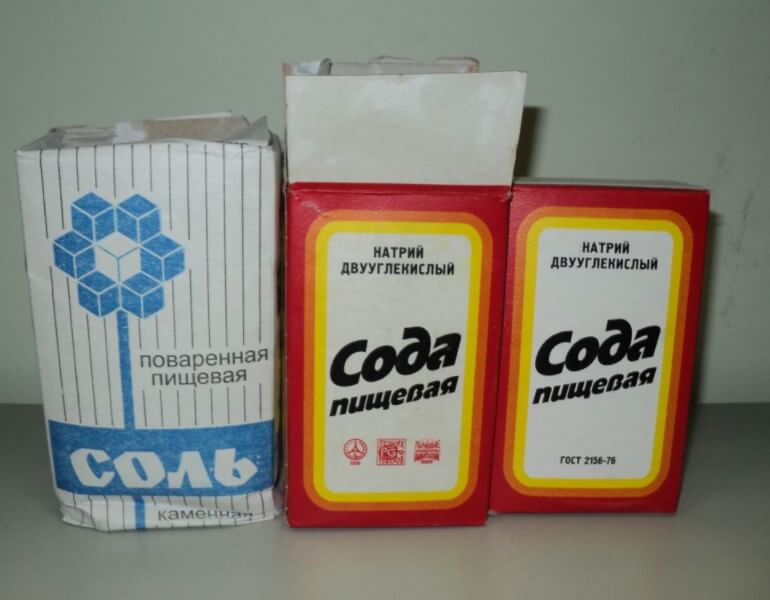
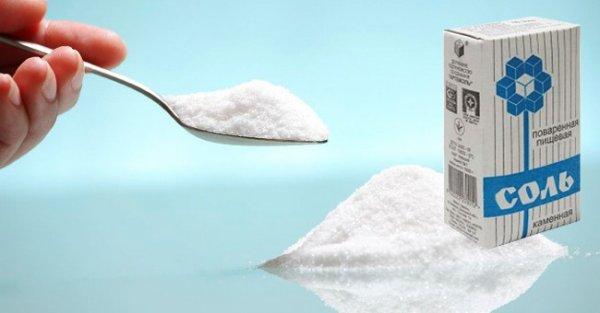
- for 4 tsp. soda, take the same amount of table salt and add 2 tsp. liquid soap. Soak the tomato print with the mixture, leave for an hour. If the fabric is cotton, you can withstand the composition for 2 - 3 hours;
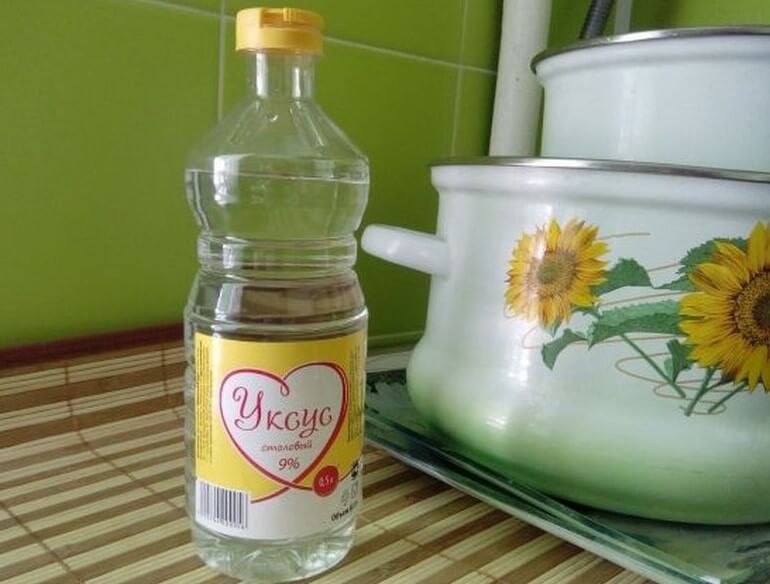
- for 1 part of ammonia solution, take 6 parts of water or use vinegar, only 3-4 parts of water will be required. Wipe the trace with a cotton pad, rinse with water and wash the product;
- mix equally salt and glycerin, apply to the print, rub and rinse after 15 minutes;
- dissolve potassium permanganate in water until a pale pink color, soak the product in the solution for half an hour, and then wash it.
Preparing for washing
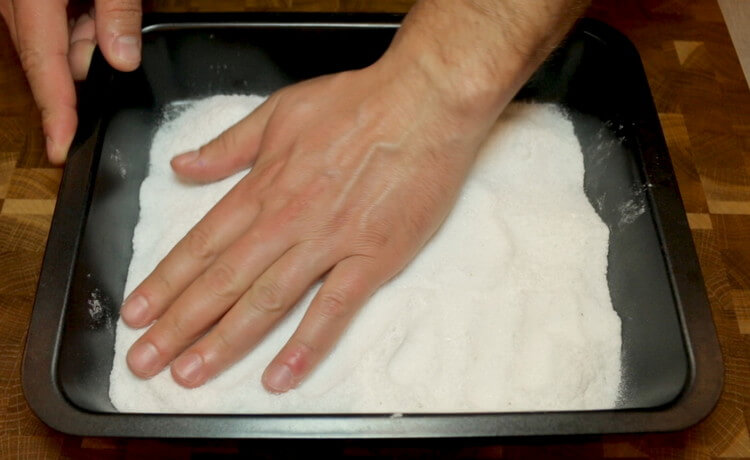
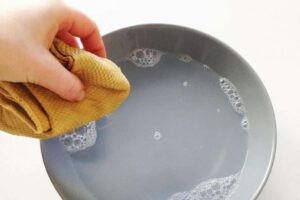
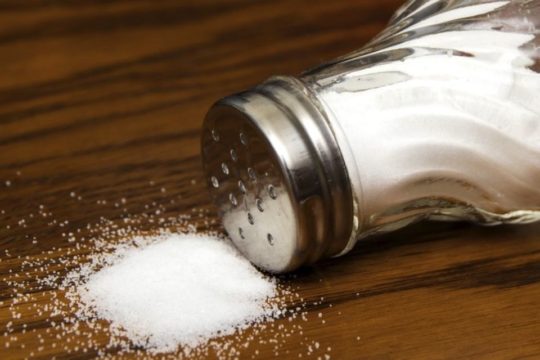
Before cleaning a tomato from white clothes or colored fabrics, scrub the fresh tomato flesh with a brush and soap. If there is no opportunity to wash the item immediately, sprinkle the contamination with salt.Salt absorbs the remaining tomato juice and pulp, which will make it easier to remove stains and splashes later.
When cleaning stains, move towards the middle from the edges so as not to smear the dirt even more. To remove old stains from clothes, first soak the items in soapy water for half an hour, and then wash.
If you use various folk remedies, moisten the cloth around the stain with cold water.Then after processing there will be no blurred contour. In addition, it is recommended to put a clean piece of cotton fabric under the contamination from the wrong side. Then we treat the stain with a cotton pad or swab dipped in the product.
Among folk methods, boiling water, green tomatoes, glycerin and ammonia, salt, vinegar, lemon juice and so on are used. You can also take special powders or stain removers or classic laundry soap.
professional tools
When using stain removers, carefully study the composition and action. It should match the type and color of fabrics. Do not take aggressive and chlorine-containing compounds, as well as universal stain removers to remove all stains. The former can ruin fabrics, especially delicate and colored ones. And the latter are ineffective and may not wash off the tomato or tomato juice.
In addition, classic laundry soap or Antipyatin soap will help remove tomato stains from clothes. They cope well with pollution, and Antipyatin is safe and hypoallergenic, so it is even suitable for washing children's clothes.
Choosing a method, consider the type of fabric
A gentle method for removing tomato stains is based on the use of mineral water. It is suitable for woolen and delicate fabrics, it is simple.Information about the type and conditions of washing is reflected on the label sewn into the product. First, it is desirable to test a small area of fabric in an area that is hidden from view.
How to remove old stains from tomatoes
When there are no conditions for the rapid removal of tomato marks, and they have time to dry on clothes, it is recommended to use more active products that can dissolve the red pigment that has eaten into different fabrics.
Sour-milk products remove dried tomato stains from thin fabric, from tablecloths. Housewives use whey or sour milk, but not kefir. They contain lactic acid, which is gentle on tissues.In sour milk, it is recommended to wash and even leave stains on fabrics soaked for half a day.
Actions:
- The contaminated T-shirt is placed in a bowl where the serum is already poured.
- Aged for 20-40 minutes or left overnight.
- Things are washed in a machine with a powder suitable for the fabric.
When soaking with whey, a stronger effect of removing dirt is achieved if soap chips are added.
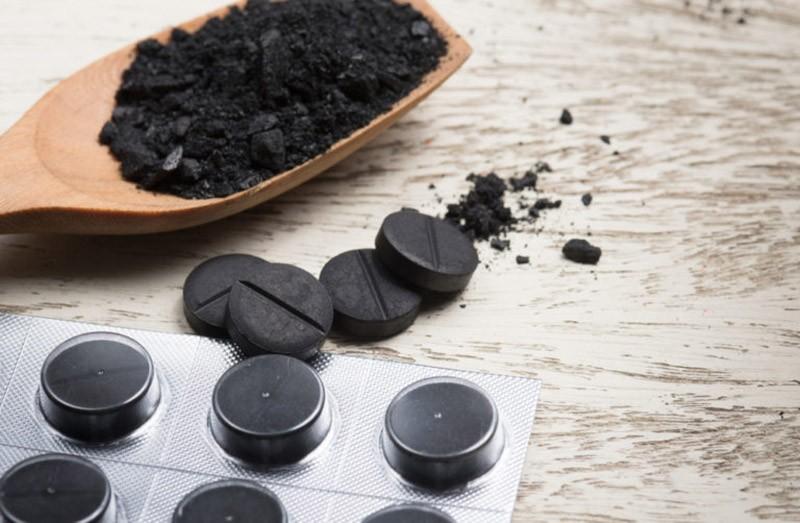
Oxalic acid is suitable for removing fresh tomato marks. It is necessary to make a solution: 2 grams of acid per glass of water, put a contaminated place in it, leave for half an hour, periodically rubbing it with your hands. The removal of traces is completed by washing with the same household soap and repeated rinsing.
9% vinegar, which is called table vinegar, removes pollution from the tomato. To do this, a small amount of vinegar should be poured onto the affected area, left for a while, then wash the contaminated area using soap or dish detergent.To enhance the effect of acetic acid, it is recommended to make a 1: 1 solution with ammonia or hydrogen peroxide.
 Another way to remove stains: mix vinegar with salt, make a gruel, rub the contamination with it from the edge to the center. Further processing of clothes is the same.
Ammonia is a well-known ammonia. They are recommended to flood the contaminated area for 15-40 minutes, depending on the quality of the fabric. Then wash the place of contamination with laundry soap. You can not wash with soap, then the pungent smell of ammonia will remain on the fabric. To remove it, clothes must be washed in a washing machine according to the rules for soiled fabrics.
The combination with salt enhances the effect of ammonia. It is necessary to make a mixture: 1 teaspoon of salt with 1 tablespoon of ammonia. Then wet the place of contamination with water, apply the gruel with movements from the edges to the middle. Leave for an hour. So even old traces of ketchup are removed.
Attention! Ammonia is used to remove traces from white and colored clothes, but not from delicate fabrics.
Potassium permanganate removes tomato stains from colored clothes, but first it is important to check from the edge whether the manganese will spoil the structure of the dyeing of the fabric.
Rules for how to quickly remove cherry stains at home
Stain removal progress:
- In a free basin, in water, lay out soiled clothes.
- Dip a cotton swab dipped in water into manganese crystals, stir in water until a pale pink color appears.
- Soak clothes for 20 minutes.
- After that, immediately wash by hand with a suitable powder or in a washing machine, on a setting for the type of fabric of clothing.
This will completely remove the potassium permanganate pigment along with the remnants of traces of the tomato.
Unripe fruits contain acid in high concentration, but there is no red pigment yet. Green tomatoes are suitable for removing red pigment from white and colored clothes. It is necessary to squeeze a little juice directly onto the place of contamination, wait until it is absorbed, then rub it thoroughly with your hands.

How to remove tomato stains from clothes: 10 ways
First, carefully remove the dried pulp of the tomato.
 How to remove tomato stains
You can quickly get rid of marks on clothes if:
- The juice did not have time to completely dry before washing. A fresh trail is easier to remove. The removal of an old stain is often accompanied by the destruction of the tissue structure.
- Initially, the stain was washed out by hand with the help of special tools. Machine wash - the second stage.
- Processing was carried out from the edges to the center of the stain, and not vice versa. Otherwise, the stain will spread in breadth.
Work is carried out on the table, after placing a cotton towel on it, which will absorb excess liquid.
The cleaning technology depends on the type of active substance that can remove the trace.There are 10 most popular methods that have proven their effectiveness in practice.
- Laundry soap is effective and gentle on fabrics, allowing you to preserve the color and structure of the material.
 You can get rid of a tomato stain by quickly washing it with laundry soap.
Operating procedure:
- Bring a small amount of water to a boil.
- Pour boiling water over the stain.
- Lather generously with a piece of laundry soap.
- Clean with a soft brush or by hand.
To remove remaining stains, wash with laundry soap and rinse thoroughly with plenty of water.
- If you can not use quickly boiling water, you can do with cool water.
- Hydrogen peroxide is considered the strongest bleach, suitable for white delicate materials.
Depending on the area of contamination, different methods are used:
- If the spot is small, you can put a drop of undiluted hydrogen oxide on it.
- To remove a decent stain, it is necessary to dilute 50 ml of peroxide in 3 liters of water, soak the entire contaminated area with the resulting solution.
In both cases, you must wait 30 minutes, then manually wash the problem area. From the stain should not remain a trace.
- Table vinegar. The tool allows you to clean kitchen towels and aprons from traces of a tomato.
 If the spot is small, you can apply a drop of undiluted hydrogen oxide to it.
Work order:
- Moisten the stain with 5% vinegar.
- Leave for a while for the interaction of acid and dye.
- Wash the area with soap or dishwashing liquid.
To clean natural cotton fabrics from abundant traces of tomato will allow:
- Soak for several hours in a 1:1 solution of vinegar and water.
- Subsequent wash in the washing machine.
Vinegar is an aggressive substance, when working with it, care must be taken: do not inhale, in case of contact with mucous membranes, rinse immediately with water.
There are two recipes for cleaning tomato stains with ammonia and salt:
- Mix ingredients.Apply gruel to the contaminated area, clean, performing circular rubbing movements.
- Sprinkle a thin layer of salt over the stain. Pour a small amount of alcohol on it, clean it in the same way.
Then, after 30 minutes, remove the dried salt crystals with a brush or hand and wash the product.
The combination of ammonia and salt is more effective than in the case of using the components separately.
Green tomato and talc
The combination of ammonia and salt is effective for ketchup stains
The juice of an unripe tomato can remove stains from a ripe tomato.
Procedure:
- Squeeze the required amount of juice directly onto the stain.
- Wait until completely absorbed into the fabric.
- Clean with a soft brush or by hand.
- Apply a thin layer of talc, hold for 15 minutes.
- Wash the item.
The advantage of the method is that it is suitable not only for white, but also for colored clothes.
You can get rid of tomato stains with sour milk or whey. This is an effective and at the same time very gentle agent, suitable for long-term processing, including soaking, thin and delicate materials.
Application rules:
- Warm up the serum a little.
- Dip the dirty area or thing completely (if dimensions allow) into a container with serum.
- Leave for 30 minutes (if heavily soiled - overnight).
- Wash out completely.
For the best result, laundry soap, previously ground on a coarse grater, is added to the milk.
To prepare a cleaning agent from oxalic acid, you need to dissolve 2 g of acid in 200 ml of water.
Then, with the resulting composition, remove traces of tomato from clothes:
- Apply the product to the fabric with a stain, wait 30 minutes.
- Check the quality of cleaning, if necessary, leave for another 10 minutes.
- Rub the area with laundry soap.
- Wash and rinse clothes.
- Potassium permanganate (potassium permanganate)
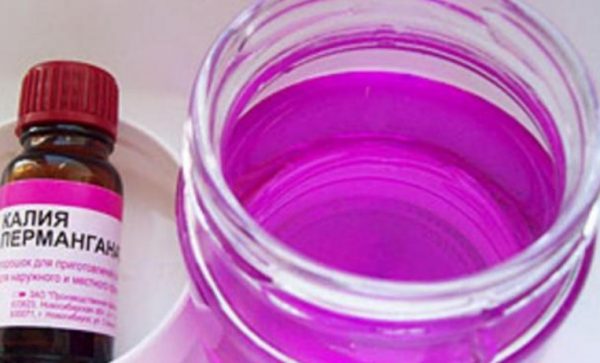
Suitable for colored fabrics
As a result of the use of a solution of potassium permanganate, pink stains remain, noticeable on light-colored clothes.For this reason, the product is more suitable for colored fabrics.
Stain Removal Technology:
- Pour enough warm water into a large basin.
- Take some dry potassium permanganate (literally, what will fit on the head of a match).
- Add product to a bowl of water. Carefully dissolve the potassium permanganate, the water should turn pale pink.
- Dip the clothes in water, straighten all the folds.
- Withstand 20 min.
- Clean the problem area with your hands.
- Wash clothes in the machine.
All points must be followed exactly, otherwise the tomato remover itself - potassium permanganate - will cause stubborn stains to appear.
A combined solution of these components allows you to get rid of old traces of a tomato.
This requires:
- Make a solution using 1 part ammonia (or ammonia) and 2 parts glycerin.
- Apply to contaminated area.
- Leave for 3-4 hours. During the specified time, as a result of chemical reactions, the stain will be eliminated.
- Wash the product.
How to get a tomato stain out of white clothes
White clothes do not shed, this makes it possible to use fairly aggressive chemicals.
The desired result will be provided by washing with specialized means of industrial production:
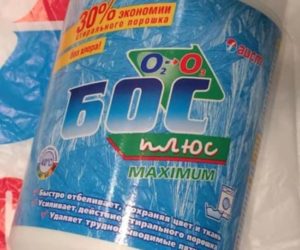
- bleach "Bos +";
- oxygen bleach Extra Oxy;
- laundry soap "Eared nannies" with a whitening effect.
A good whitening effect is also provided by acid-containing substances, so recipes based on:
- oxalic acid;
- vinegar;
- ammonia and glycerin;
- green tomato juice;
- hydrogen peroxide.
It is not recommended to choose potassium permanganate for white clothes.
 How to peel a tomato from colored fabrics
colored clothes
How to remove tomato stains on colored clothes depends on the type of fabric and the fastness of the stain. Glycerin mixed with egg yolk is capable of washing tomatoes from a staple dress or chiffon blouse.For 1 chicken yolk, 30 g of heated glycerin is required. The composition is distributed on the fabric, and after 7 hours it is washed off and washed.
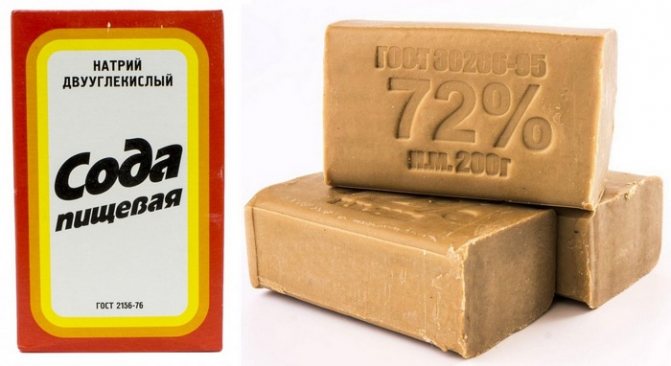 Also, soap soaked in hot water with the addition of soda removes traces from colored clothes.
Features of cleaning multi-colored fabrics
Effective and gentle stain removers for colored fabrics are universal products:
- Ace Oxi Magic;
- Udalix Oxi Ultra;
- Astonish OXY PLUS;
- Sarma Active 5 in 1.
The active oxygen present in their composition delicately removes stains without disturbing the structure and without blurring the color of the fabric.
Suitable traditional means:
- milk;
- green tomato juice;
- potassium permanganate;
- laundry soap;
- glycerin or salt with ammonia.
The type of stain remover determines the stain removal technology:
- traditional - are used in the first place, they get rid of stains at the initial stage, before washing things.
- universal stain removers are added directly to the machine at the same time as powder or gel and remove old stains on clothes during general washing.
Delicate fabrics
Washing off tomato stains from delicate items is more difficult. Old tomato stains can only be removed by dry cleaning. If the pollution has not eaten in, then a mixture of glycerin with ammonia (6: 1), carbonated mineral water or saline solution will help out.
Remove tomato stains from delicate fabrics with tools such as Frosch balm, Royal Powder Delicate powder, Perwoll gel.
Carpets and rugs
Household chemicals will be able to wash off the tomato stain: Vanish for carpets, Cinderella, Nordland. Of the home methods, the following have proven themselves well:
Cushioned furniture
If the upholstery is damaged, then a suitable store product will be able to remove the stain from the tomato juice: Tuba, Unicum, KARCHER. If the right product is not at hand, a mixture of lemon juice and soda will help.Immediately after completion of the reaction, the composition is cleaned with a soft brush and the upholstery is dried. It is undesirable to wet upholstered furniture with water. This will not help get rid of the tomato juice, but will lead to a deeper penetration of the pigment into the fibers.
Dear readers of Tkan. Club, if you have any questions on this topic, we will be happy to answer them. Leave your feedback, comments, share stories about how you removed the lipstick mark!
How to remove fresh stains
As soon as a drop of tomato gets on your clothes, you must immediately put aside all your affairs and take care of the stain. Fresh, still wet contamination can be removed with boiling water, mineral water or laundry soap.
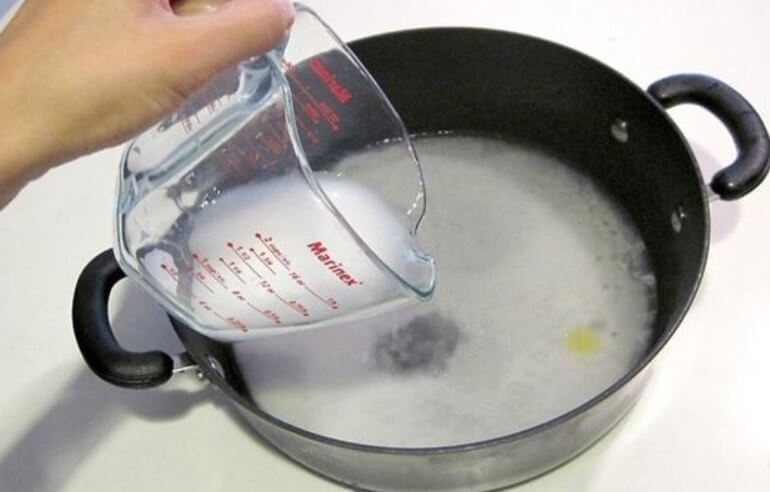
Boiling water
The soiled item is immediately removed and the tomato contamination is washed off with hot water. Then wash with laundry soap by hand and rinse several times. After such a procedure, the thing is sent to the machine in order to wash it again. An important condition: the thing should not shed, otherwise boiling water will completely ruin it. For example, very bright jeans will lighten when in contact with boiling water, especially the stained area. Therefore, this method is more suitable for light-colored things and non-shedding fabrics.
Mineral water
If even 10 minutes have not passed since the contamination of the thing, you can use the usual mineral water.It is very convenient on the road, at a picnic, when traveling (for example, on a train), when it is not possible to use detergents. In this case, you can not even remove the thing (if there are no conditions and the stain is small), but moisten the tomato juice with mineral water. The stain should not be rubbed, but washed off. If possible, it is better to wash the item with powder in the washing machine.
The secret of mineral water is that its gases act similarly to oxygen, which is often added to stain removers.Therefore, you can not be afraid and use this method for both white and colored things and for any type of fabric.
Laundry soap
It stretches well any fabrics, can be combined with other means. An important condition: it is required to wash manually, having previously washed off the pollution with water. The remains of the stain are washed, the thing is rinsed and washed in a washing machine with powder. Sometimes the pink spot does not rub off. In this case, it is soaped again and left for half an hour.
How to remove tomato stains from clothes using specialized products
You can remove a stain from a tomato on a white or colored product not only with folk methods, but also with specialized means. Every housewife has her favorite stain removers in mind, which cope with traces of various origins. Among them:
- Amway. In the line of this manufacturer there are bleaches without chlorine and stain removers that can be used on white and colored linen. It is recommended to use the product according to the instructions on the package. As a rule, it is applied directly to the contaminated area or added to the laundry detergent.
- Faberlic bleaches and stain removers.These products have proven themselves precisely in the process of removing complex stains, which include tomato juice. You can wash the damaged thing in one go, just apply the product to the stain, and then add it to the automatic machine. The use of a stain remover spray is useful when removing stains on items such as coats, jackets or down jackets. In addition, the drug can be fearlessly used on fabric and leather furniture.

- Vanish is a bleach that does not contain chlorine. It is produced in the form of a liquid or powder. The product must be applied to the soiled area, wait the specified amount of time. Wash the item in the usual way.
- Bos is an oxygen-containing bleach that will help you quickly wash a thing spoiled by a tomato.The powder must be poured into a basin with warm water in the amount indicated in the instructions. Then immerse the product in water and leave for 3 hours. Wash in the usual way, while you can add a little more bleach to the powder.
- Antipyatin. This soap (you can take the product in the form of a powder) copes well with various stains, it can also wash off the trace of a tomato. The thing must be moistened and lathered. Give time to lie down (about 20 minutes is enough), wash.
 Attention! You can also remove tomato stains on white with chlorine-containing products. The main thing is that the fabric is resistant to such aggressive substances.
General tips for removing tomato and ketchup stains

We reviewed the most popular folk recipes that will tell everyone how and with what to remove a tomato stain on any clothes.Now it’s worth paying attention to the main recommendations on how to remove difficult stains, thanks to which the process of saving your favorite things will proceed faster and much more efficiently:
- Traces of tomato or ketchup placed on clothes are best removed immediately before they dry out.
- It is better to deal with stain removal before the soiled item is washed off.
- It is recommended to test on an inconspicuous area of clothing before cleaning with any chemical product.
- In order to avoid leaving traces of remote contamination on the fabric surface, it is recommended to use a small area around it during the treatment of the stain.
- To prevent the contamination zone from spreading onto a clean area of the fabric surface, all rubbing manipulations should be carried out in the direction from the edge to the center or in circular motions in the same direction. So, the main stain will be collected in the middle of the soiled area.
- Before removing stains, it is recommended to place a clean napkin or cotton cloth folded in several layers under the affected area of the fabric.
15 Ways to Remove Tomato Stains
Be careful, as some compositions are not suitable for colored items. After processing, they may shed. Ammonia is especially dangerous for colored clothes. A suitable remedy here will be glycerin, which effectively removes the stain and at the same time retains color. If things are still shed, what to do, you will find at the link https://vsepodomu. ru/stirka/polinyala-vesch-pri-stirke/.
Tomato juice can be washed off clothes easily if the contamination is fresh. In the future, the pigments are so eaten into the fibers that they are practically not washed out.Then how to wash tomatoes from things so as not to spoil the fabric and return the product to cleanliness? To choose a method, consider the type of fabric. Stain removers with active oxygen are suitable for most things. But on cotton, they may be ineffective, and for delicate fabrics they are not delicate enough. Therefore, before washing, you need to familiarize yourself with the information on the label for the product.
Powerful Methods for Removing Tough Stains
There are a few effective ways to deal with stubborn tomato juice stains:
1. Washing powder. This method is great for synthetic fabrics. It is necessary to prepare a concentrated solution of powder and water. Then it is applied to the matter. You need to stand for half an hour, and then rinse the clothes thoroughly. You can then wash the fabric in the washing machine.
2. Laundry soap. If the stain is several days old, it can still be removed with regular soap. Pollution is removed thanks to the acids that make up the bar. It is necessary to thoroughly lather the stain and hold for 30 minutes. Then you can wash the clothes in the usual way.
3. Antipyatin. This is a special soap that cleans fabrics of various types well. It is suitable for various materials. The biggest advantage of Antipyatin is hypoallergenicity. This product is suitable for washing baby clothes.
5. Bleach. This tool is only suitable for white things.It is advisable to use bleach for cotton or linen. Delicate fabrics require more gentle products.
If none of the above methods coped with the stain, you can use folk remedies.
Proven ways to deal with pollution
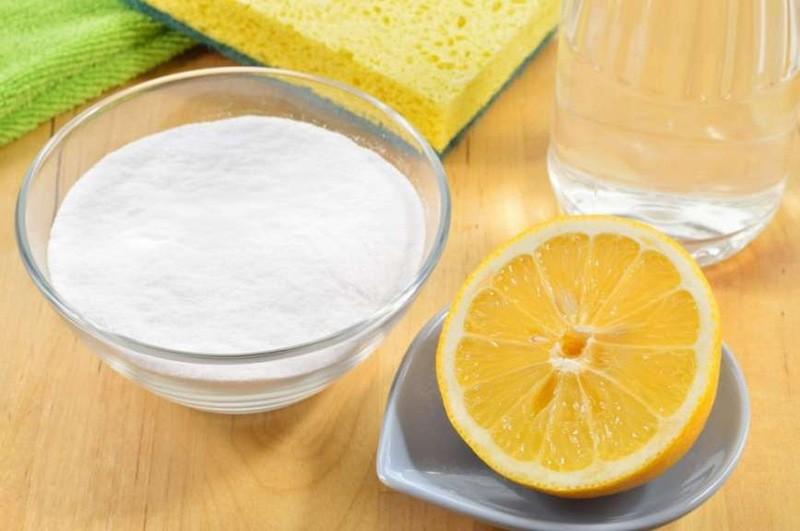
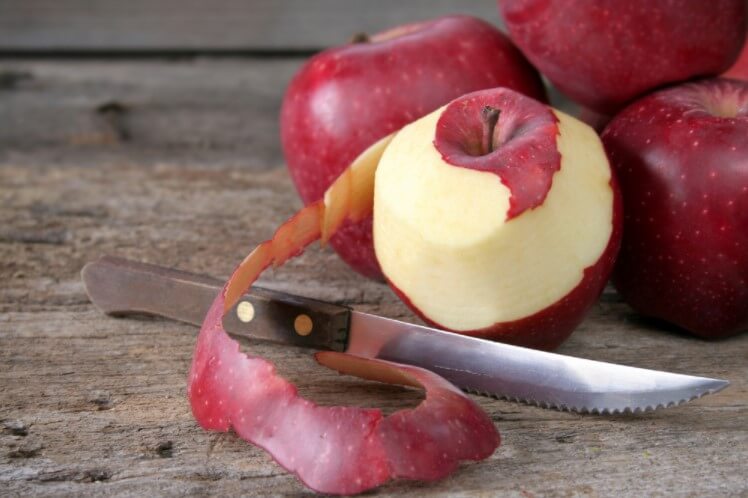
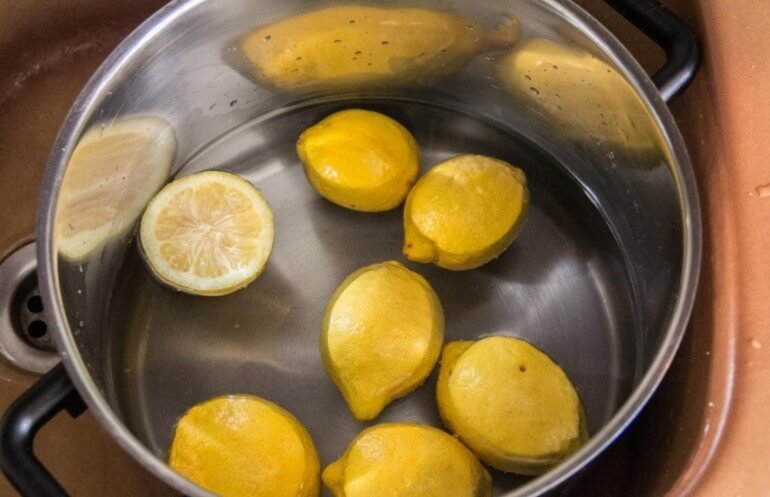
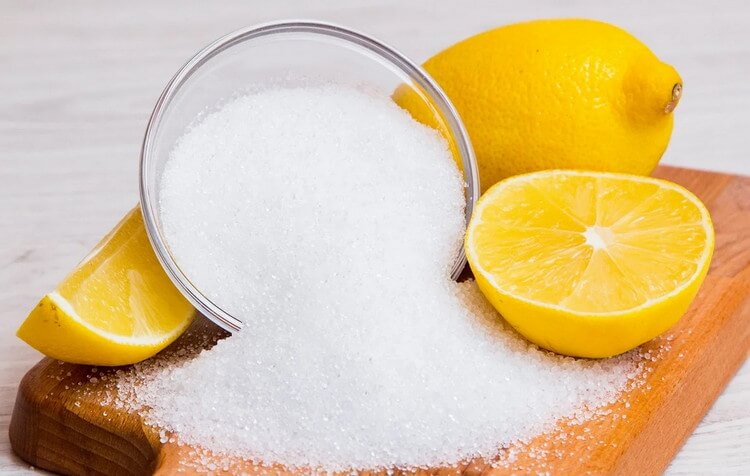
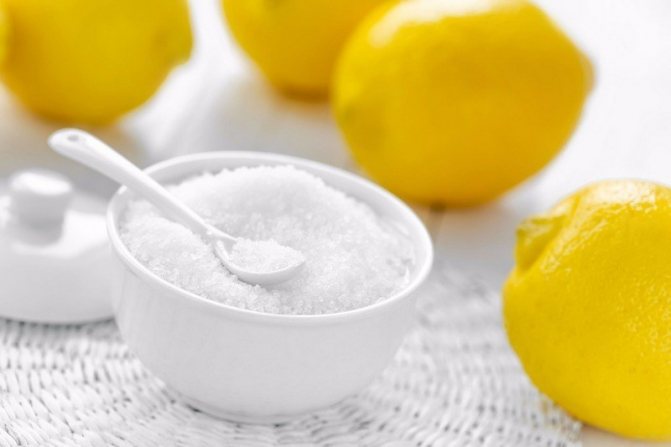
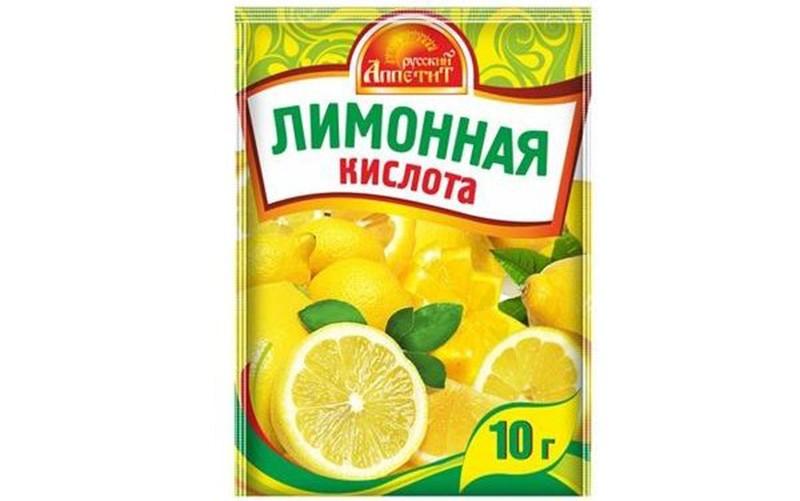
Fruits and vegetables can be used not only for salad, but also as a stain remover. Cotton and linen are well cleaned with lemon juice. You can use citric acid granules, but it's best to use the fruit itself. Fruit juice is squeezed onto a cloth. After 5 minutes have passed, you need to wash the fabric.
Acids penetrate deeply into matter, corroding pollution. But you need to use this method carefully. If you overexpose the lemon juice, it can damage the material. The method is not suitable for silk! How to wash silk, see here;
You can also use fresh milk. To do this, just soak the fabric. It is not necessary to withstand a certain time - milk does not harm the structure of tissue fibers.
Interesting fact! Tomatoes help to cope with the stain from tomato juice. Only green vegetables should be used. Tomato juice is squeezed onto the fabric. Then you need to intensively rub the stain. After the trace turns pale, it is worth sprinkling a piece of material with talcum powder and washing the item.
Another proven method is oxalic acid. Two grams of the product is diluted in 200 ml of water. Under the clothes you need to put a piece of fabric. It is best to use white cotton fabric. After the site is wiped with a cotton pad previously moistened with a solution of oxalic acid. Then the fabric should be washed.
Vinegar is also suitable for cotton. Dilute it with water in equal proportions and soak the clothes for two hours. Then wash the item with conditioner and air dry to get rid of the bad smell. For greater effect, you can mix the vinegar solution with the juice of half a lemon.
For white clothes, use hydrogen peroxide.Apply the composition to a cotton pad and treat the stain. Move from the edges to the center so that it does not spread.Rinse the product in warm water. You can mix peroxide with baking soda and leave for five to ten minutes, then wash the item in the usual way.
Woolen products can be washed with mineral water. Saturate the cloth with this drink and wipe the dirt with a cotton pad.
Getting rid of tomato stains: special tools
So, “difficult” (stubborn, long-standing) tomato stains must be treated with special means before washing. For example, a stain remover (the product label says what kind of stain is suitable for; in our case, all stain removers that remove grass and (or) juice stains are suitable). Those housewives who did not have a suitable stain remover at hand can try the helpers:
- Salt-alcohol mixture (1:1). We rub the slurry of salt and alcohol into the tomato divorce with a brush or the rough side of a dishwashing sponge. After an hour, we sweep away the dried mixture and wash the treated area under warm running water. The stain will be removed, but in order to ensure that no streaks are left, it is necessary to wash the item in the standard mode (see the product manufacturer's recommendations on the label on the wrong side).
- An alternative to this method is the following: we clean the contaminated area with a brush from traces of pulp, moisten it in water at room temperature and sprinkle it thickly with salt. After an hour, we clean the treated area from traces of salt, and then treat it with ammonia. This option for removing stains from tomatoes with salt and alcohol differs only technologically, but the effect is equally good.As in the previous case, after removing the stain with salt and alcohol, washing is required.
- The method of reducing tomato stains with glycerin is also effective. To implement it, it is necessary to prepare a glycerin-alcohol solution in a ratio of 1:4. The stain, previously cleaned of traces of dried pulp, is treated with the resulting solution and left on the fabric for 5 hours.After this time, the stain will become much less noticeable. To completely get rid of the stain, it is necessary to rinse the treated area under warm running water, and then wash at the usual washing parameters for this type of fabric. This method is very soft, therefore it is used for delicate, delicate fabrics. The disadvantage of this method is the long time spent on removing stains. The advantage is that the output is clean and undeformed.
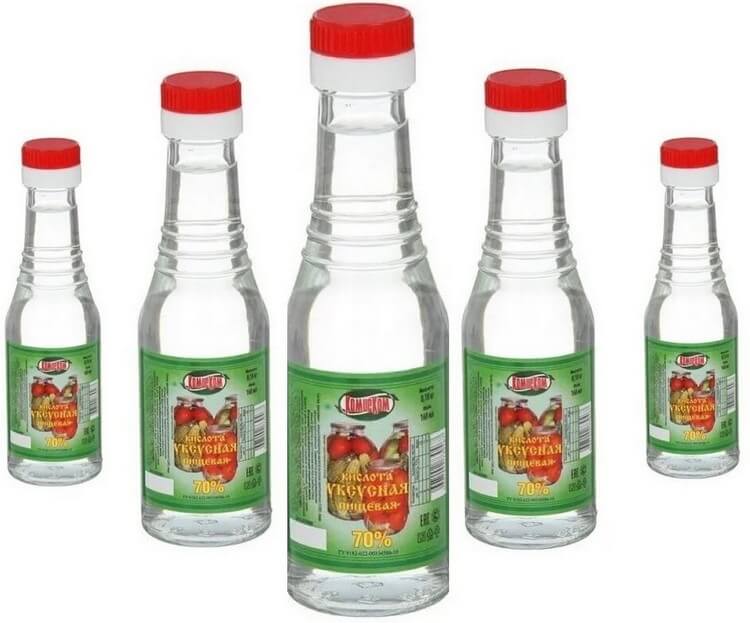
- For stronger fabrics, a more aggressive and fast-acting agent is used - table vinegar, 9%. This method is suitable for undyed (white) cotton fabrics. Acetic acid is treated directly with a contaminated area of \u200b\u200bthe fabric with a sponge or a special brush, or the thing is soaked in a water-acetic solution (1: 1). In both cases, subsequent washing is necessary: it will finally rid the fabric of stains so noticeable against a monophonic background and remove the unpleasantly sharp smell of acetic acid.
- Oxalic acid copes very well with stains from the fruits of tomatoes on cotton fabrics. Prepare an aqueous solution of oxalic acid in proportions of 100:1. The resulting solution is used to treat the contaminated areas of the fabric, then rinse and wash in the mode recommended by the manufacturer.


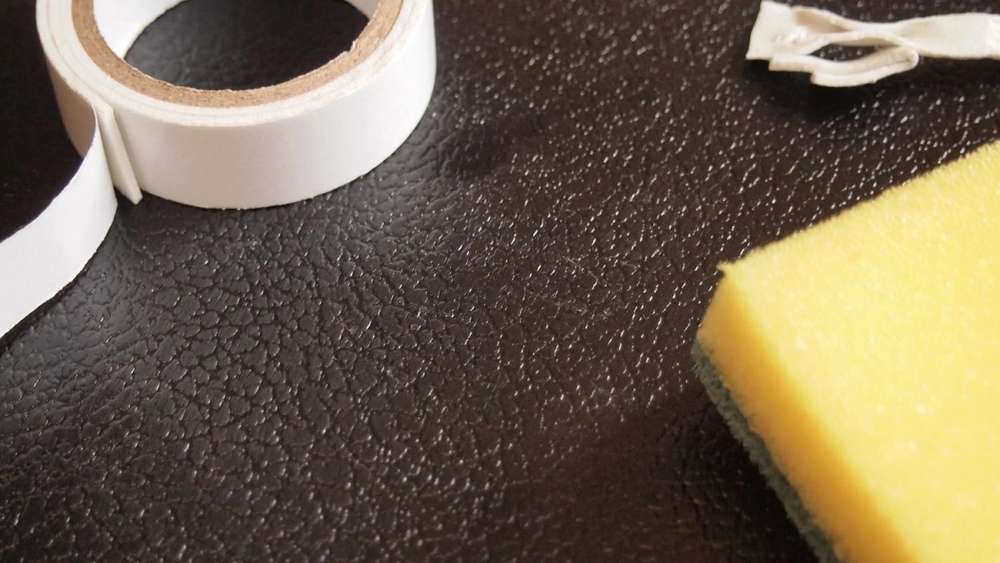
 You can wash off traces of adhesive tape from plastic using an ordinary soap solution. Do not use too hot water, so as not to deform the material.
 A simple and budgetary way is to erase traces of glue with an ordinary rubber band. This is the most efficient option. After the glue has come off, treat the surface with a damp cloth.
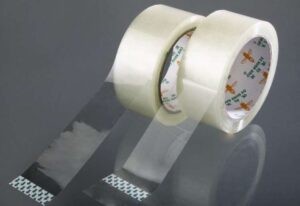 The wedge is knocked out with a wedge.If a glue stain has just appeared, then there is no better remedy than tearing off the glue with duct tape. Place a strip of duct tape on the dirt, then pull hard so you can peel the dirt off. This method is not suitable for old stains.
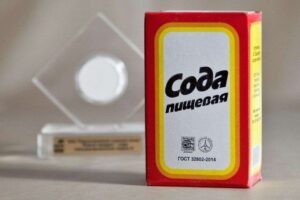
 One of the most unusual options for cleaning tape marks on plastic. Apply some toothpaste to the stain. Wait 10-15 minutes. Wipe the area to be treated with soapy water. Use paste without dyes!
 Pure acetone is not recommended. But nail polish remover does not contain it in concentrations that can damage the material. Just in case, test the product before use. Apply liquid to a cotton pad, treat the contaminated surface. Then wipe with soapy water.Minus: the pungent smell will last for a while.
 The tool, which also delivers unpleasant emotions with its specific aroma, is quite effective in the fight against old stains. Using a cotton pad, apply the product to the surface. Then wipe with soapy water. Keep in mind that gasoline should not be used near a fire!
 Oddly enough, ordinary vegetable oil will help to clean plastic tape at home. Apply the oil to a cotton pad and apply to the stain for 2-3 hours. When the adhesive mass softens, it can be removed with a simple cloth.Do not use on surfaces where oil is difficult to remove.
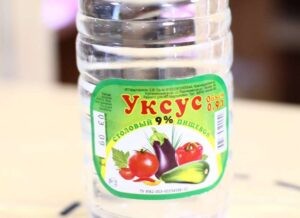 It will help to wipe the adhesive tape from the plastic with ordinary vinegar, which is in the kitchen of every housewife. In a bowl, dissolve 1 cup of water and a quarter cup of 9% vinegar. Add a few drops of liquid soap. Wipe the dirt with this mixture in a circular motion with a sponge.
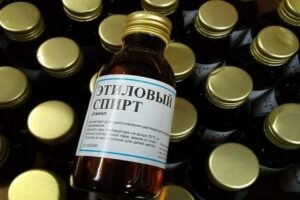 Soak a cotton pad in alcohol. Treat the sticky spot. Wipe with a damp cloth after 5 minutes. Not suitable for colored plastic as alcohol has a bleaching effect.
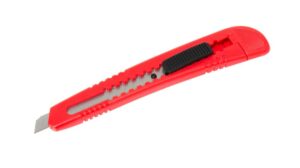 Holding the blade at a slight angle from the surface, gently scrape off the dirt layer by layer. Be very careful not to damage the plastic.
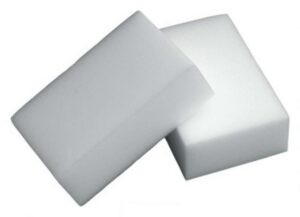 Dip this magic eraser in water. The melamine sponge should be able to easily remove the sticky stain. It is a mild abrasive, so use it with care.
 Dry scouring powder can help solve the problem, but to avoid scratching the surface with this scrubber, proceed as follows:
 If there is an area with an old stain on the plastic, then this method is for you. Spray glass cleaner onto the sponge.Start scrubbing off the dirt, rinsing the sponge if necessary and applying the product again. After the stain has been removed, wipe off any remaining product with a cloth. Ventilate the room.
 This tool will help to wipe the adhesive from the adhesive tape not only from the plastic, but also from the machine body. Use it the same way you would a soap solution.
 It is sold on the market in various forms (in an aerosol can, in the form of a pencil or liquid). This is a fairly budget tool, but it effectively helps to remove the remnants of stains from adhesive tape with any base.
 Tackles many stubborn stains. It must be applied to a napkin or rag, and then wipe the contamination with it.
 Sold in a convenient spray bottle. It is applied to the remains of adhesive tape, removed after 15-30 seconds.
 This is a professional stain remover from various surfaces. The liquid is colorless and odorless, however, it must be used with gloves. After application, it is necessary to ventilate the room. Since this is a fairly aggressive chemical, test on a small area before use.
 95% ethyl alcohol can not only clean the stain, but also remove yellow stains from window frames. You need to check the reaction of the plastic before use. The drug is inexpensive, but effective.
 Festive decor must be removed sooner or later. Scrapbooking jewelry is not very easy to wipe off the table or glass.
 You need to act carefully so as not to scratch the surface, it is better to use scrapers with rubber pads.
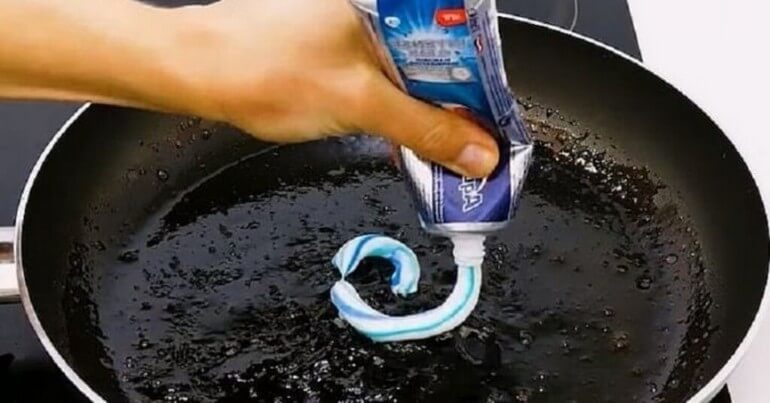
 If you didn't know, toothpaste can be used instead of stain remover. It does an excellent job of "whitening" greasy stains on jeans.

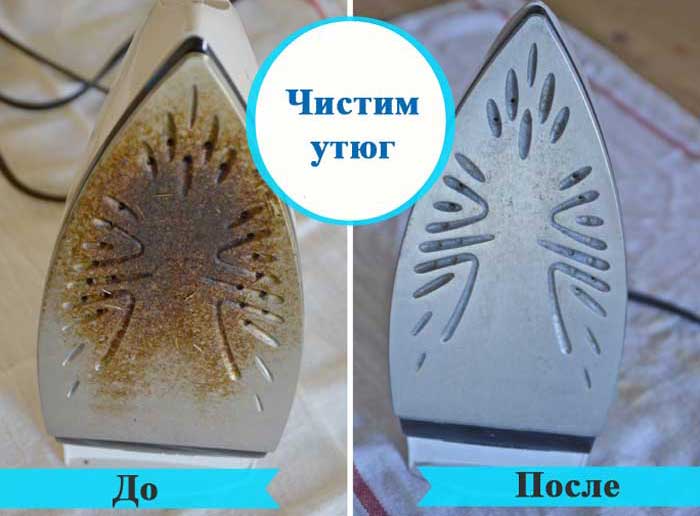
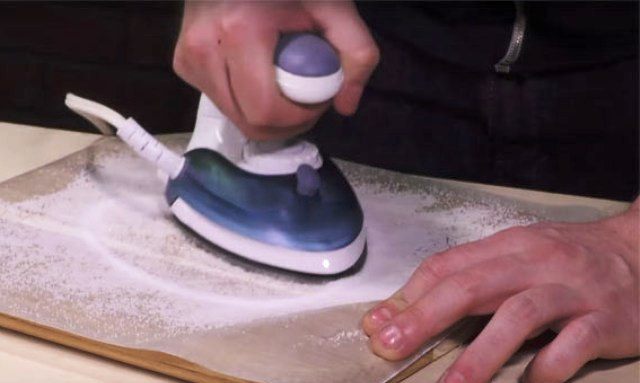
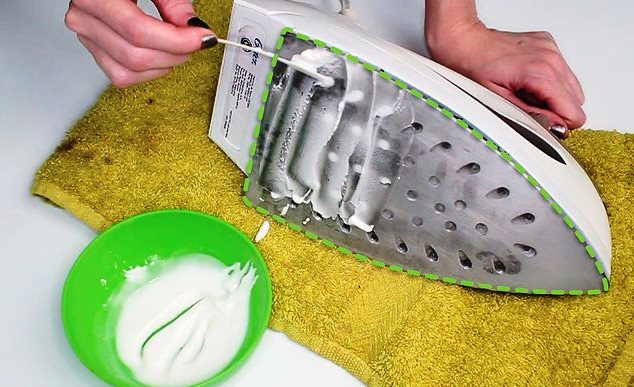 Table vinegar. If the burn is deep, and special pencils do not help, then you should use this method. Soak any cotton fabric well with vinegar and put on the sole for several hours. After that, any surface is easy to clean with a sponge.
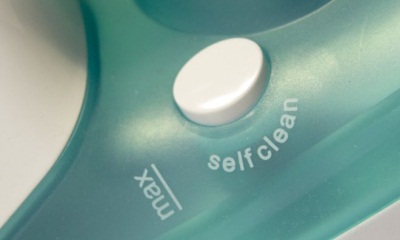
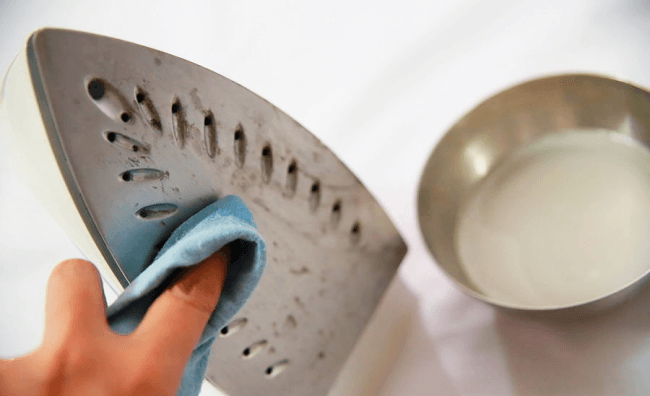 Modern models are equipped with a self-cleaning system.But even they are not immune from the appearance of rust, scale and soot. Much depends on the material of the surface. It is of the following types:
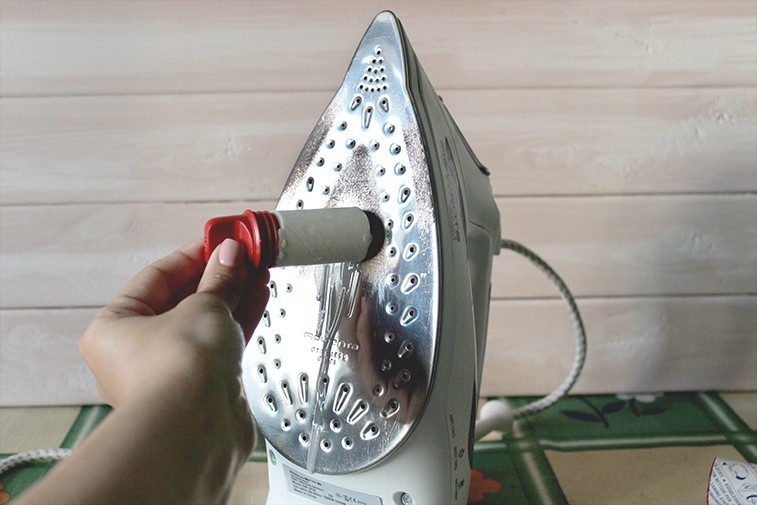 Any of the procedures at home should be carried out without children and with protective gloves.
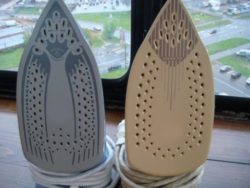

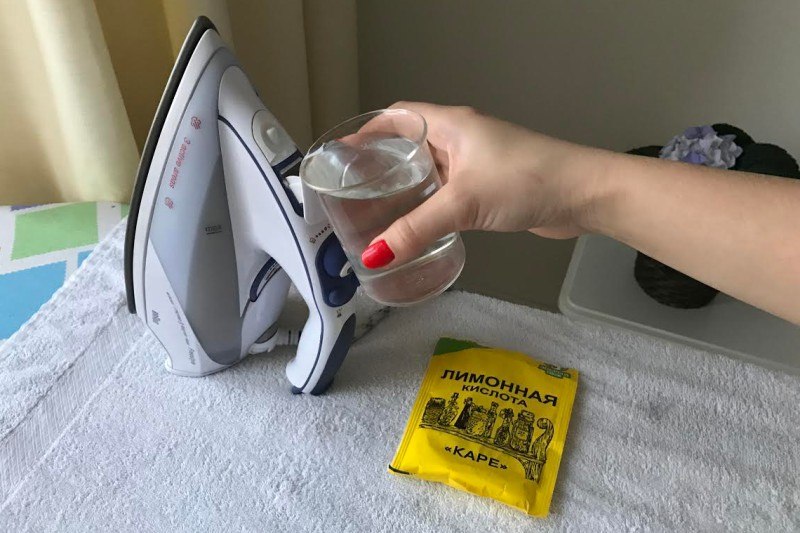
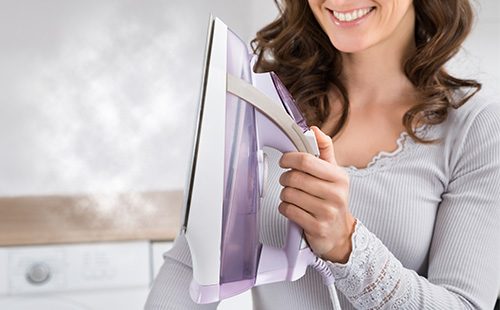
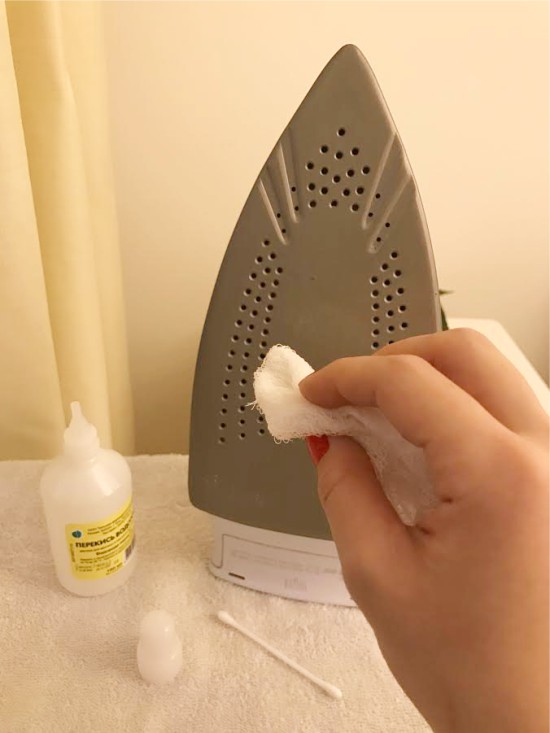 Cleaning the soleplate with hydrogen peroxide
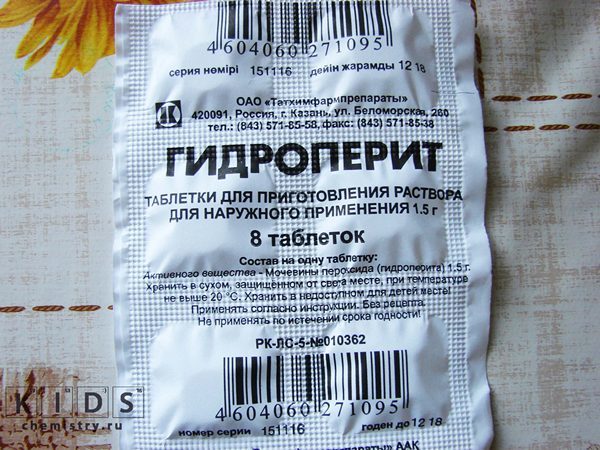 Hydroperite tablets
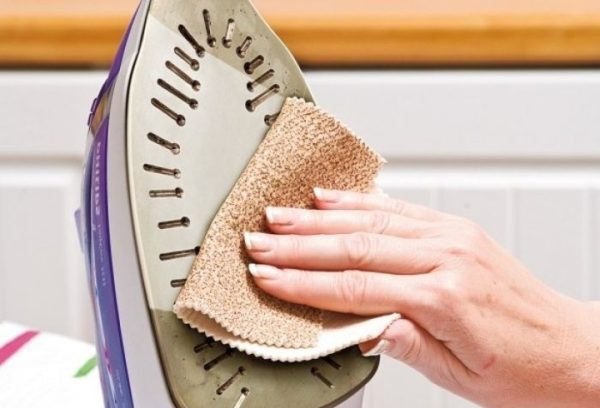 Cleaning is completed with a damp cloth.
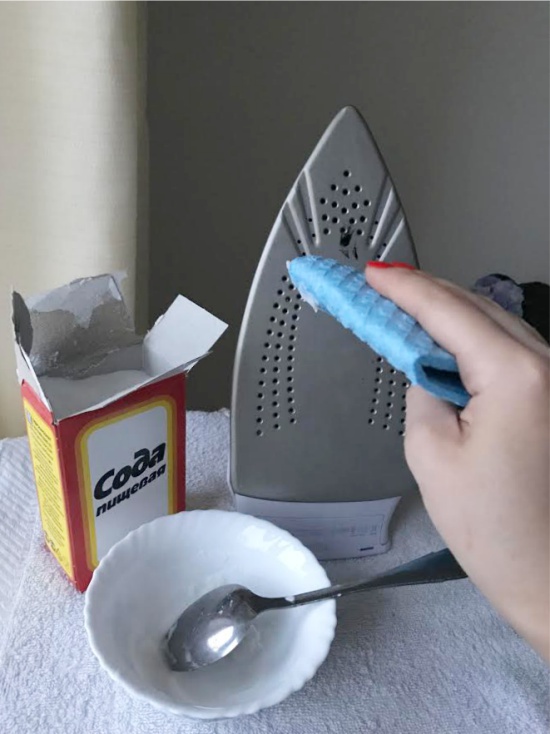 Sole cleaning with soda
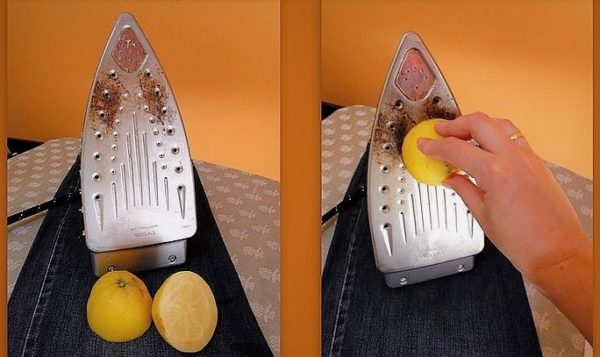 Cleaning the iron with lemon
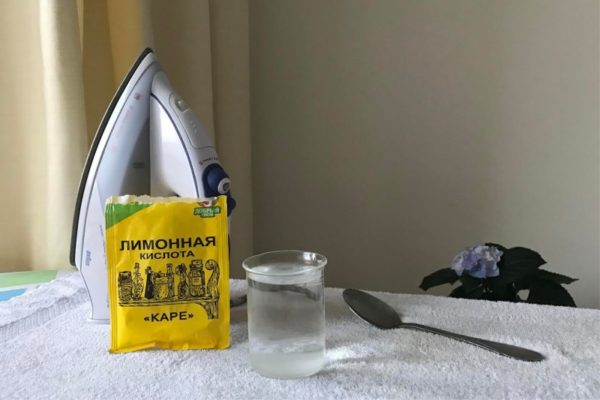 The use of citric acid
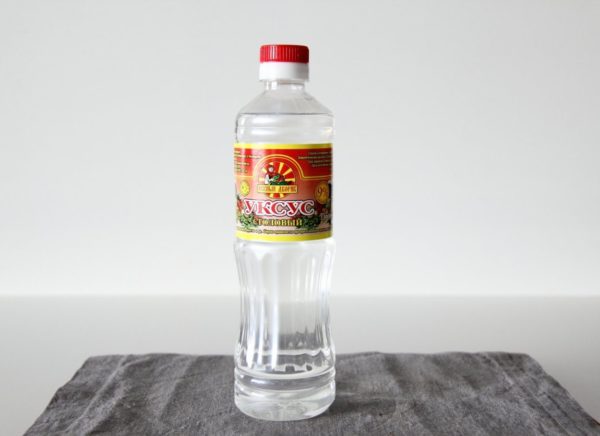 Vinegar - another remedy for soot on the iron
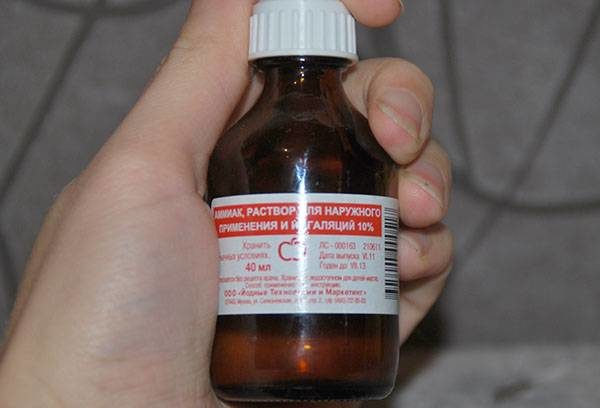 Ammonia
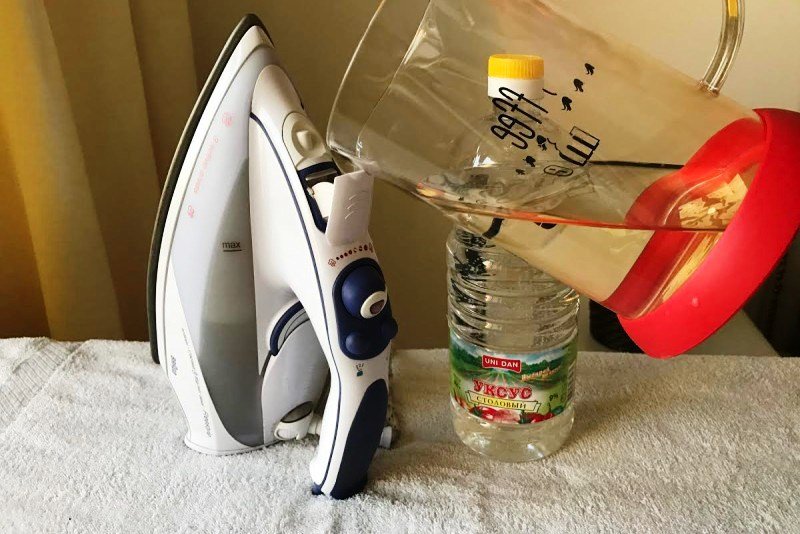 For 10 minutes it is worth putting the structure on a small fire. Vapors of vinegar can quickly clean the steam iron. The procedure should be done twice. After that, the soleplate must be rinsed with clean water, wiped with a cloth, and the device left upright to dry naturally for at least 12 hours.
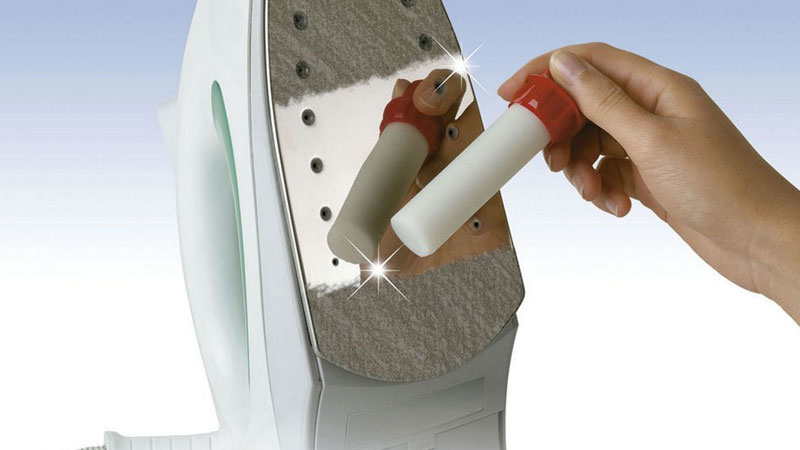 Advice! The procedure should be done in a ventilated area, in the absence of children. The fact is that the pencil emits harmful fumes.
 With hydrogen peroxide.
 Next, you need to pour the resulting solution into the iron tank. Activate the steam boost mode by setting the iron to full power.
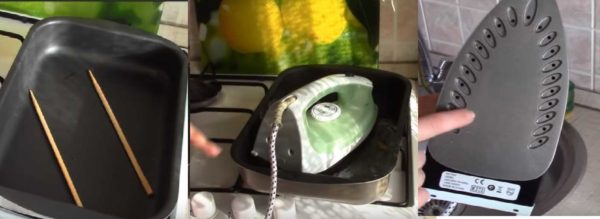
 A special tank is filled with distilled water (other cleaning products or ordinary tap water must not be used).

 Do not use any products that could scratch the soleplate of the iron.
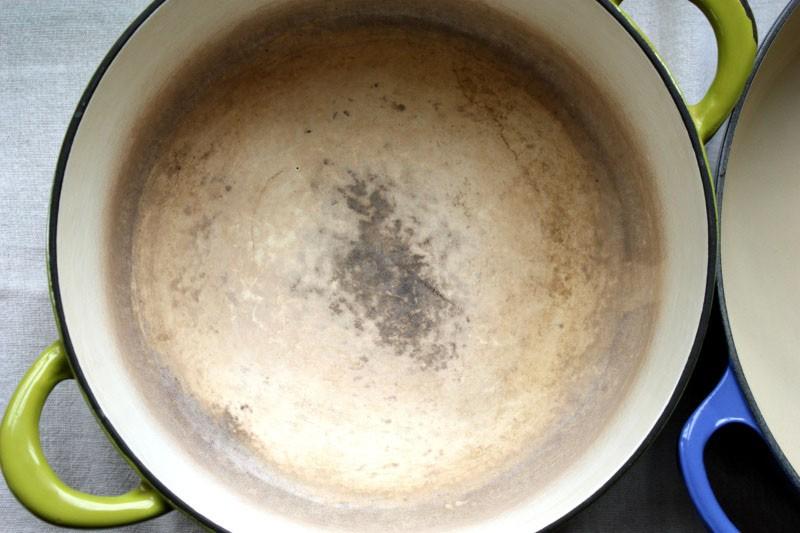
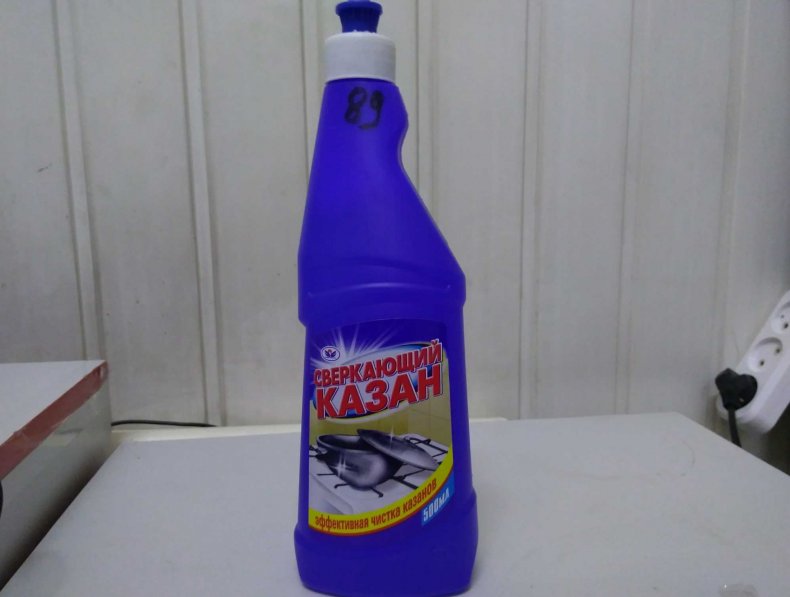
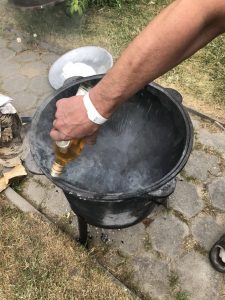
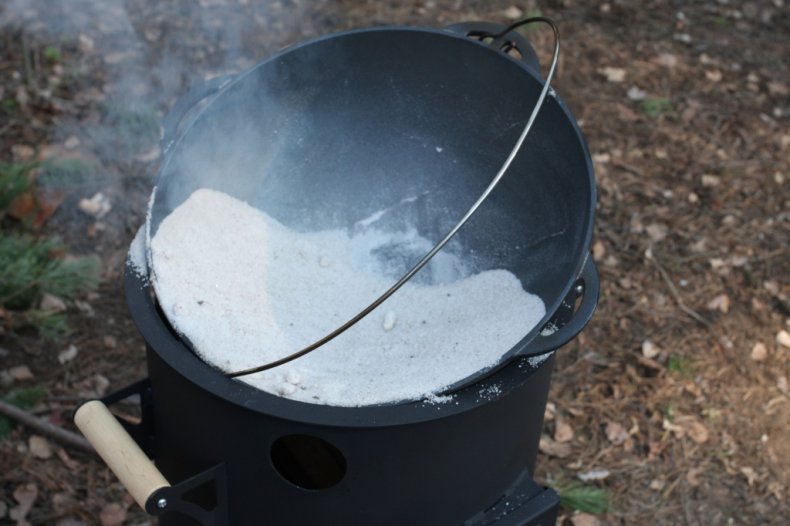
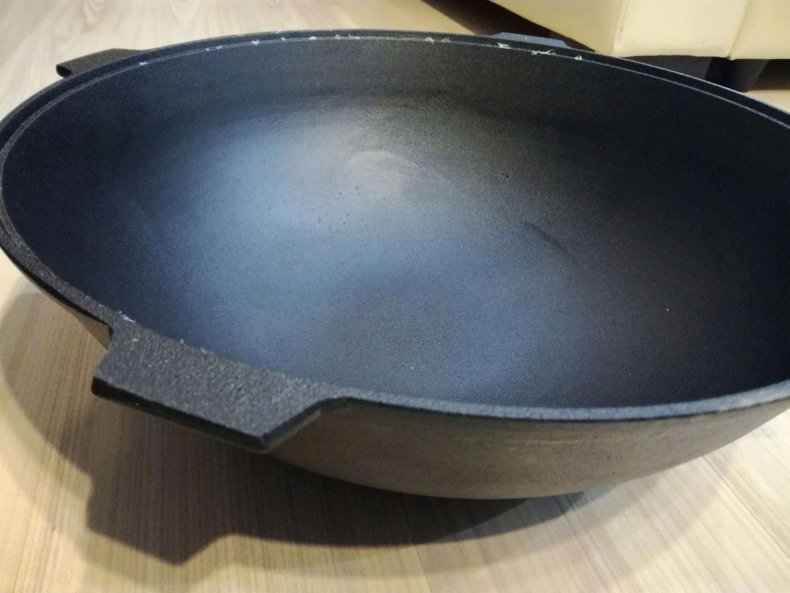
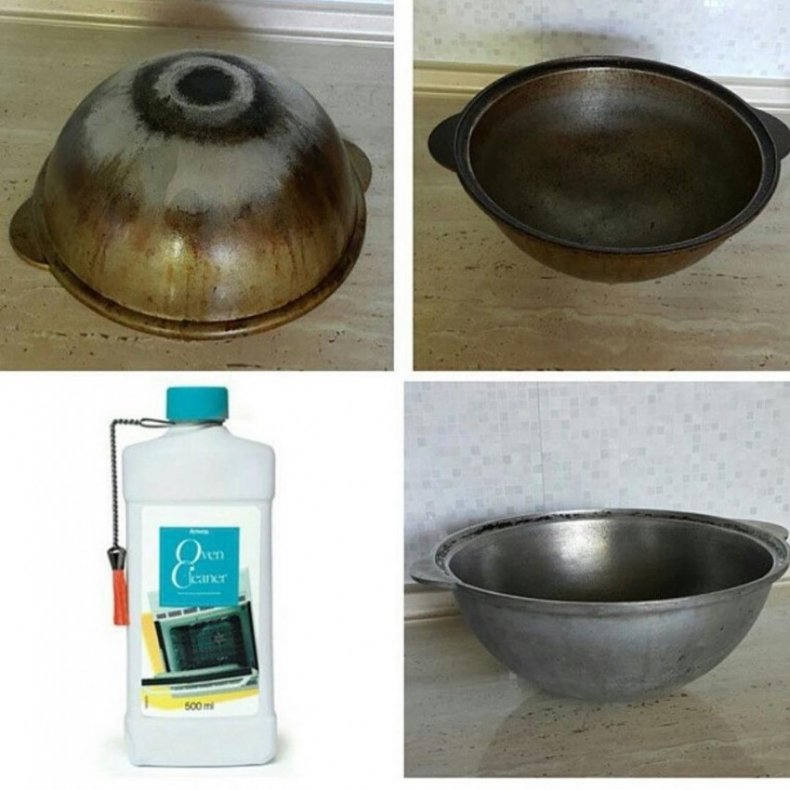
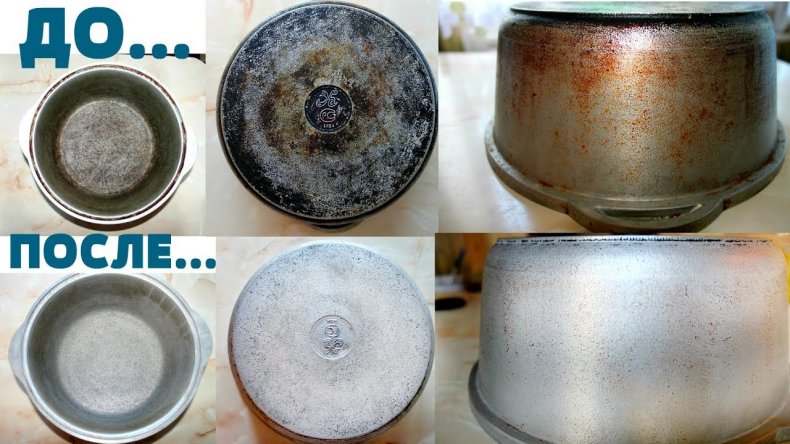
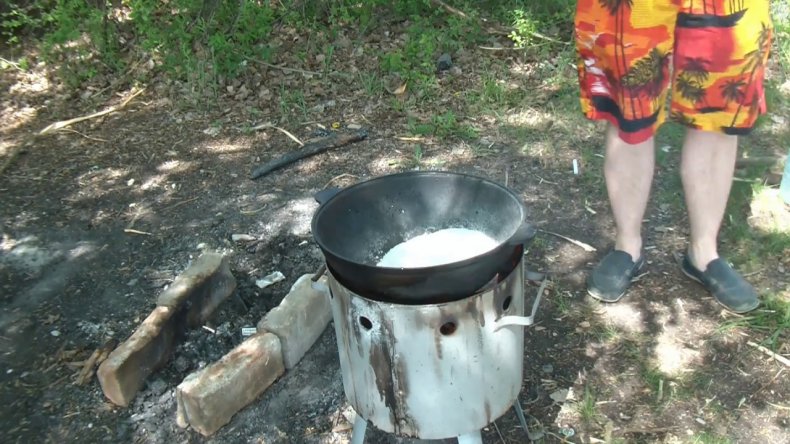
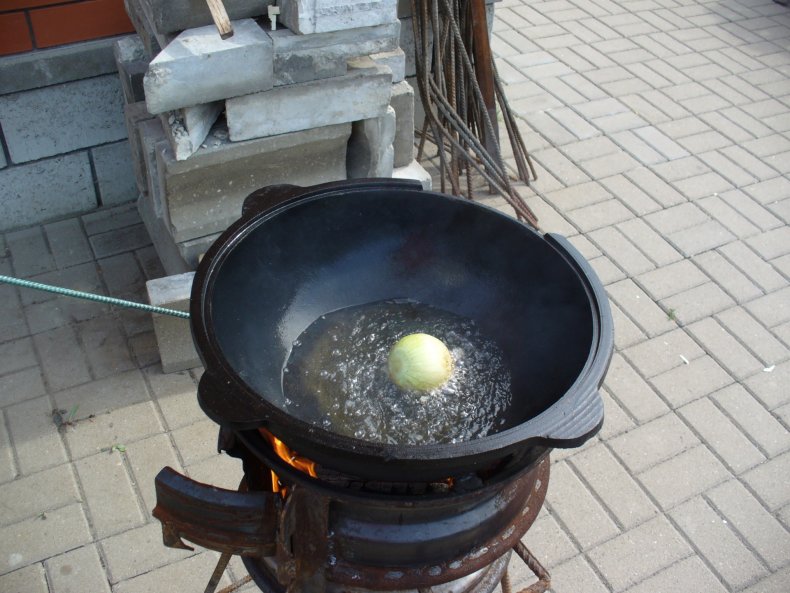
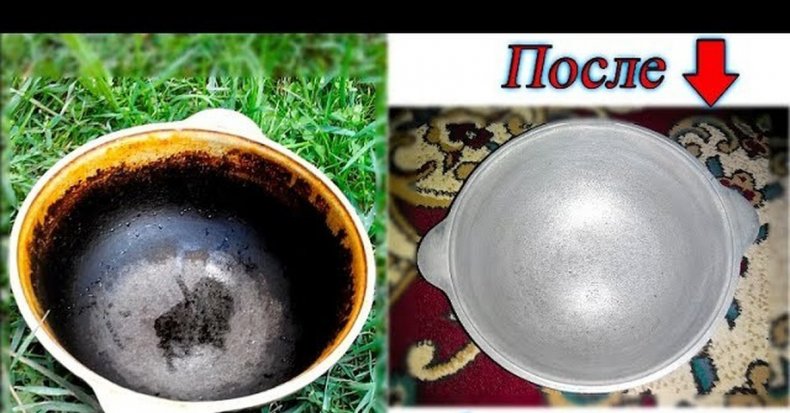
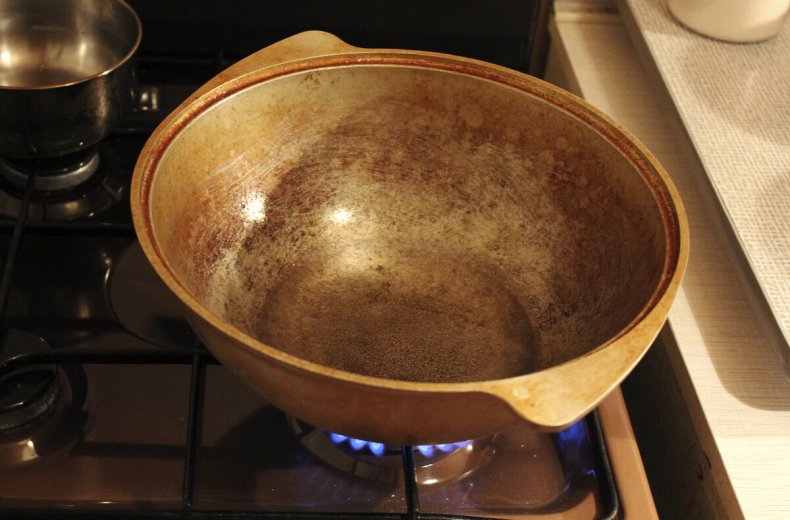
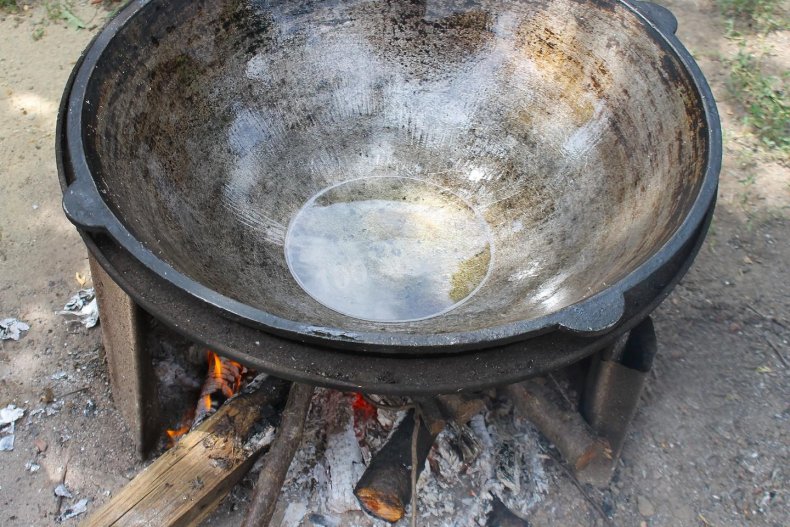
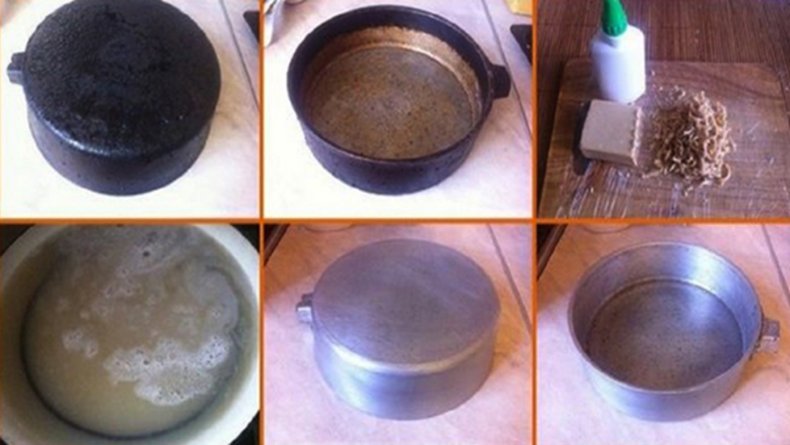
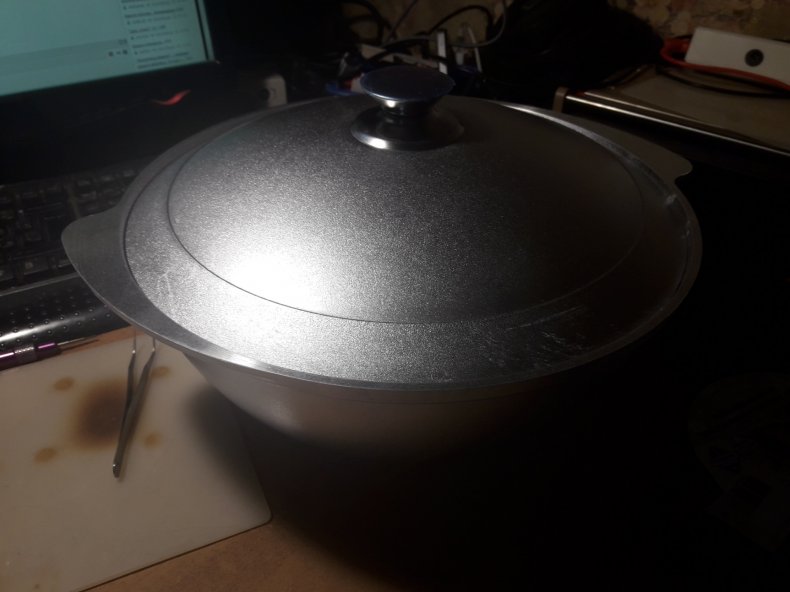
 Kazan is the national dishware of the peoples of Central Asia.
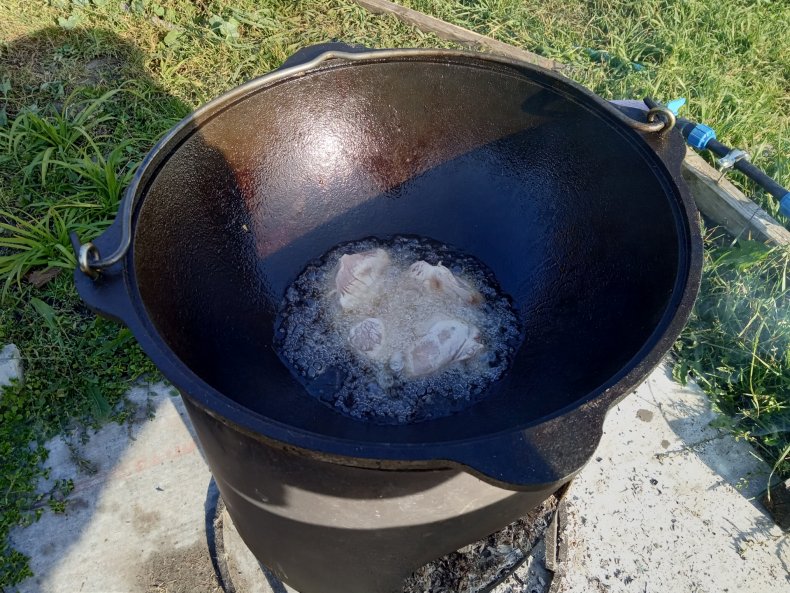
 The cauldron is convenient for outings into nature.
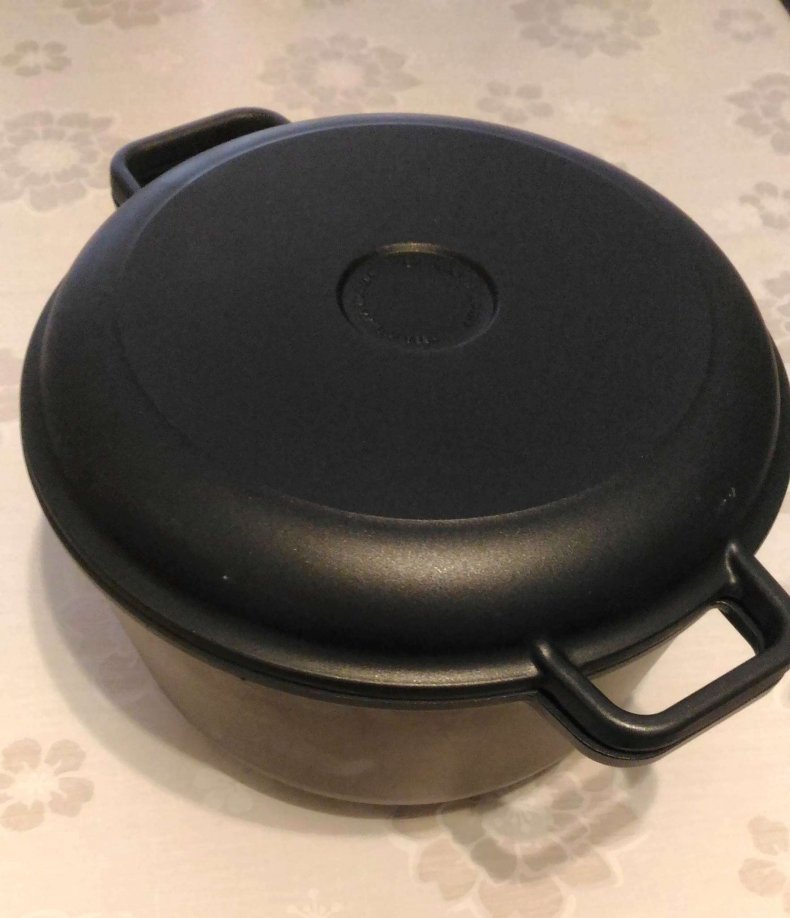
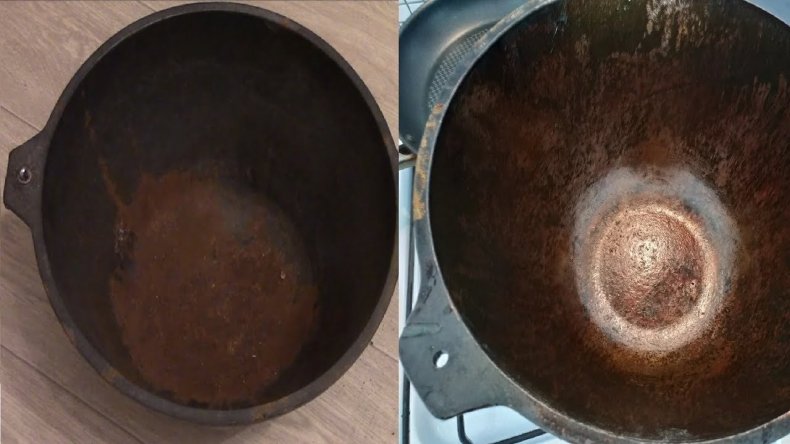
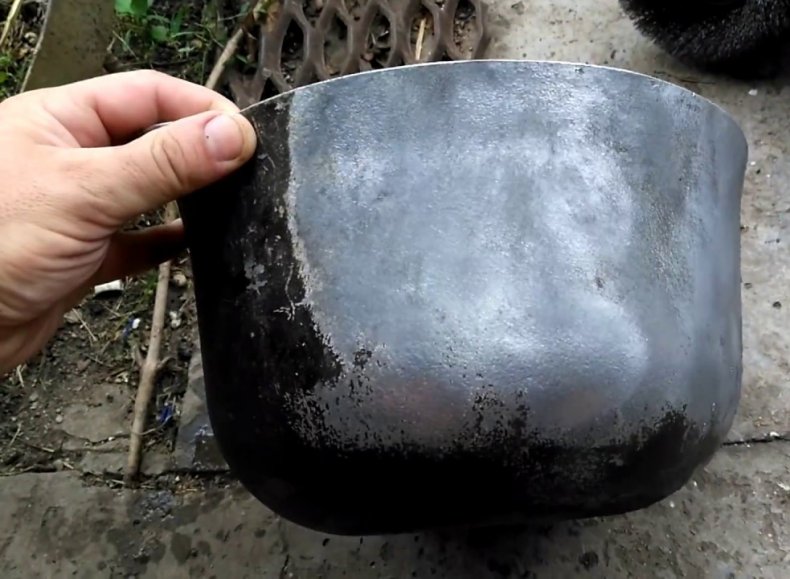
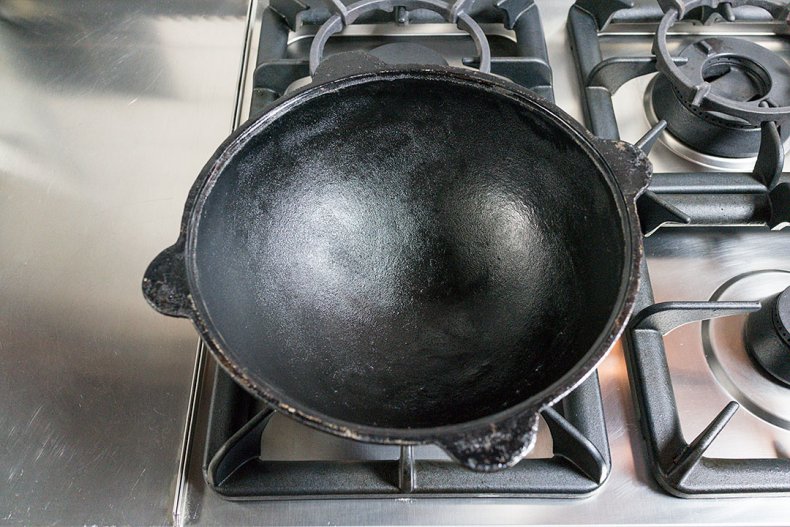
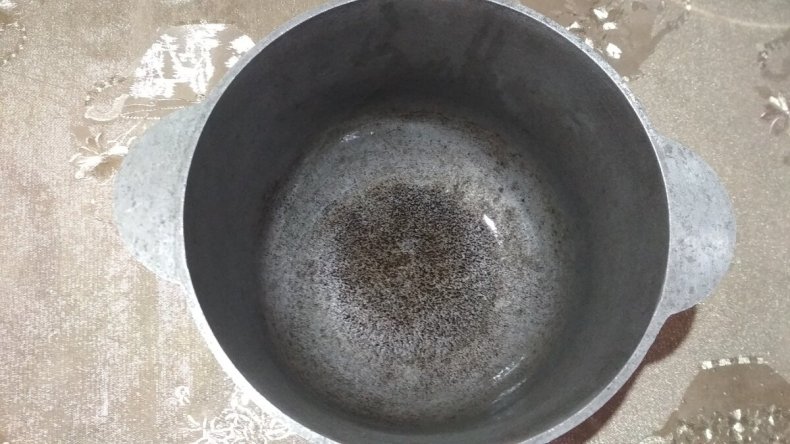
 A cast-iron cauldron can break from falling.
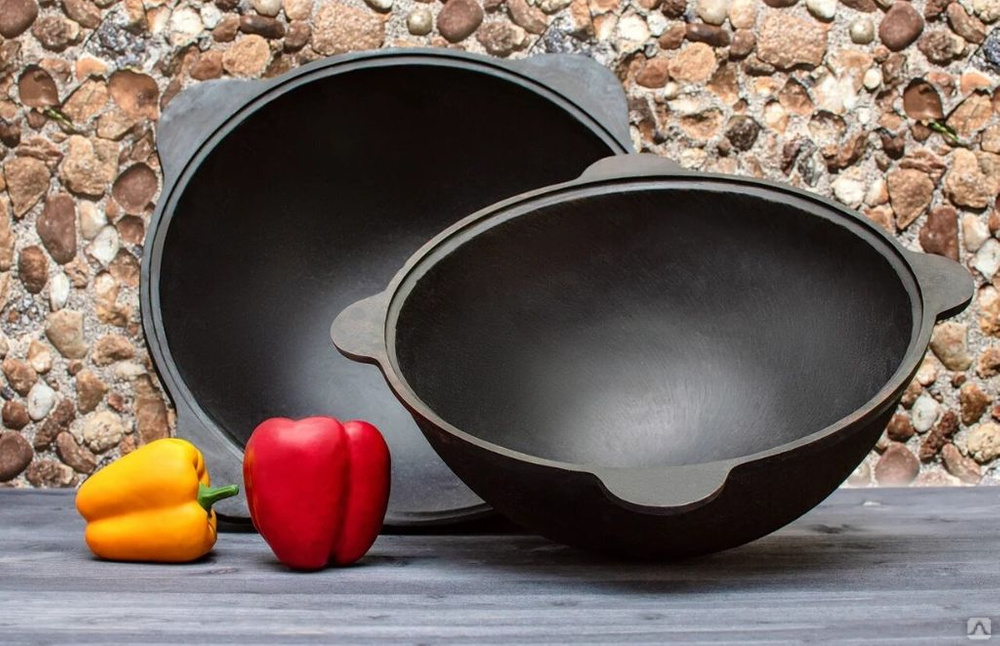


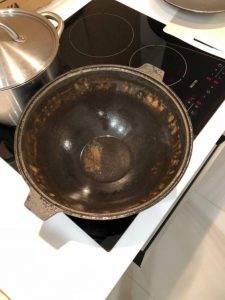
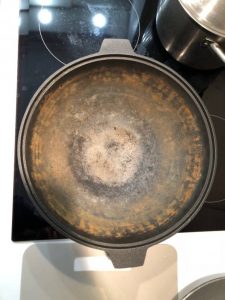

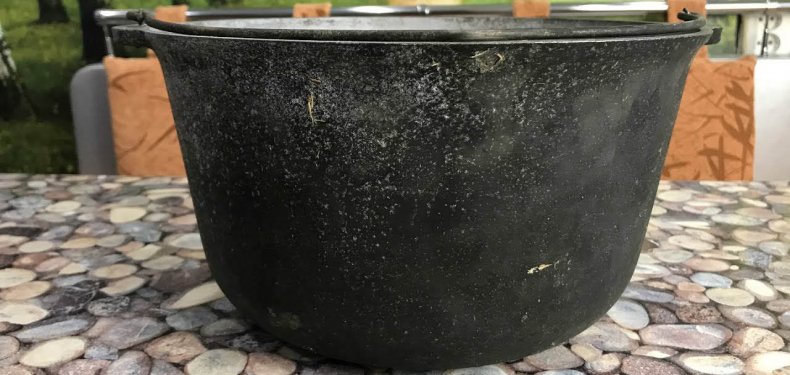
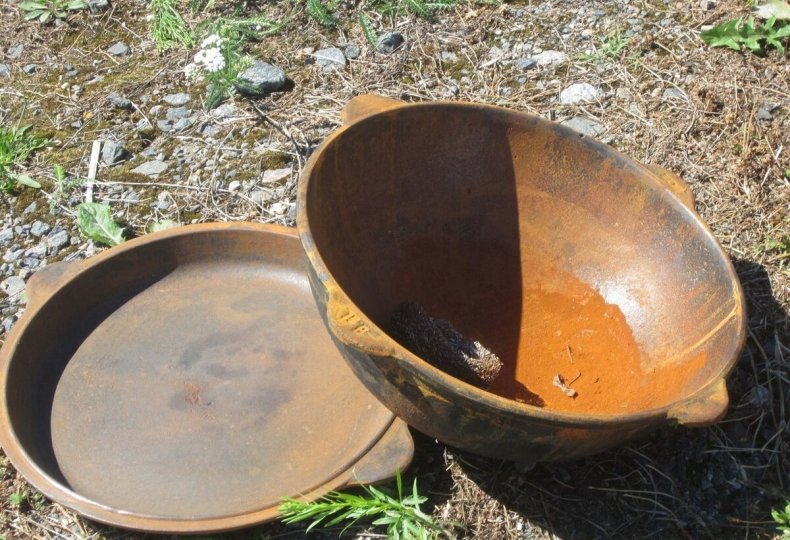
 Store cast iron cookware in a dry place in an oiled cloth. The cauldron should be protected from high humidity so that rust does not form. After that, the dishes will be unsuitable for cooking.
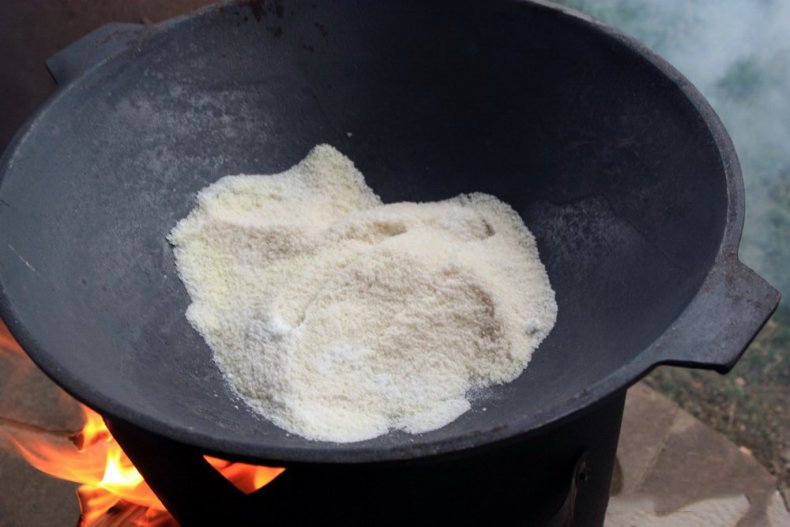
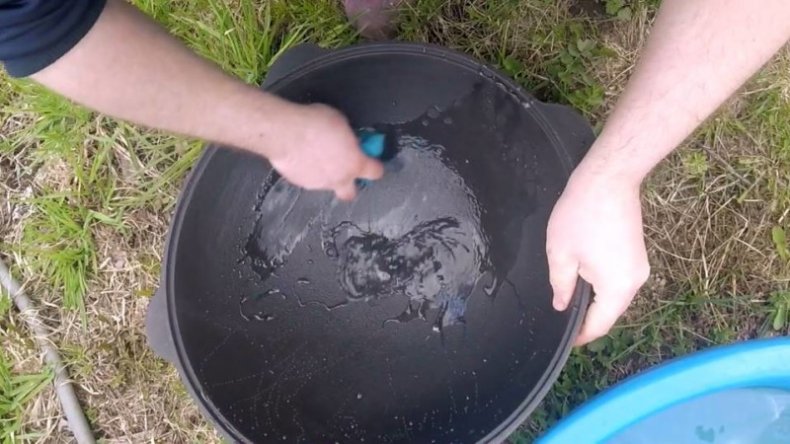
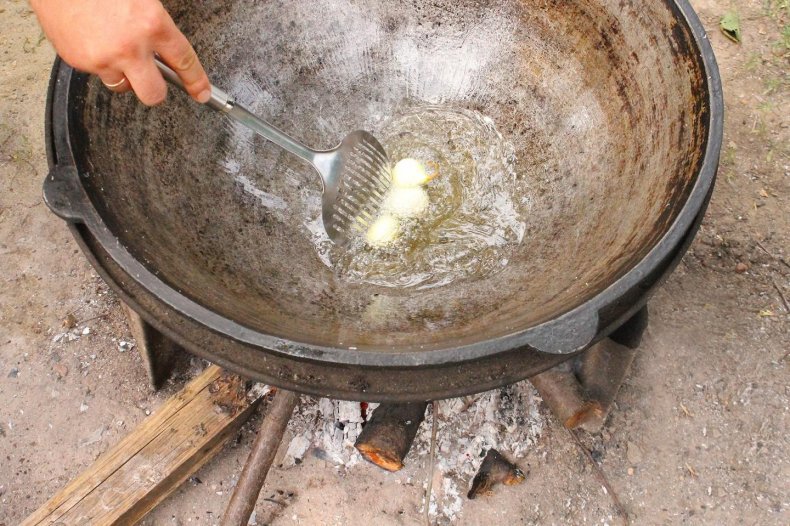
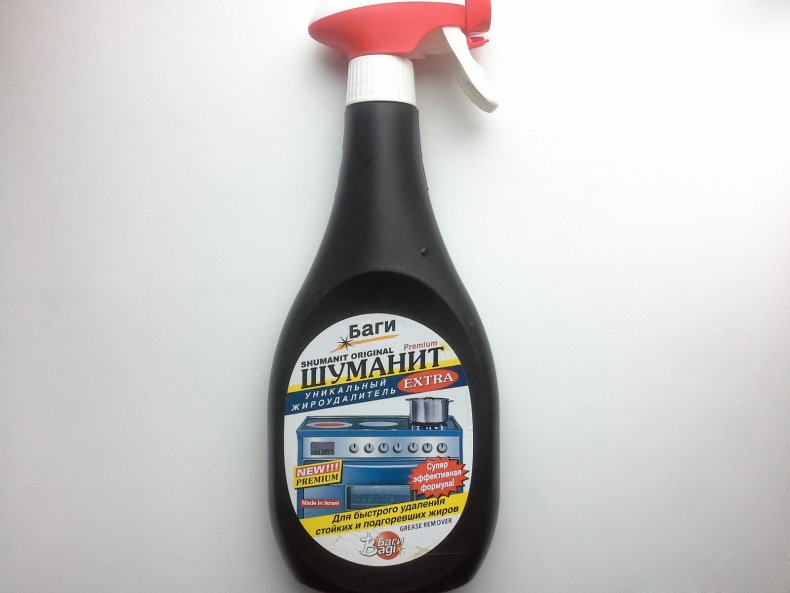
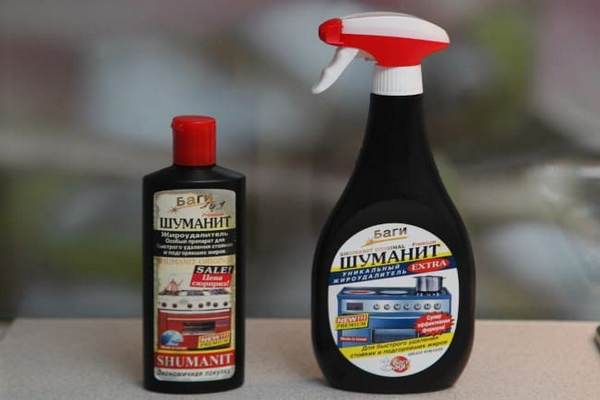 Not only with the help of folk recipes you can put the cauldron in order. Consider the most popular household chemicals among hostesses:
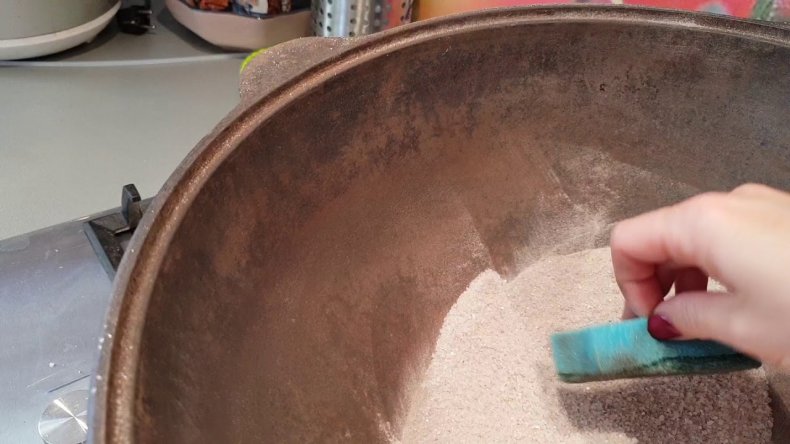
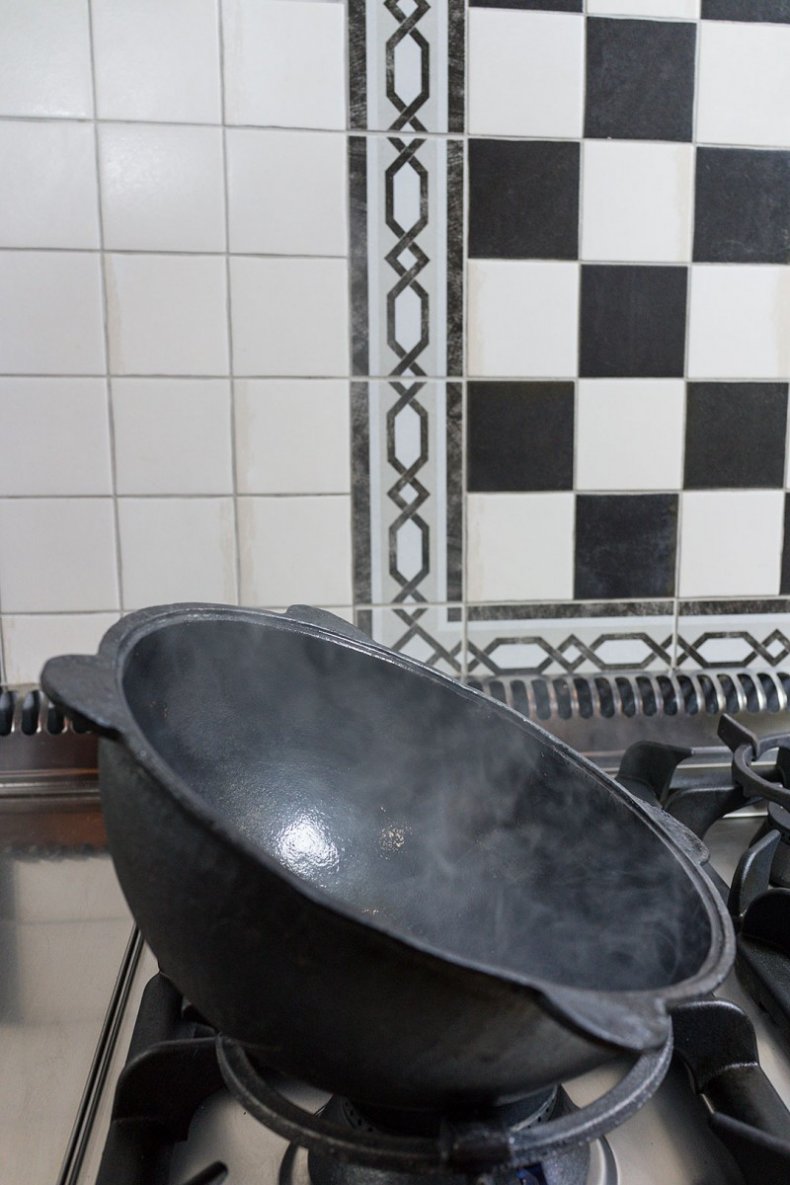
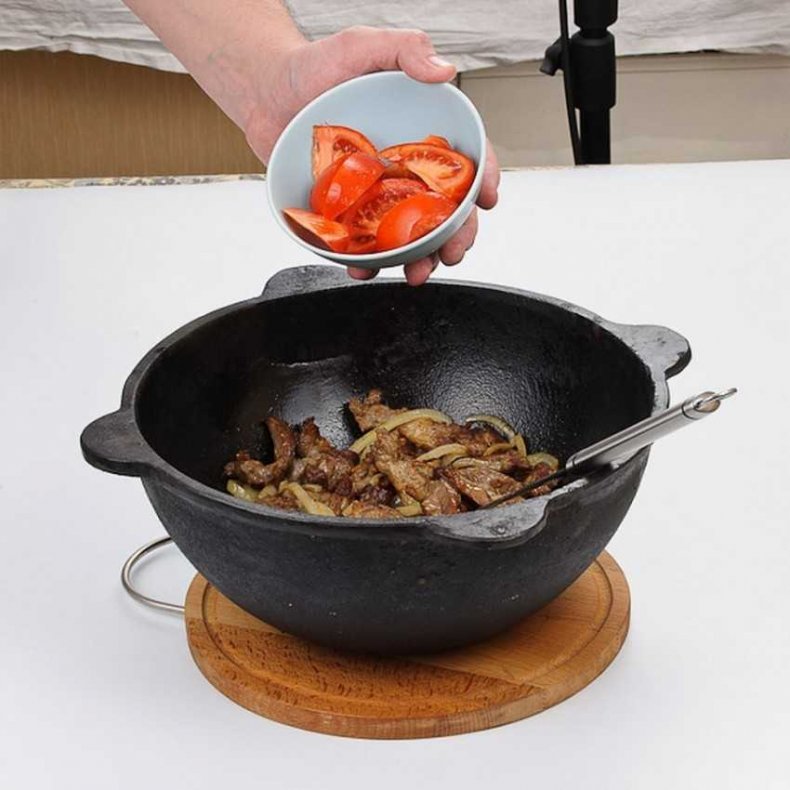
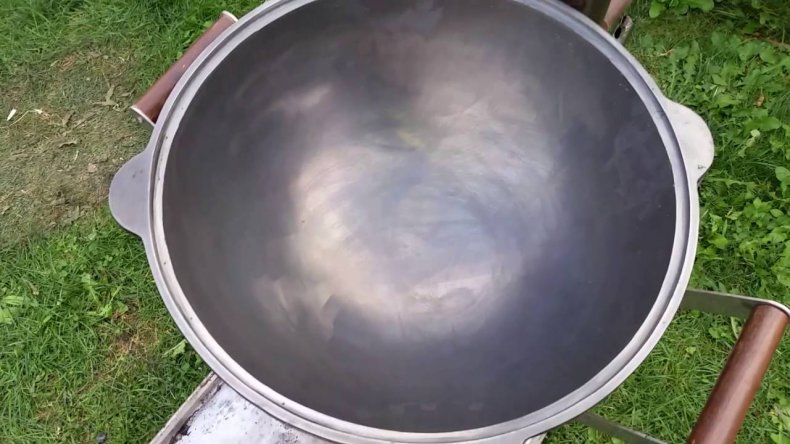
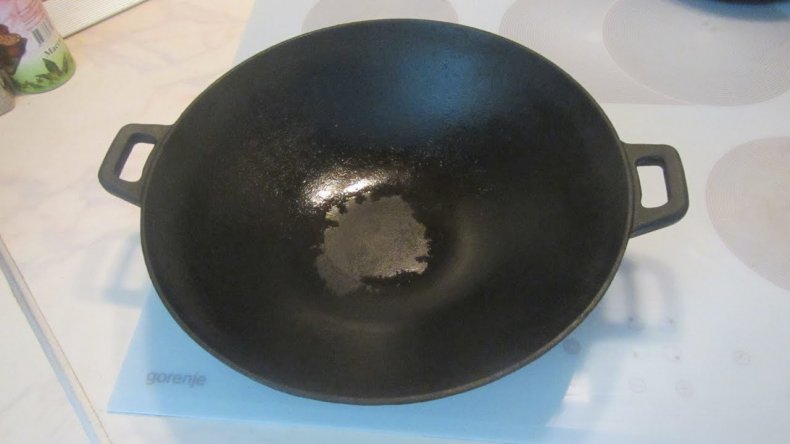

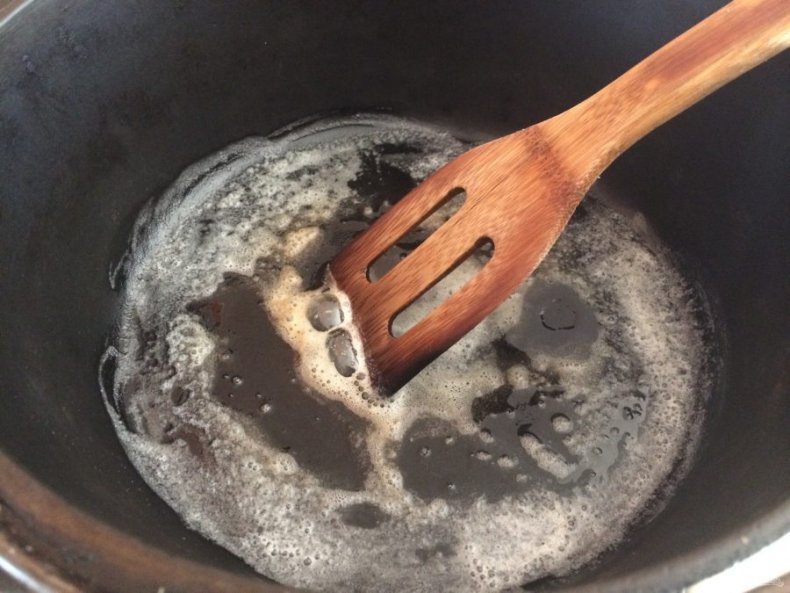
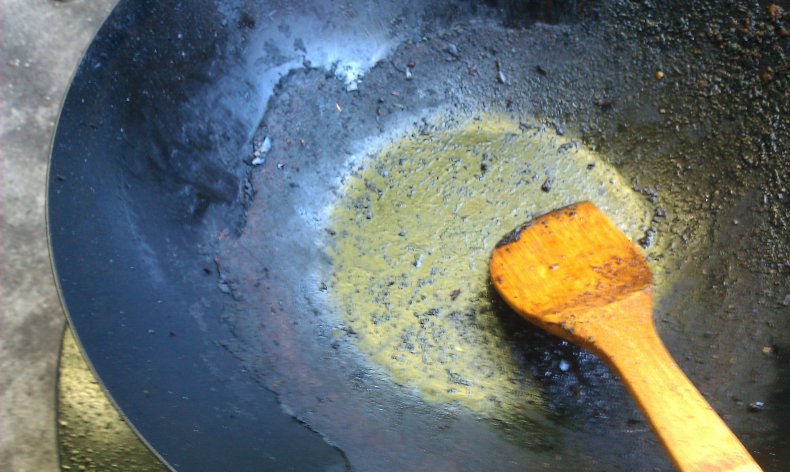
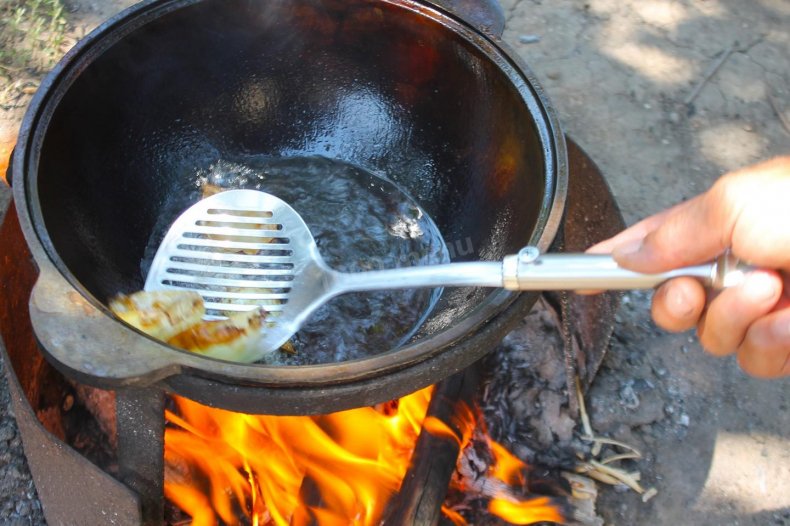
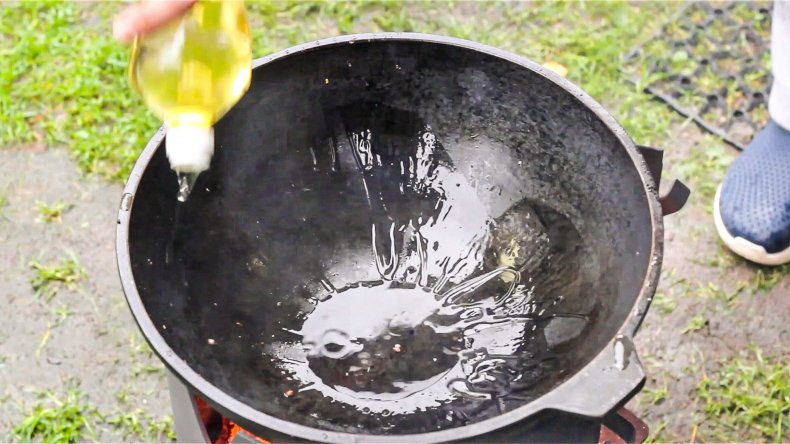
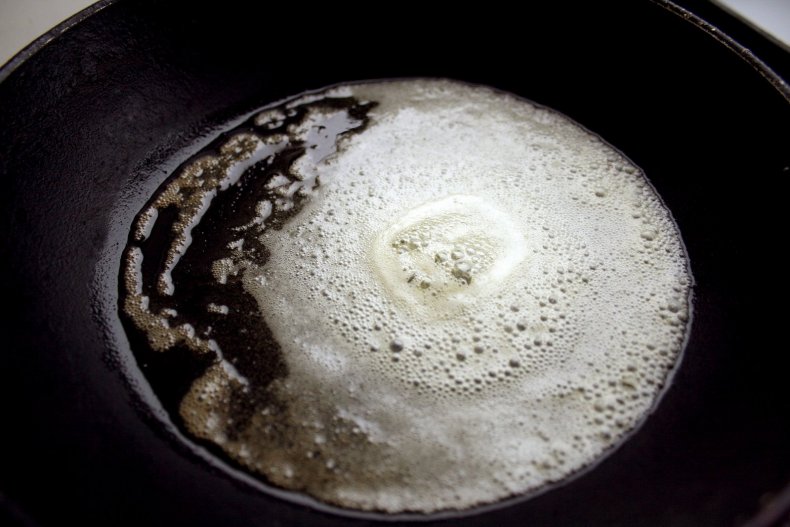
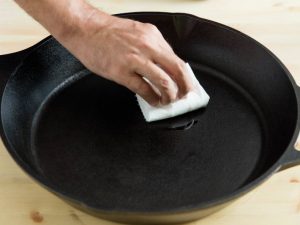
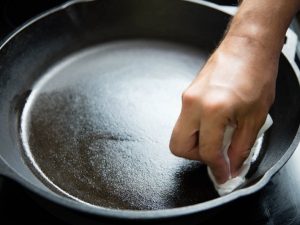
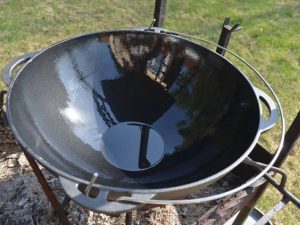
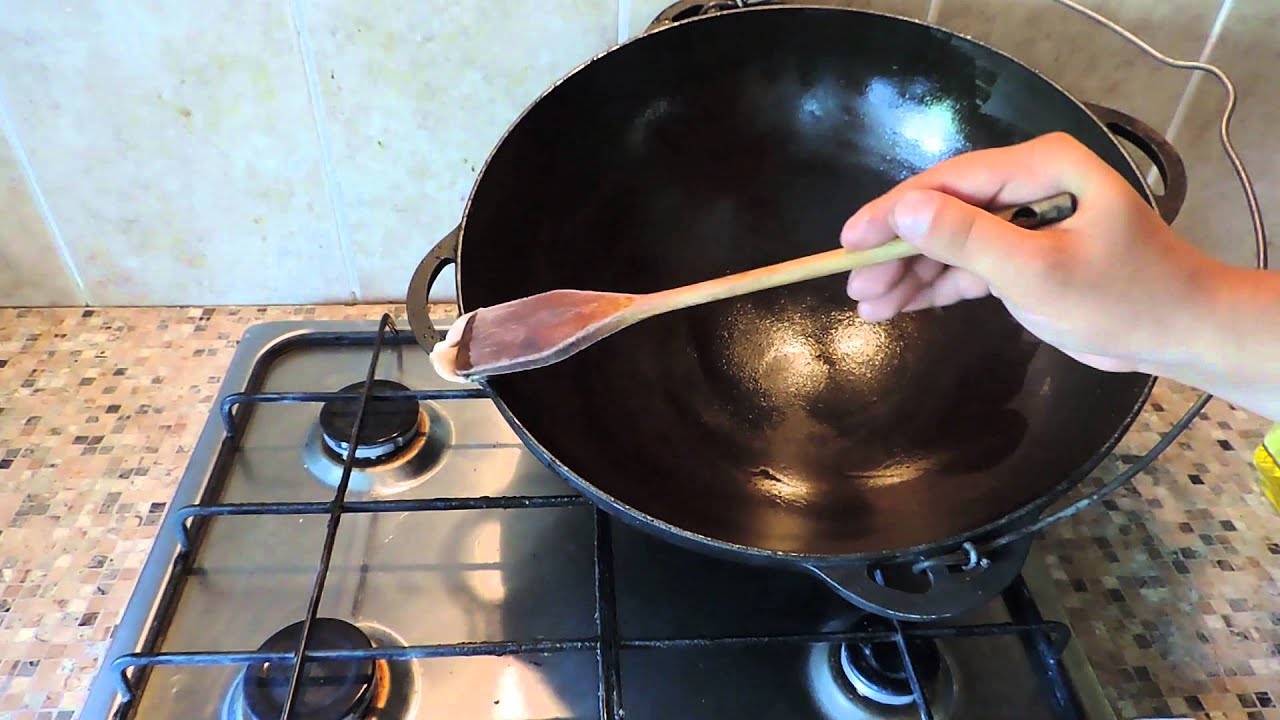
 Requires bluing - oil firing, creates anti-corrosion protection and non-stick layer.
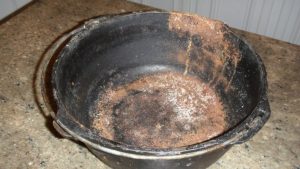
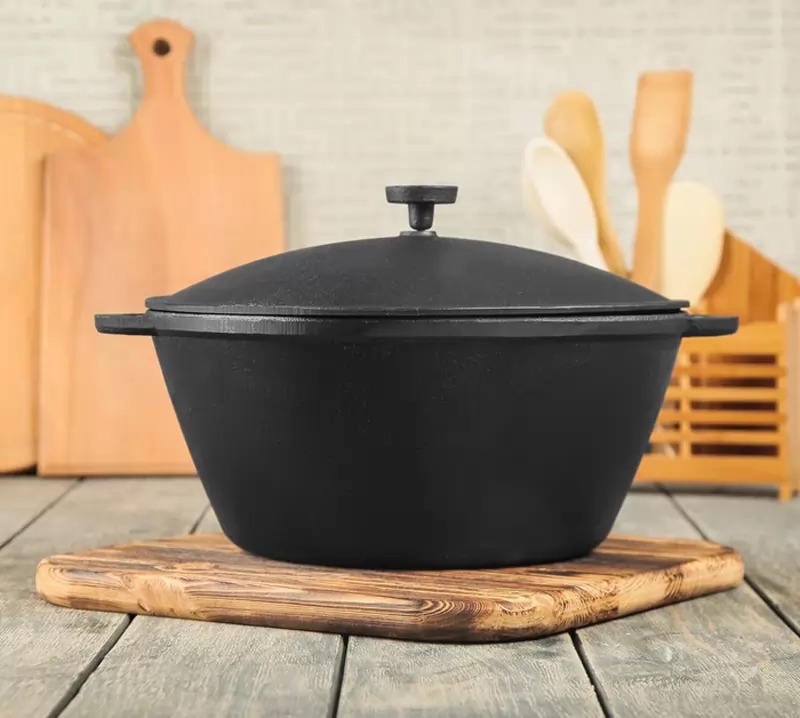 Cast iron does not like scratching, this destroys the oily layer, opens micropores, and food particles clog in them.
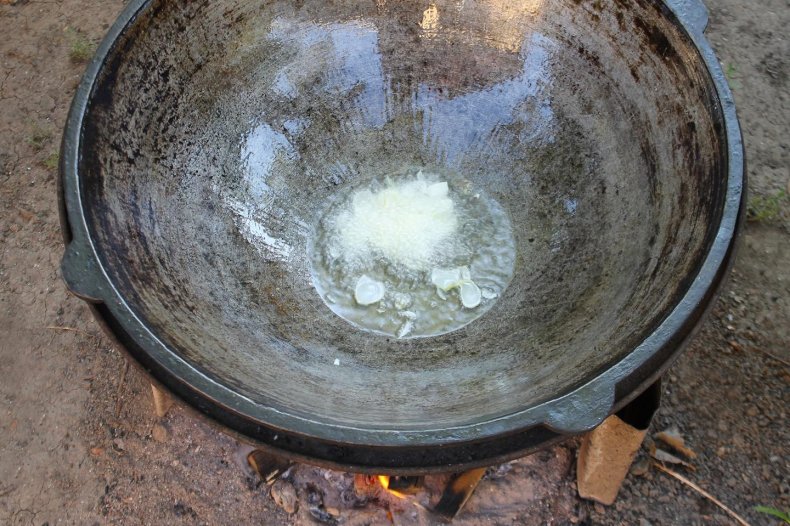
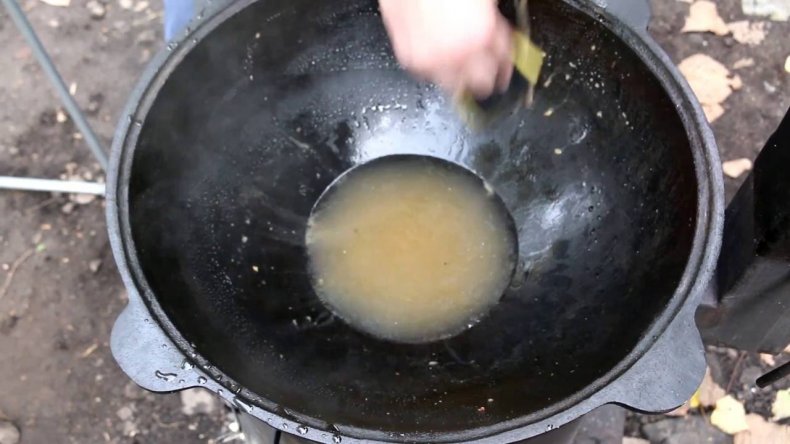
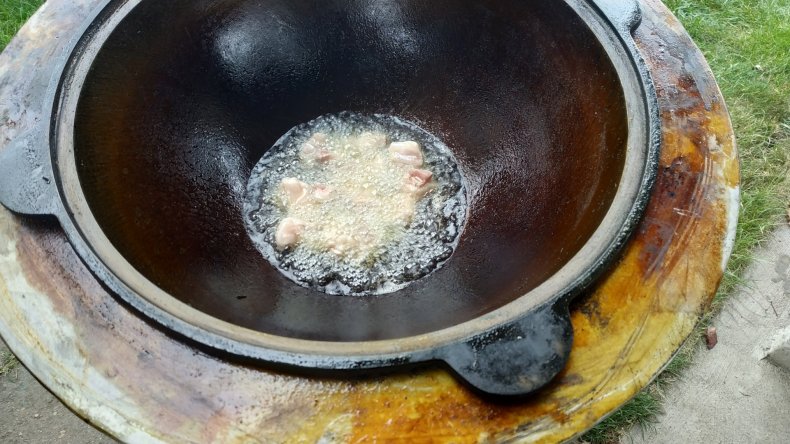
 Peeled potatoes will help remove plaque from the cauldron.
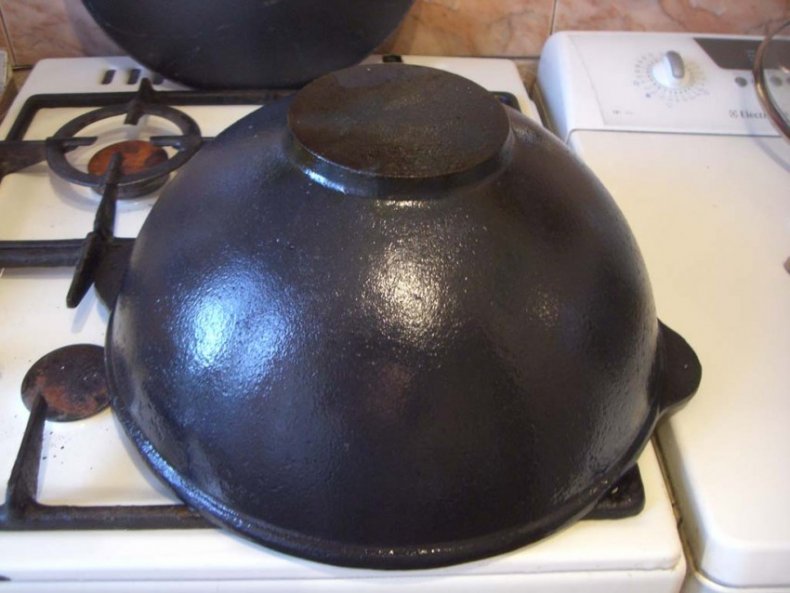
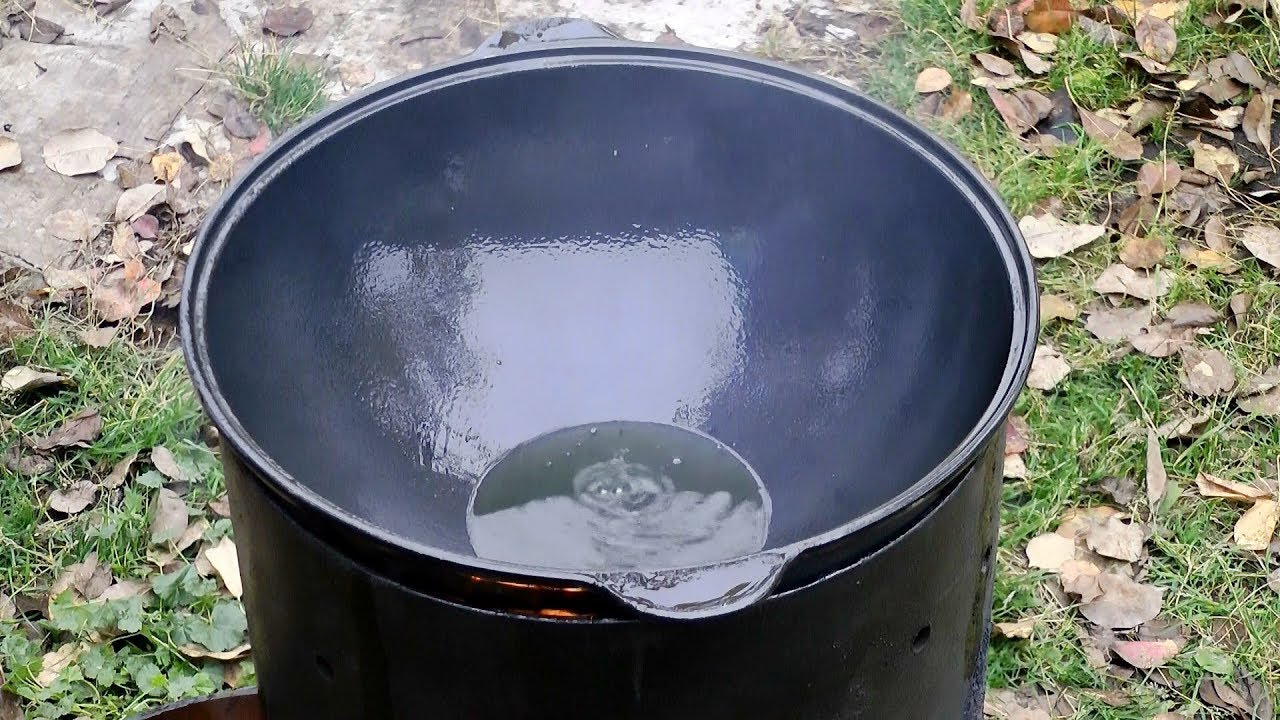 From oil hardening, cast iron becomes shiny, shiny.
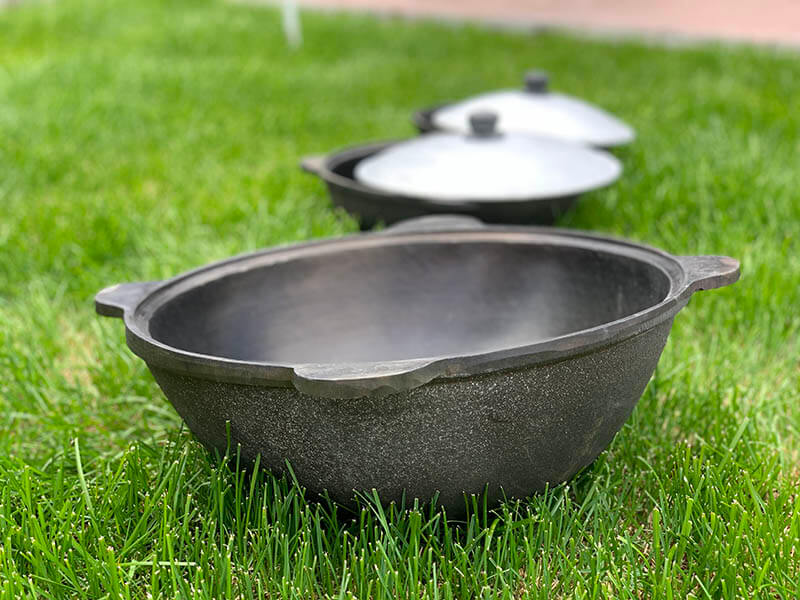 In a processed cauldron, food will never burn, it will be tasty, healthy.
 With the constant use of dishes, calcination is carried out at least twice a year.
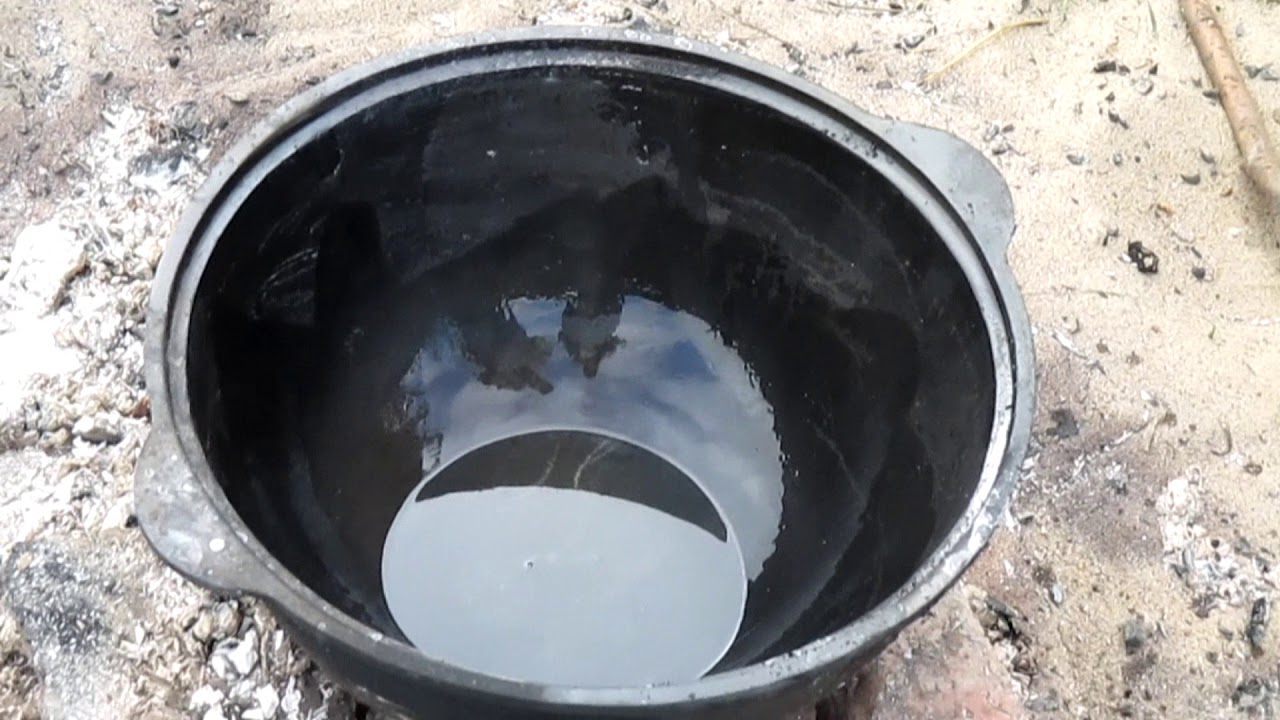
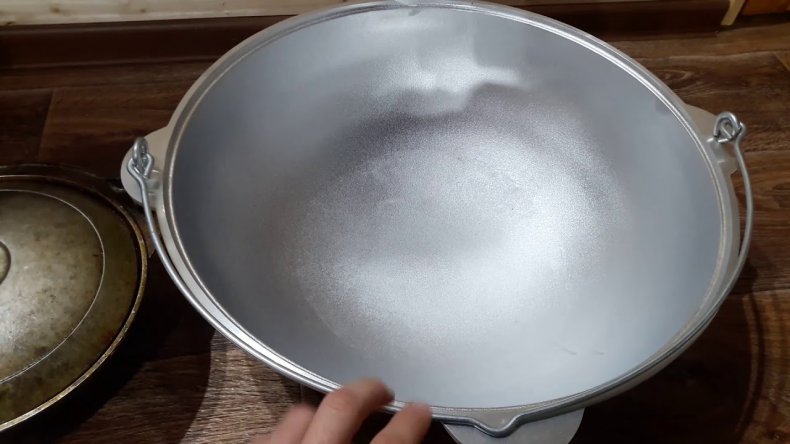
 Store cast iron in oiled cloth or paper.
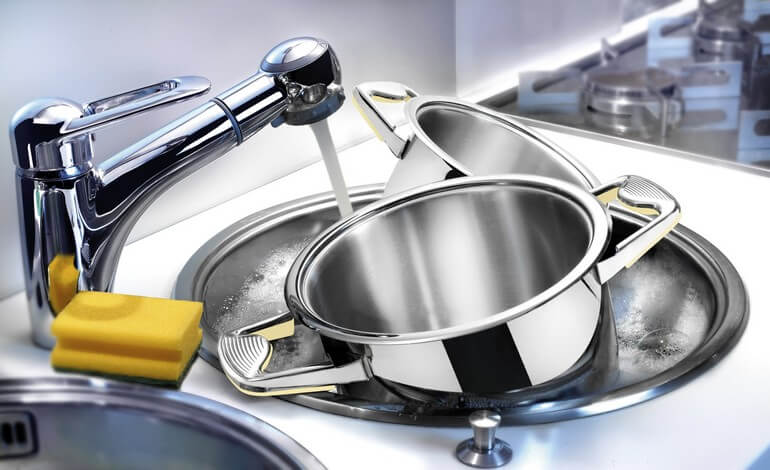
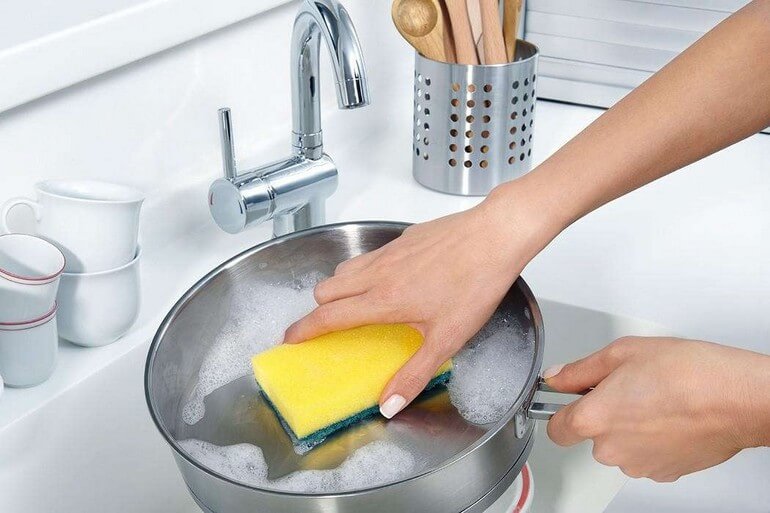
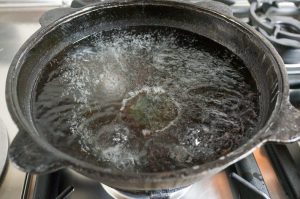
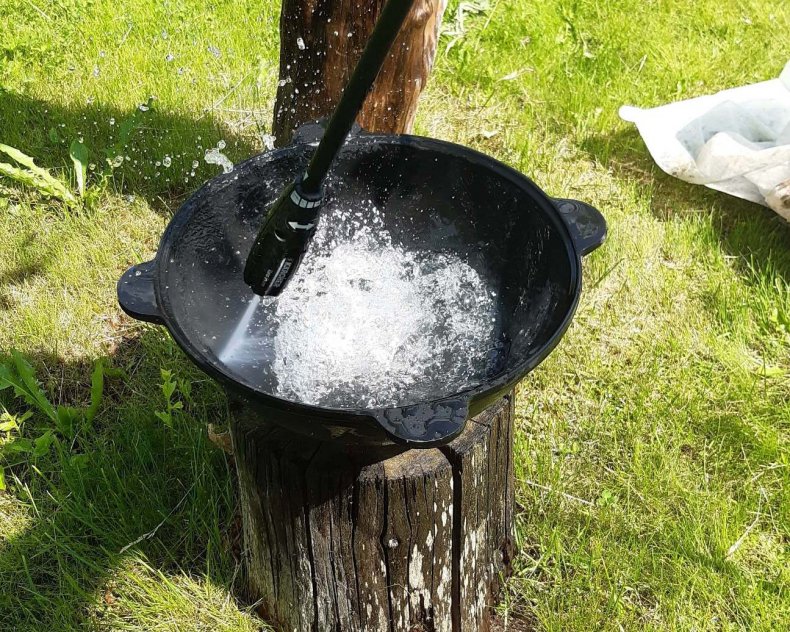
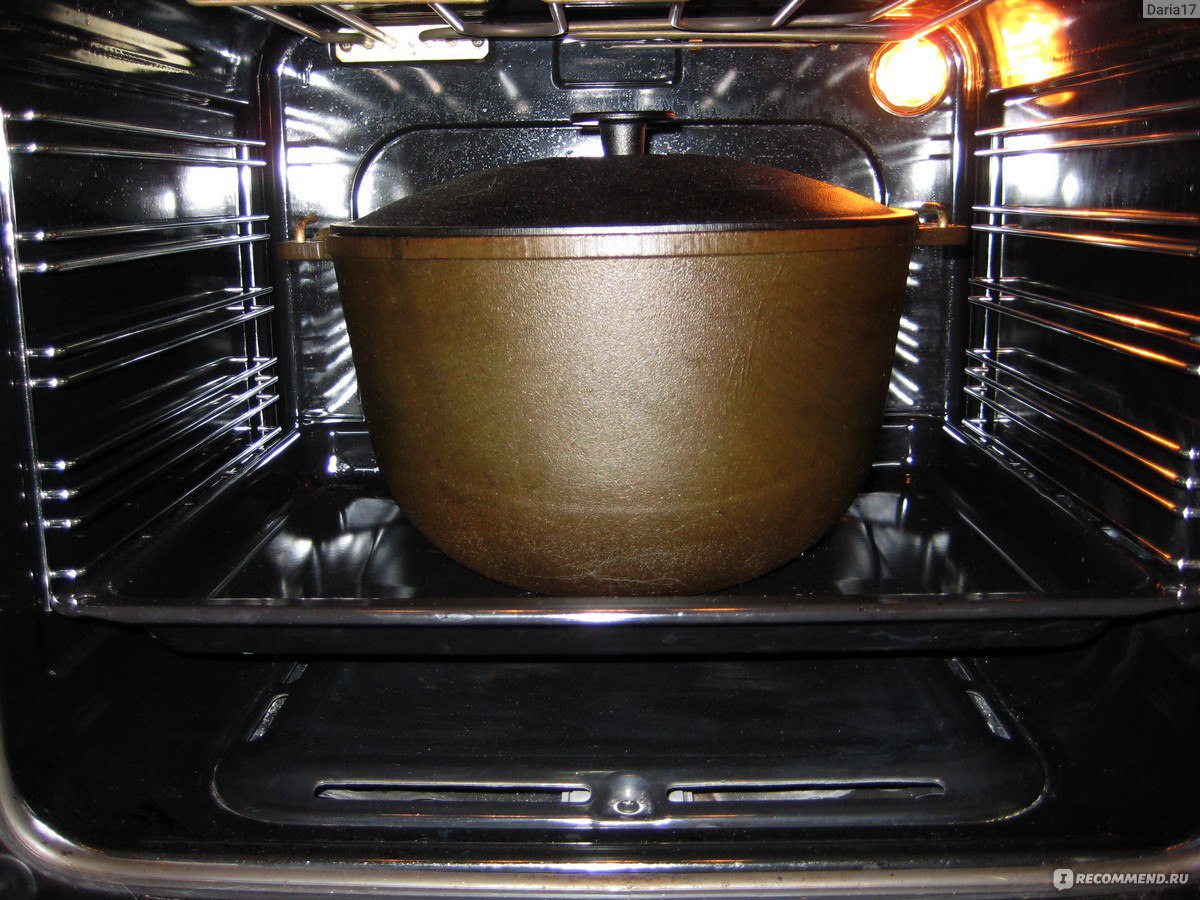 After cleaning, be sure to wash the cauldron with warm water using detergents.
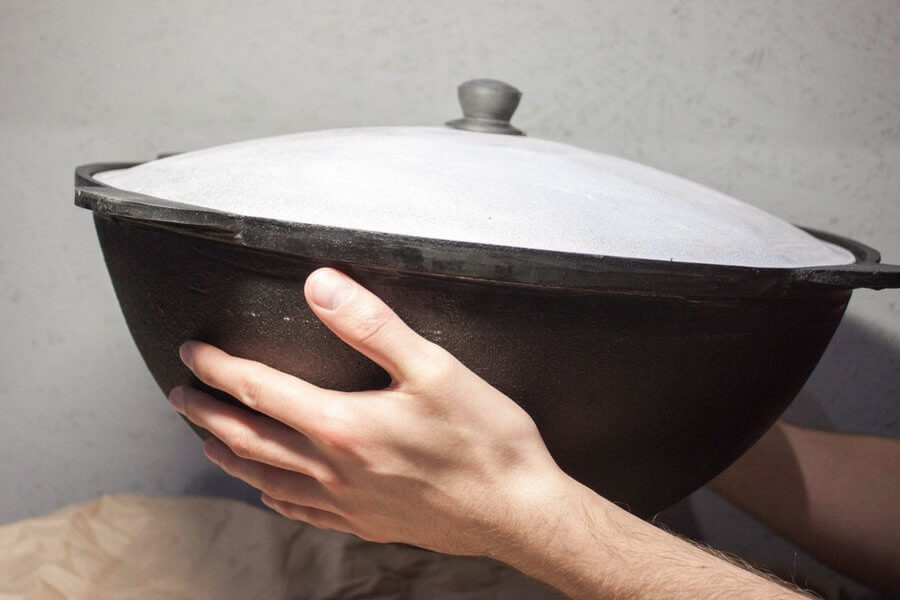
 A tea set
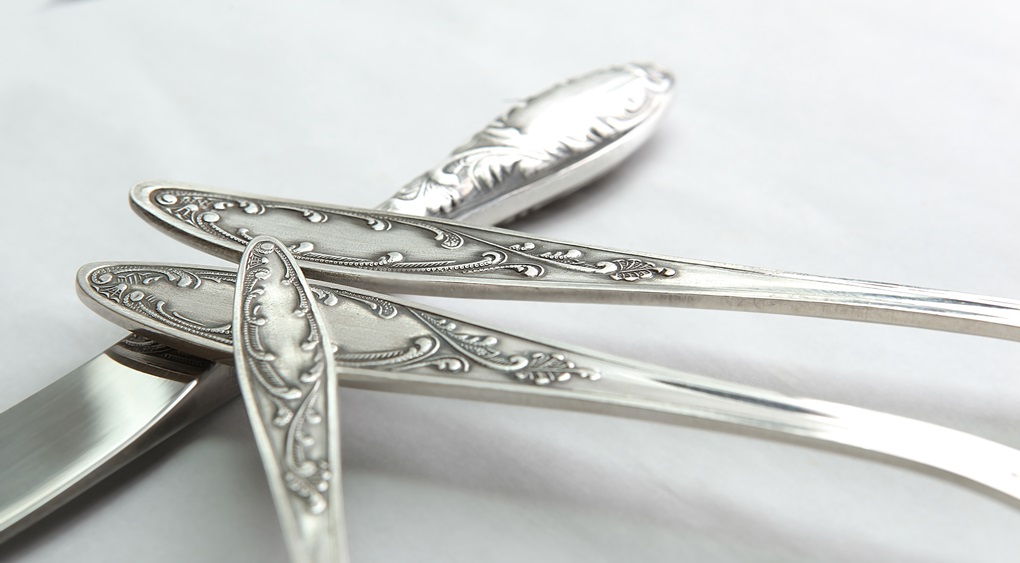
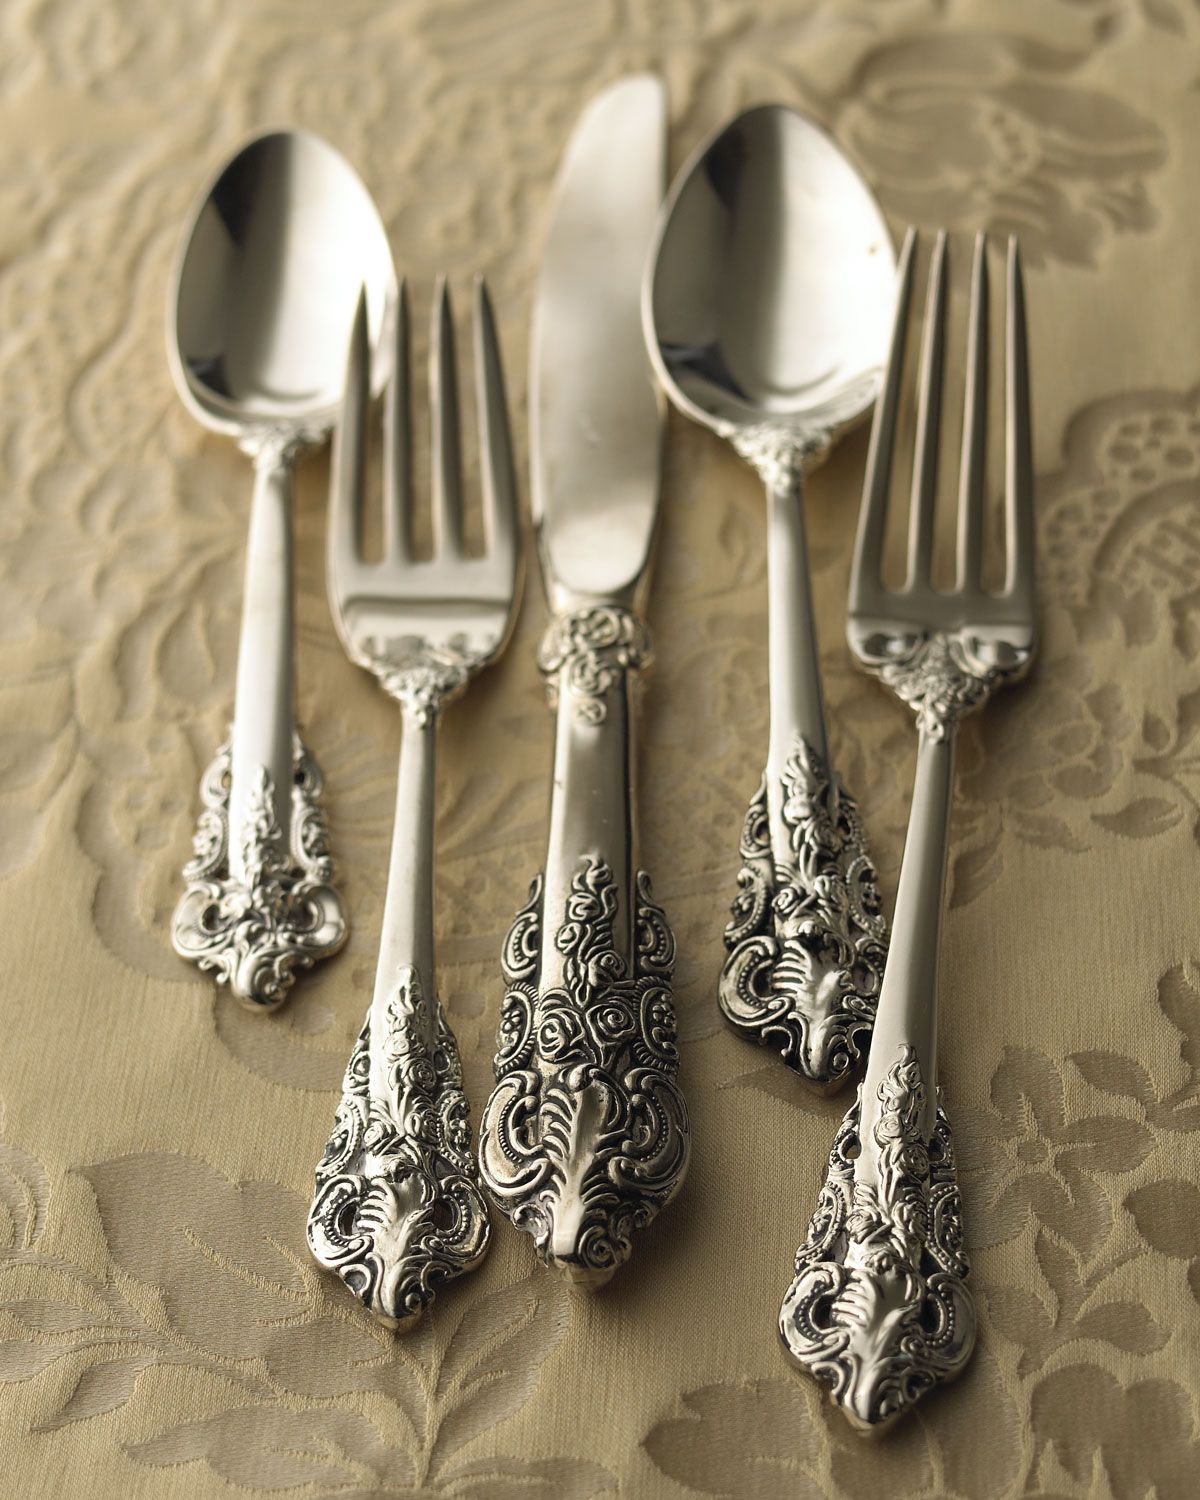
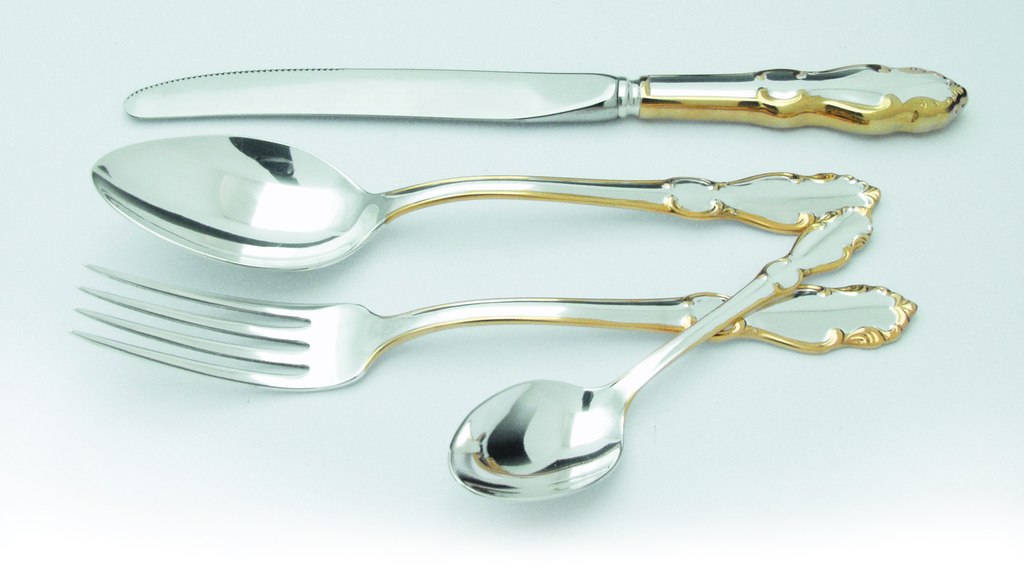 Forks, spoons, knives
 coasters
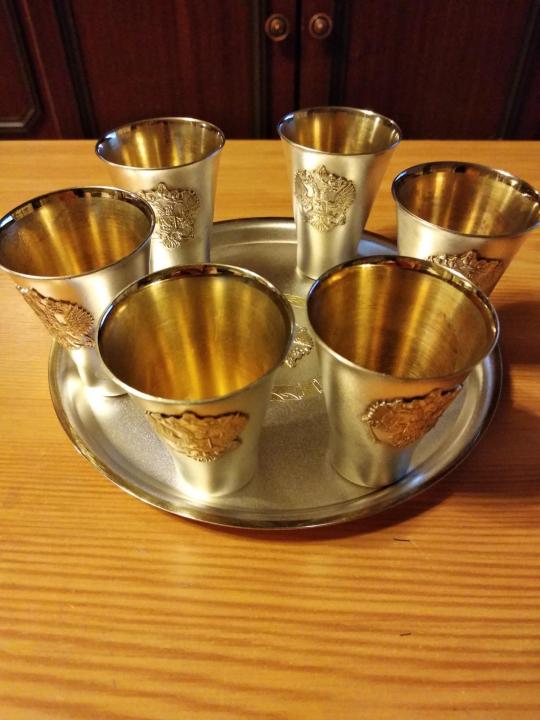 wine set
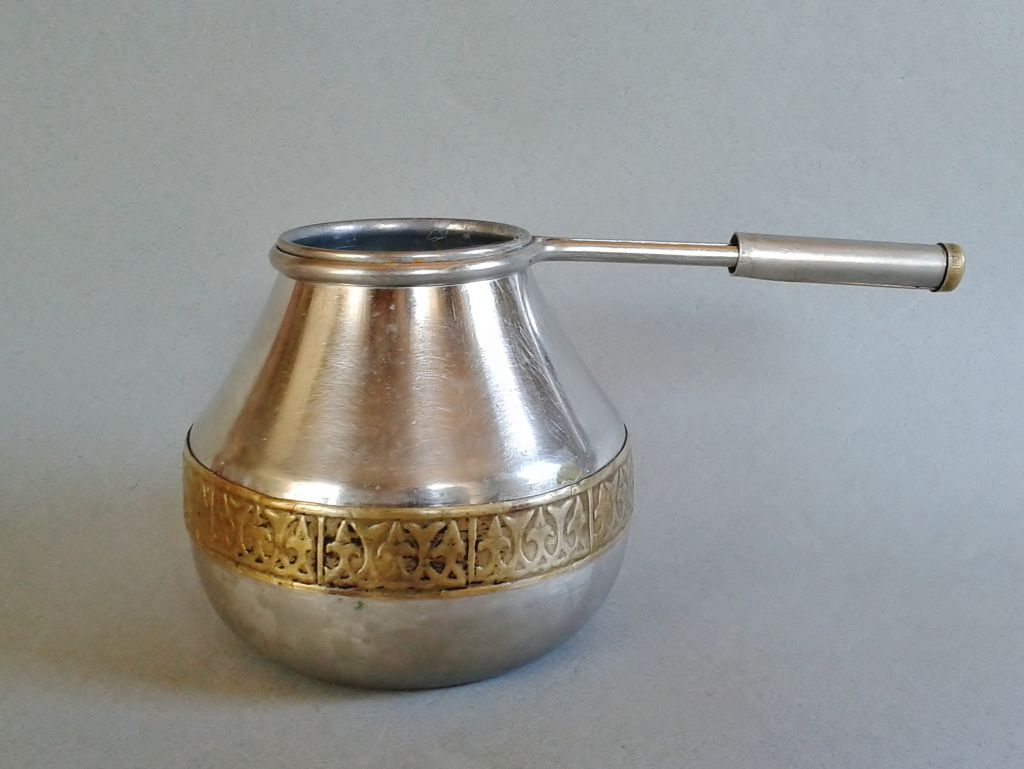 Turk
Turk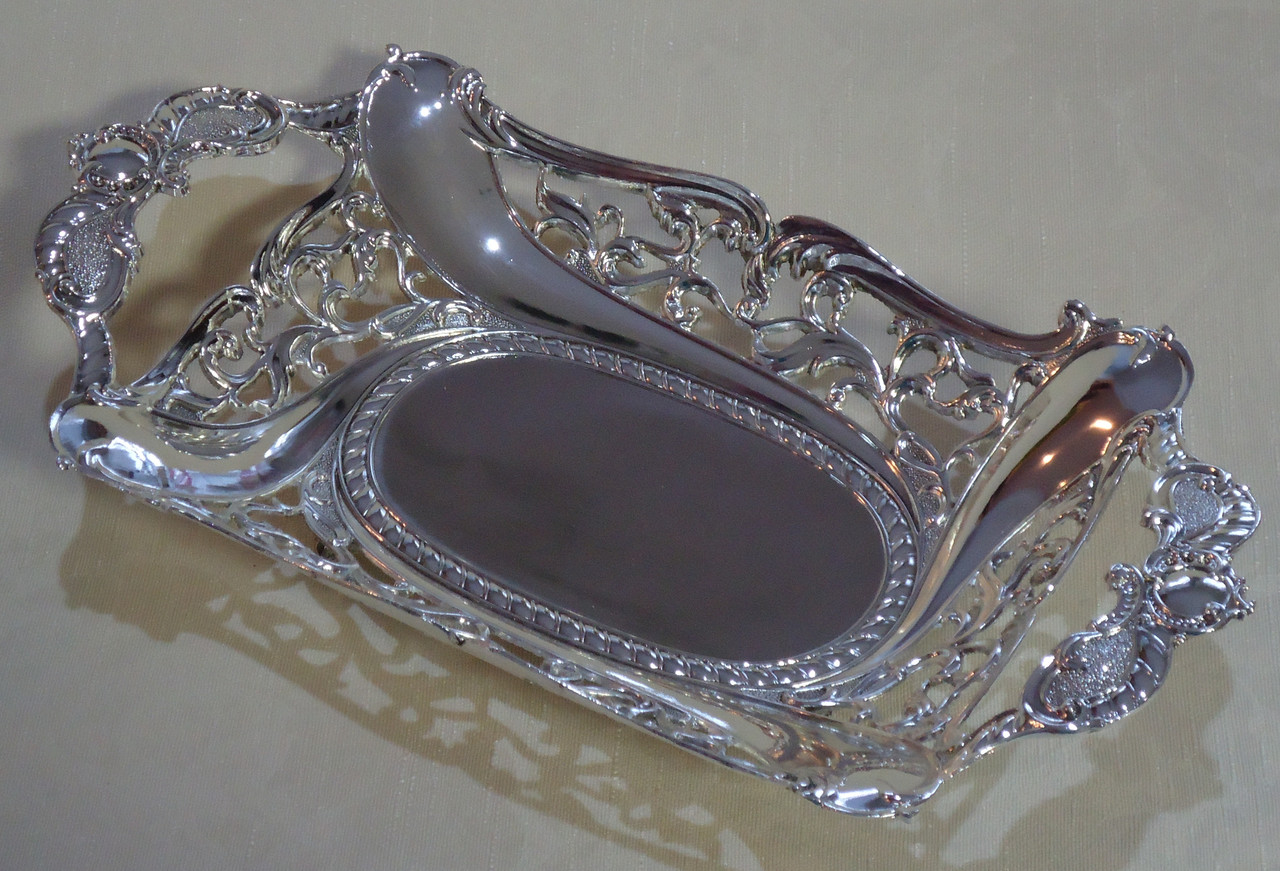 Tray
Tray Samovar
 Melchior
 Silver
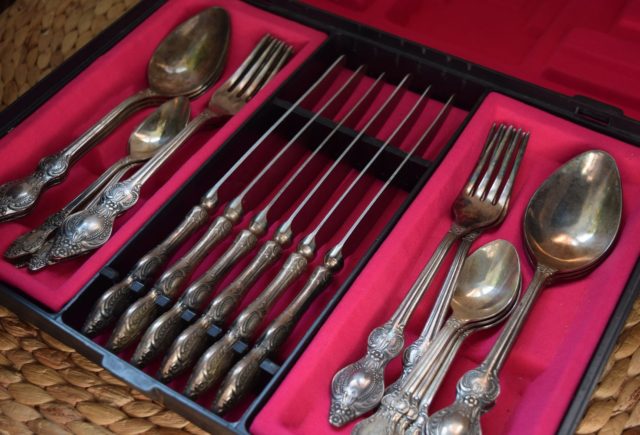
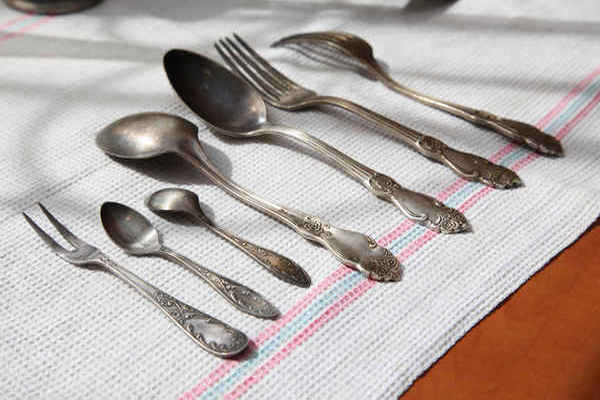 Cupronickel is a mixture of several metals, the main of which is copper. It is due to the oxidation of copper that an ugly gray-black color appears on the surface of spoons or forks. In addition to copper, cupronickel contains manganese, iron and nickel. These metals do not cause oxidation, but do not prevent it either.
 If you follow these recommendations, you will rarely have to clean your cupronickel products. You can completely forget about the use of special tools for this.


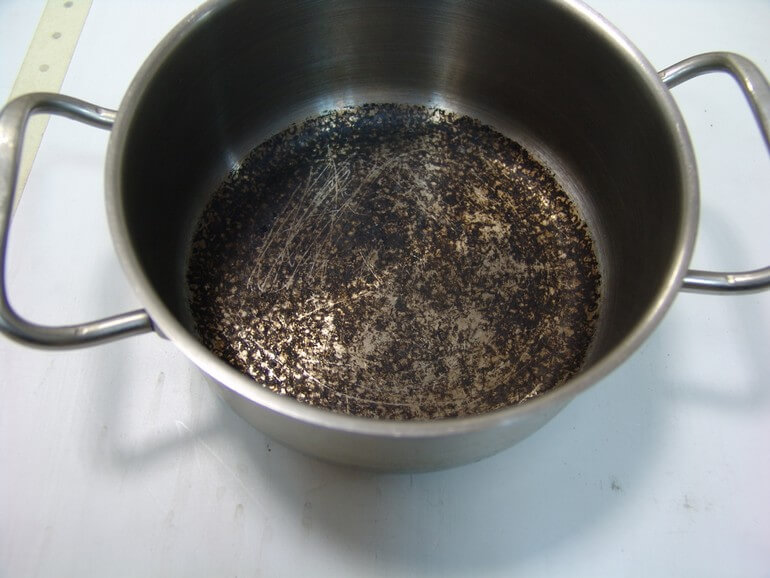
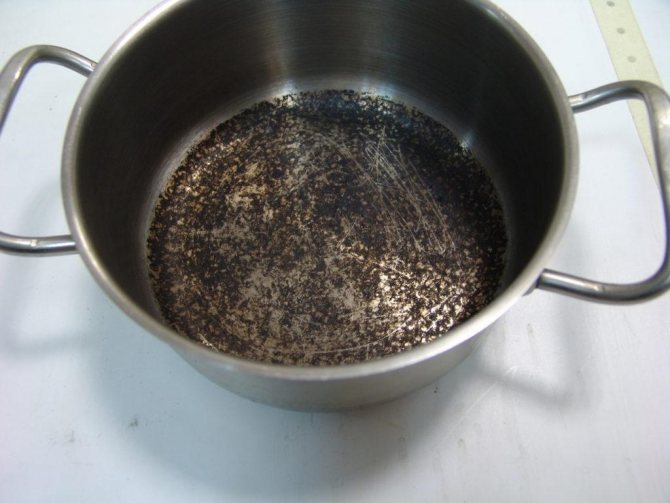 Many people wonder why food burns on the stove.
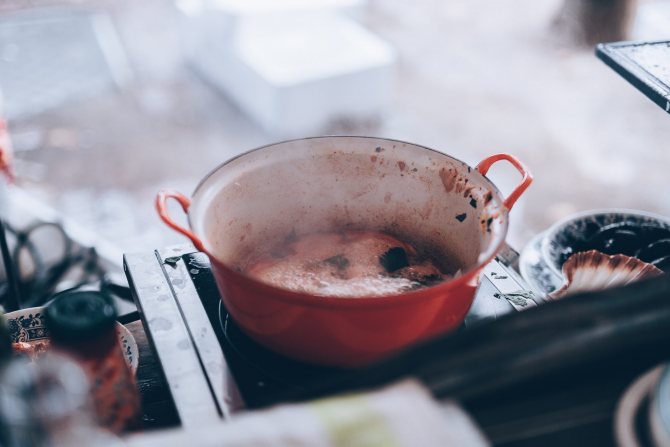 There are many reasons for burning food. One of them is the inattention of the owners when cooking.
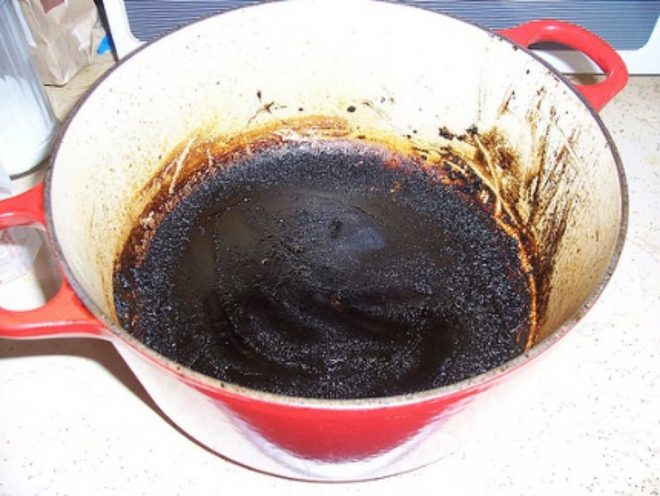
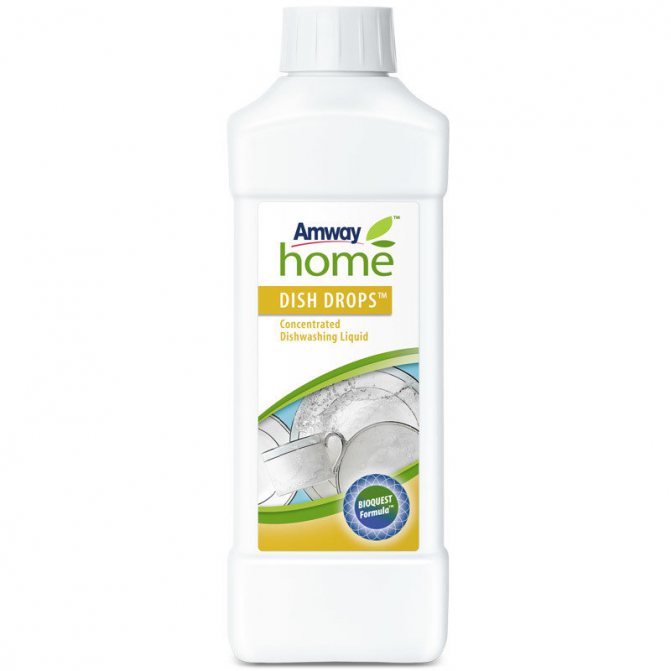 Amway
Amway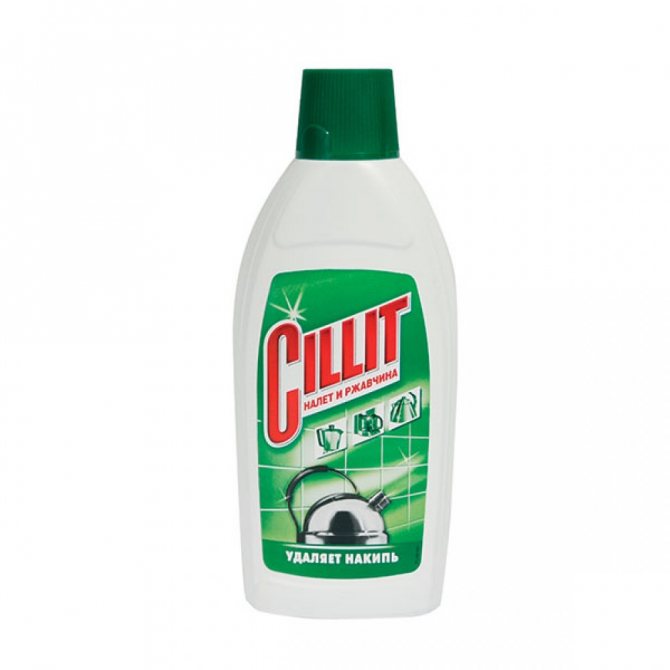 Cillit
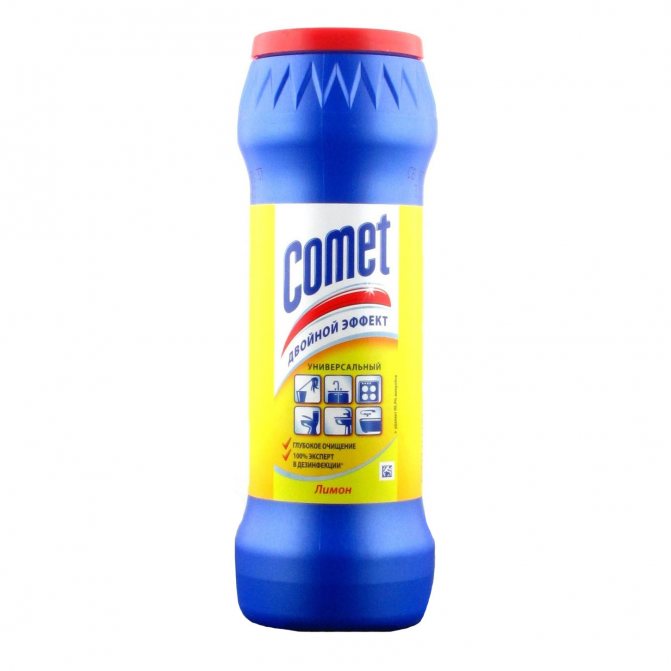 comet
comet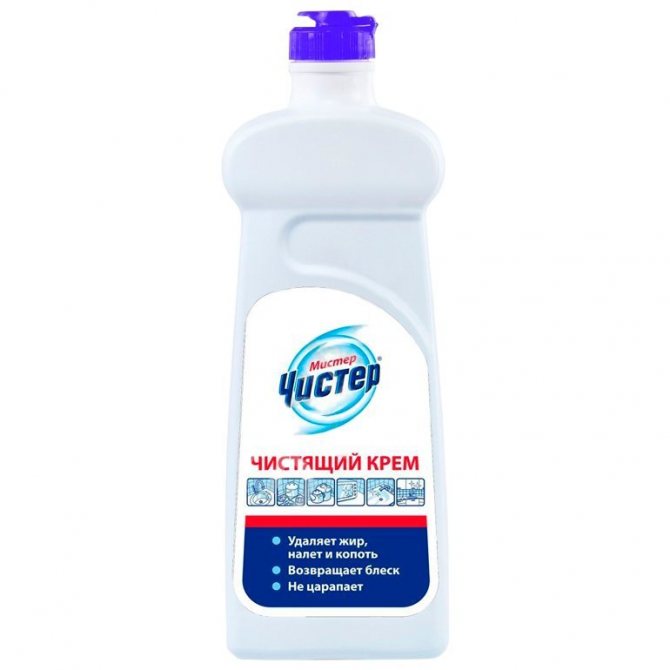 Mr Chister
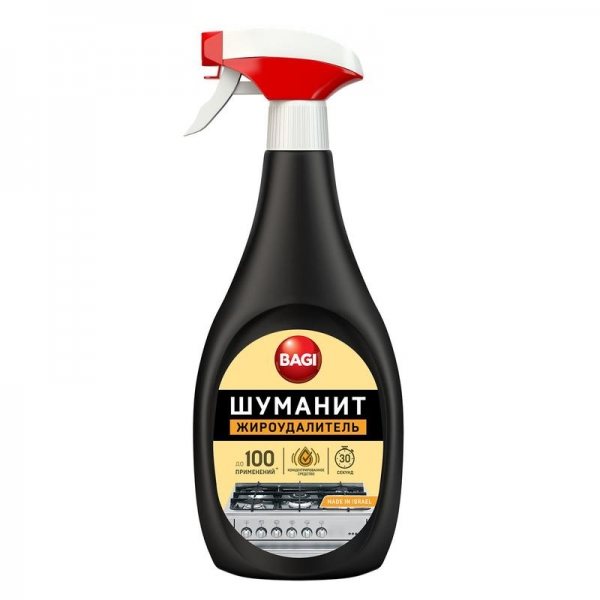
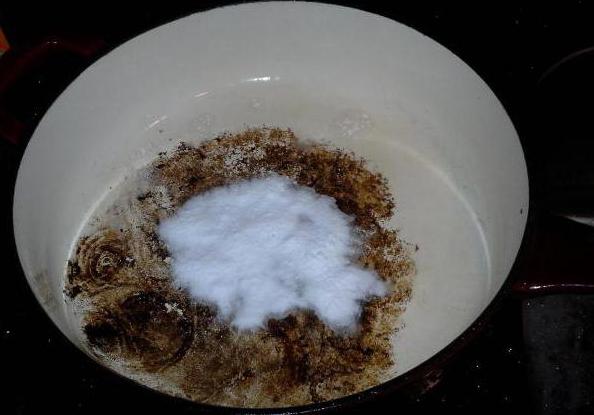
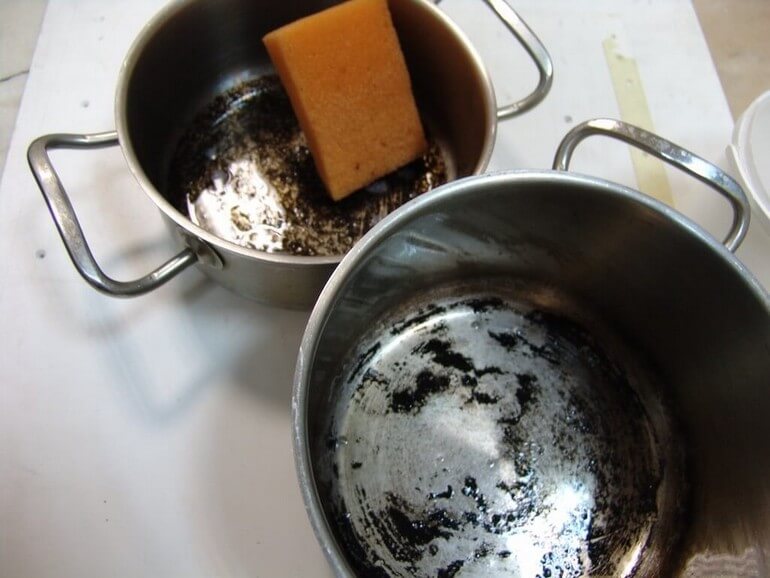
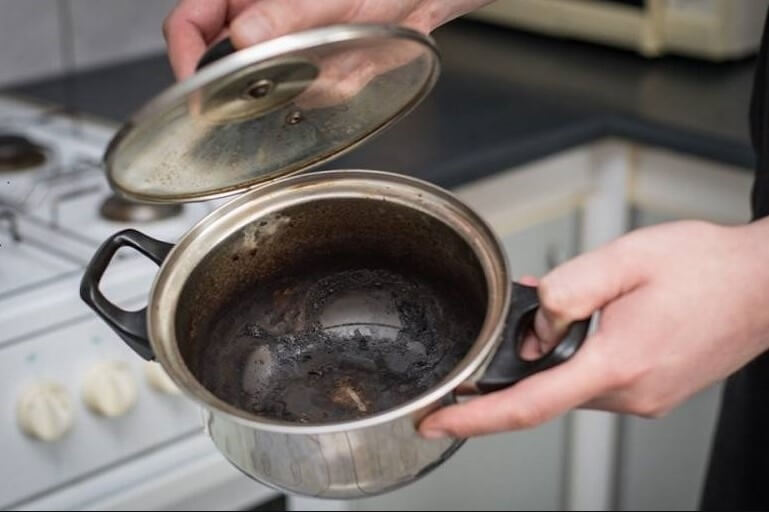
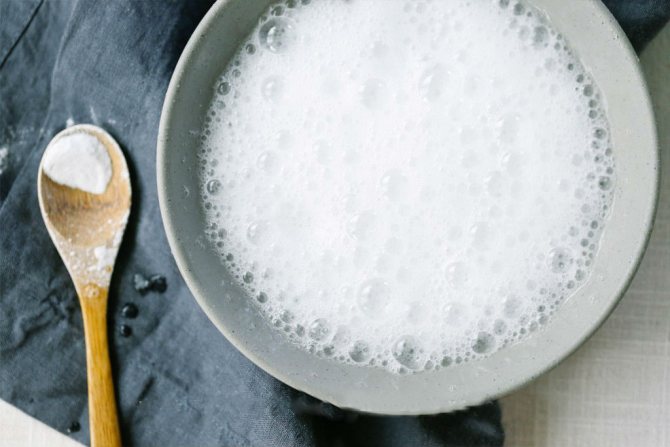
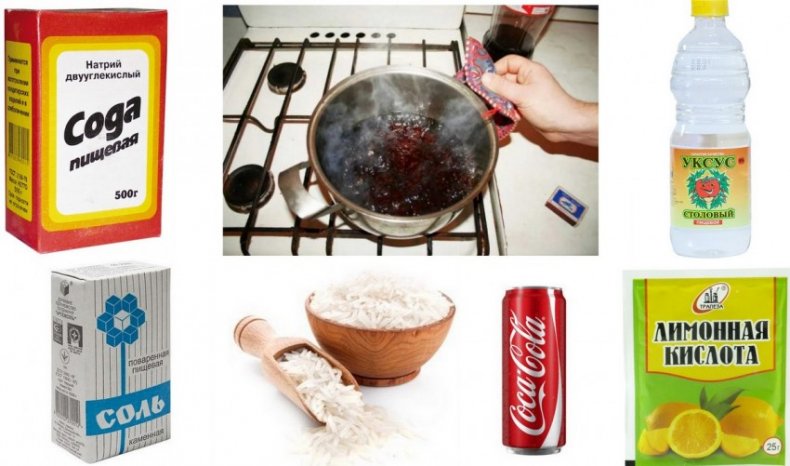
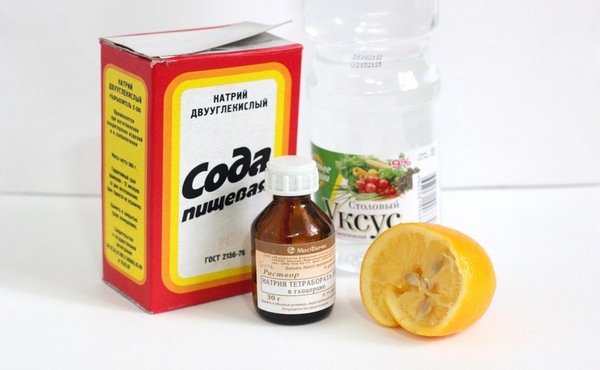
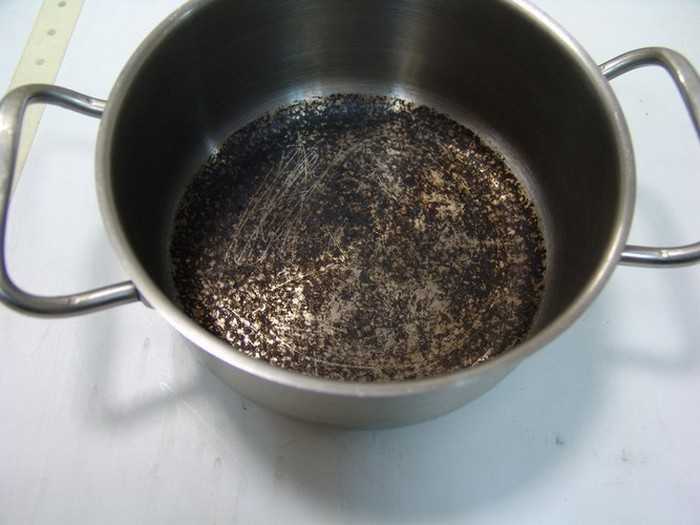
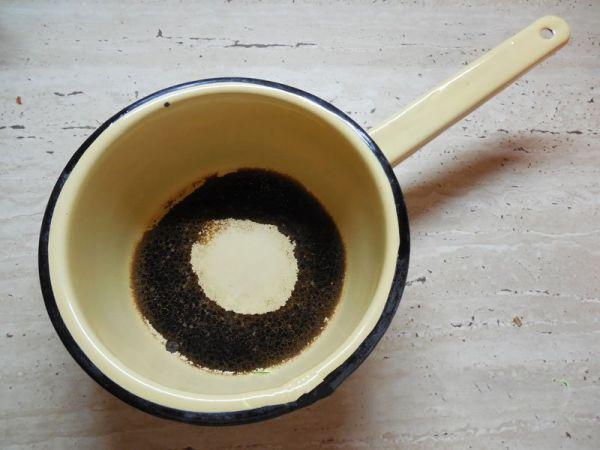
 In this method, "chemical" home remedies are used more. You will need 1 tablespoon of soda and 1 tablespoon of regular table salt. We pour these funds over the burnt place, and pour the vinegar so that the liquid covers all the soot.
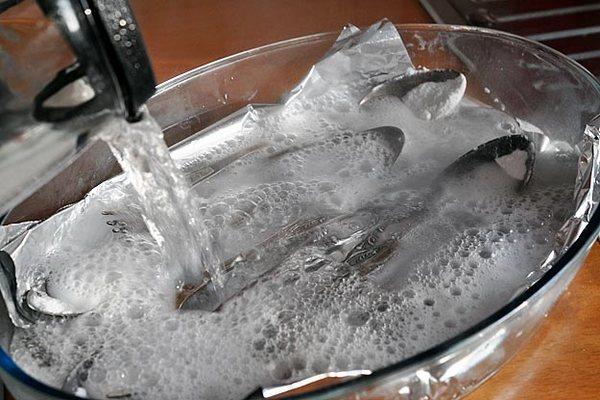
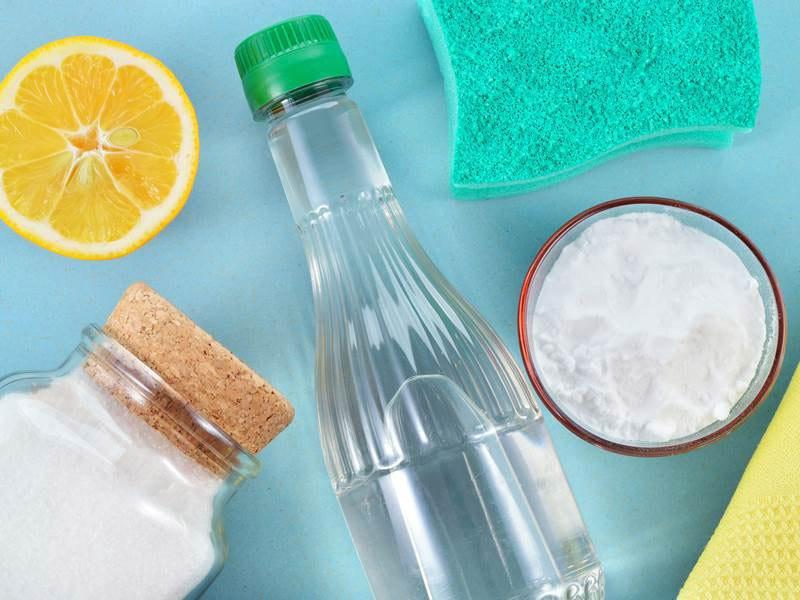 In severe cases, these manipulations may not be enough. Therefore, leave the pan to stand and “think” for a day, and even better for 2-3 days. After the time is up, boil for 15 minutes. After the pan has cooled, clean off the remaining soot with a soft sponge and baking soda. Rinse thoroughly and ... the pan is like new!
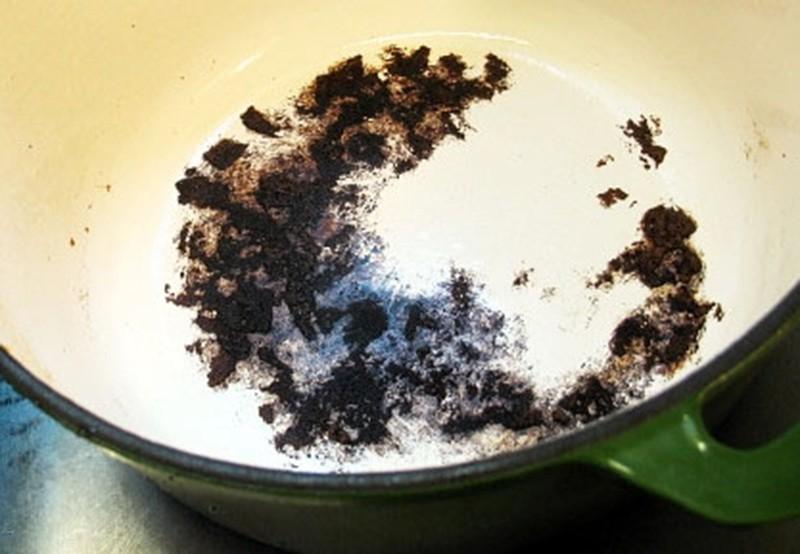
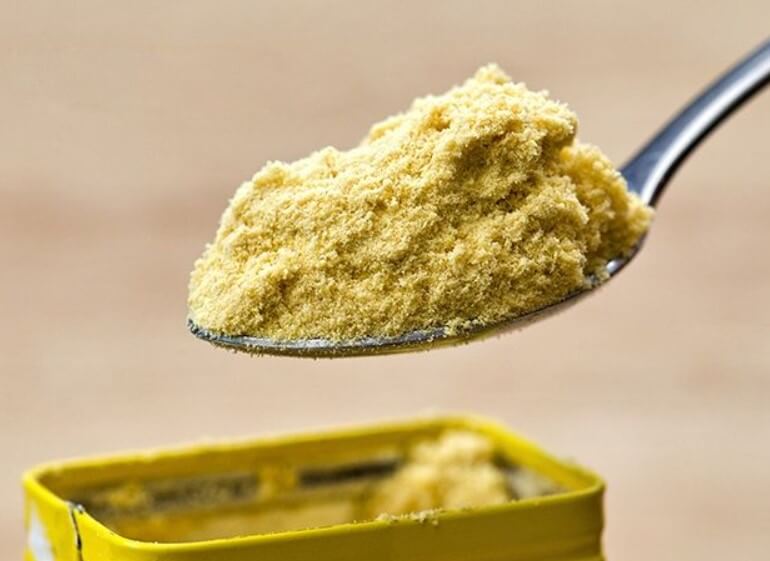
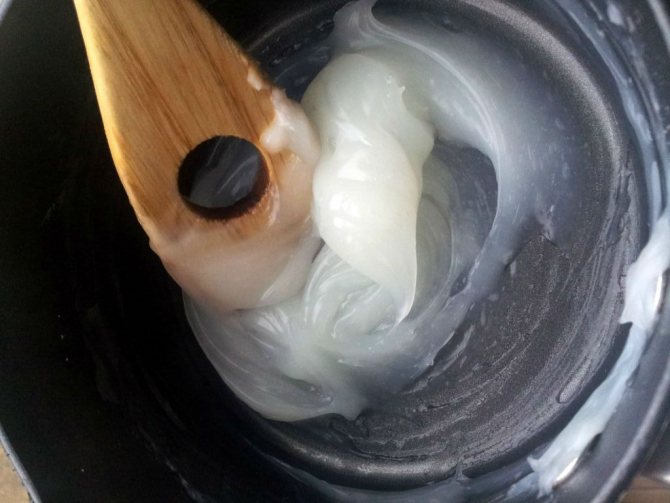
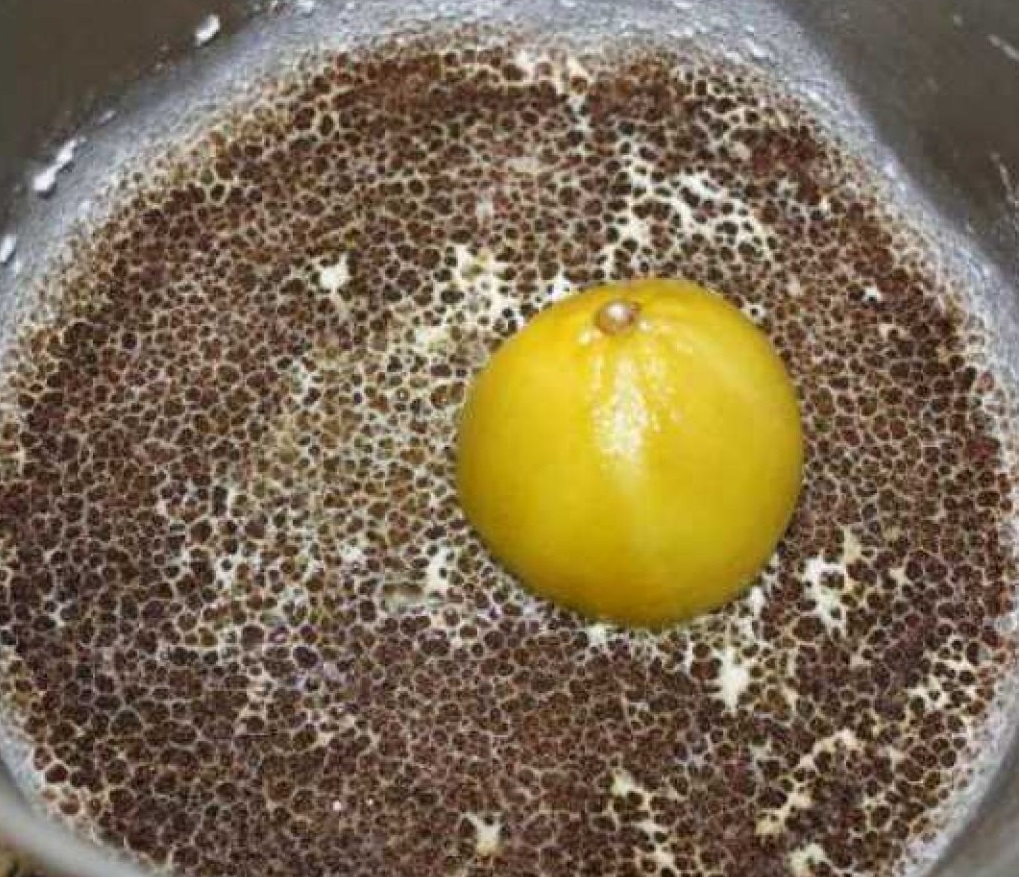
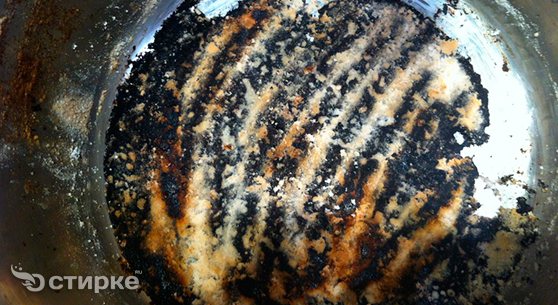
 Actions similar to method No. 2 can no longer be done with soda, but with citric acid. 1-2 tablespoons of acid for the amount of water that will cover the burnt bottom. Let it boil and boil for 10 minutes so that the soot begins to peel off.Then a few rubbing movements over the remnants of soot with a soft sponge with warm water. If brown stains remain, remove them with a mild abrasive powder dishwashing detergent. It may not turn out perfect, but it will become so after regular washing of the pan after a few times.