General recommendations
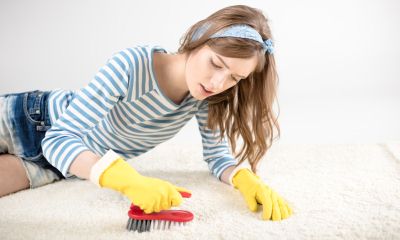
Before you clean your carpet at home, it's a good idea to review recommendations based on years of observation, testing, and housewives' experience. In order not to spoil the structure of the pile and the color of the product, it is not recommended:
- Use hot water. Carpets are cleaned with cool water, the temperature of which is close to room temperature.
- Use hard brushes. This is a direct path to damage to the pile, which significantly reduces the life of the product.
- Strongly moisturize the product. As a rule, when using excess moisture, it does not have time to dry to the end, rot appears on it over time, destroying the base of the product. In addition, an excellent breeding ground for fungus, bacteria and some insects is formed.
- Clean against lint. This method breaks the structure of the product pile.
- Vacuum new carpets. Knocking out or using a vacuum cleaner for a new product is recommended only after 6 weeks. This is necessary so that the pile is trampled down; during this period, cleaning is carried out with a soft broom slightly moistened with water.
Before cleaning the carpet at home, you need to choose the right product, taking into account the length of the pile, the material of the product and the type of pollution.
10 basic rules
After some time after buying a carpet, the question arises: how and with what to clean it? And it would be nice to prepare for the event in advance and find out what techniques are allowed for the rug.
In any case, the following conditions must be observed:
- To begin with, the carpet should be thoroughly vacuumed. And it is better to do it first from the wrong side, and then from the front. If you do the opposite, then the dirt that is under the canvas will rise and settle in the fabric due to traction.
- Cleaning of the product is always carried out in the direction of the pile.
- Before applying any composition, whether homemade or purchased, it would be nice to test it on a small inconspicuous area.
- If there are stains on the surface, then before processing the entire area, they must be removed.
- This textile decoration does not tolerate hot water: only warm and cool liquids can be used.
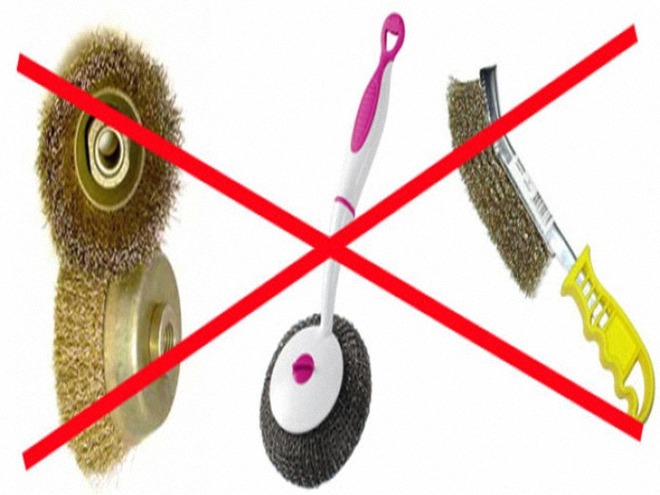
- It is forbidden to use hard brushes, because they violate the structure of the material and lead to scuffs.
- It would be wise to start the fight against pollution with easy means. And only if they do not help, move on to heavy artillery.
- Start cleaning from the corner farthest from the door, gradually moving towards the exit.
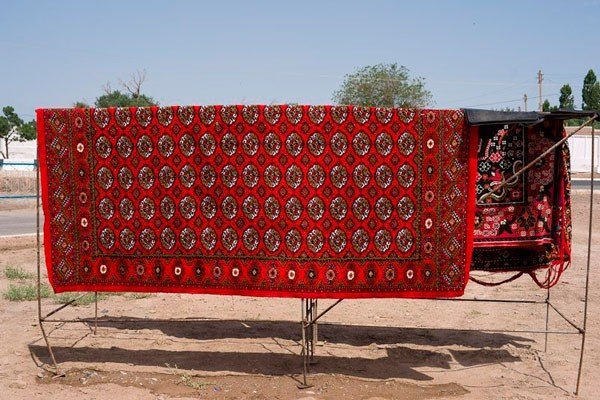
- If the carpet gets wet during the event, be sure to dry it. It is best to do this outdoors, hanging the canvas on a smooth crossbar. Only after it dries can it be put back on.
- Wet cleaning of the carpet is not recommended more than once every 2-3 months.
Cleaning carpets from different materials
To choose the right cleaning agent, you should determine the composition of the pile of the carpet, take into account its structure. The following tips will help you avoid mistakes:
- Before processing carpet products need to be vacuumed.
- First, the detergent is applied to a small area for testing.
- Do not use brushes with hard bristles, they can damage the structure.
- Wash the floor under the carpet.
- By impregnating the coating with water, they prepare a place for drying it (this should be a rigid crossbar, curved pipes and a relief fence are not suitable).
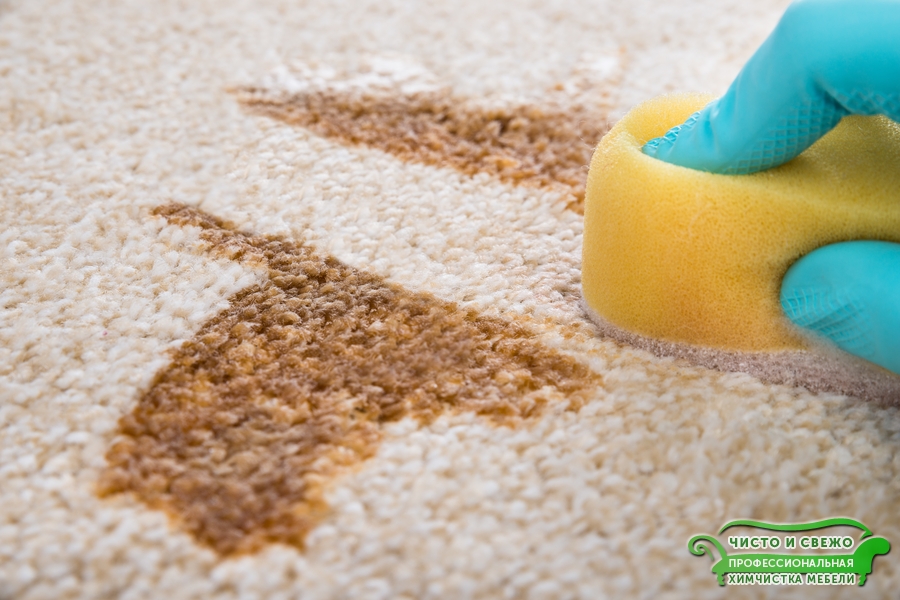
If you need to remove greasy stains, it is recommended to use foam, sprays. From folk remedies, compositions that have a foamy or viscous consistency are suitable. Spreading solutions do not work well.
When choosing a cleaning product, it is important to consider what types of pile it is suitable for.
Long pile
It is difficult to care for such coatings.Dirt is clogged between the fibers, it is difficult to remove it even with a vacuum cleaner. Products get wet quickly, and drying takes a long time. They should be cleaned 2 times a week. It is preferable to use the dry method, which involves the use of foam formulations, professional equipment, dry powders, mild shampoos. Recommended remedies:
- nordland;
- Sunlux;
- Carpet Shampoo.
Street knockout will help to do the job better. You need to strike on the wrong side. This will help push the dirt out of the pile.
Silk
Such products require gentle cleaning. Perform it with a soft sponge. The use of a vacuum cleaner is not recommended. The coating is chipped without knocking out. After that, a sponge dipped in the product passes over the entire surface.
If silk is combined with viscose or wool as part of the product, you can use a vacuum cleaner, but at low speeds and without using a turbo brush.
Once a year, silk carpets are recommended to be dry-cleaned.
Wool
Unpretentious products that need careful care. It is important to avoid laying the coating on a wet floor or when it is not dry. The material is afraid of fungus and mold.
Twice a week you can vacuum with a smooth nozzle. When wet, it is recommended to dry the surface with a hairdryer. Cleaning is carried out with a soft brush in the direction of the pile. Of detergent products, give preference to mild detergents. Compositions with antistatic, antifungal effect, anti-moth additive are welcome.
natural
Most of the range is represented by jute coatings. They are afraid of moisture. Therefore, dry methods are chosen for cleaning. The viscose additive makes the product more resistant. You can clean the dirt from such a carpet with a vacuum cleaner. Experts recommend using foam formulations, sprays and powders. The knockout method should not be used.
Synthetic
The composition of such products contains: propylene, viscose, acrylic, polyamide, nylon. These fibers are resistant to chemicals.Therefore, with the choice of means of problems should not arise. However, it does not hurt to consider the following information:
- Under the influence of ultraviolet light, the color of the pile is lost (wash and dry the coating in the shade).
- If a polyester carpet is deformed during the drying process, it will not return to its shape.
- Products made of polypropylene must not be knocked out in a suspended state.
Light and white
Such coatings quickly become dirty. Therefore, they are cleaned frequently.The passage of the vacuum cleaner is carried out in the direction of the pile, so that no traces remain. Treatment with detergent compositions must be carried out over the entire surface, otherwise bright islands are formed. Water should be used in doses so as not to deform the basis of the carpet.
For cleaning light-colored carpets, it is recommended to use foams and sprays with a bleaching effect.
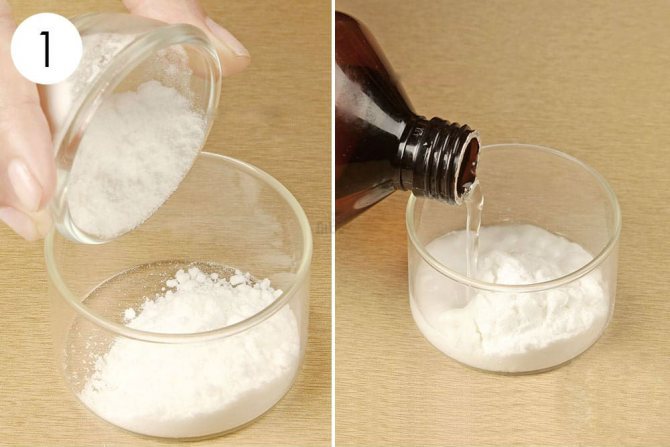
An affordable bleaching method involves the use of hydrogen peroxide. The procedure is carried out in the following sequence:
- the coating is sprinkled with a thin layer of soda;
- sprayed on top with a solution of hydrogen peroxide (100 ml per glass of water);
- after 5-10 minutes, clean with a vacuum cleaner.
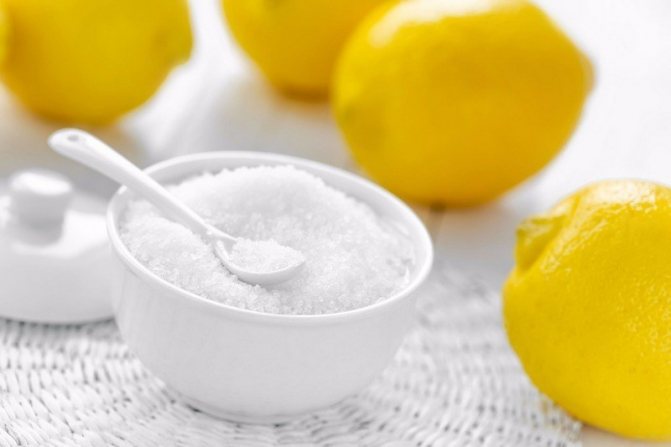
Do not use lemon juice to bleach carpet. After this treatment, yellowness will appear.
Basic principles of carpet cleaning
 There is no universal answer to the question of how to clean a carpet in an apartment, since the nuances of the process depend on the details and type of the carpet itself. But there are general principles for cleaning the carpet, which have been collected by housewives empirically for many years. I will share these tips with you.
- Do not run the carpet, be sure to vacuum a couple of times a week.
- Twice a year (one of which in winter) take the carpet outside, beat out the dust and cover it with snow. This procedure is useful for the pile of the carpet, and helps against pests that can take up residence inside.
- Hot water and dampness in the apartment are negative factors for the carpet. If the carpet gets wet, dry the fabric. Use a smooth bar for this so as not to deform the carpet.
- Found a stain on the carpet - remove it immediately. Old stains are more difficult to remove.
- It is forbidden to clean the carpet against pile, this leads to damage and loss of pile.
- When shopping for a new carpet cleaner, experiment on a far corner so the carpet's reaction is predictable.
What tools can you use to clean carpet?
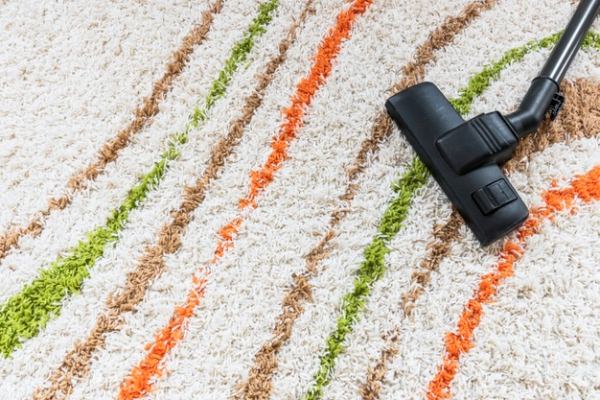
You can clean the carpet not only manually, but also using special tools. Many people use a vacuum cleaner that provides dry cleaning of coatings. It will not work to get rid of stains with it, but you can collect dust at home. Wet cleaning equipment will improve the quality of cleaning. Using a professional shampoo, you can clean any carpet with high quality.
Vacuum cleaner helps collect dust
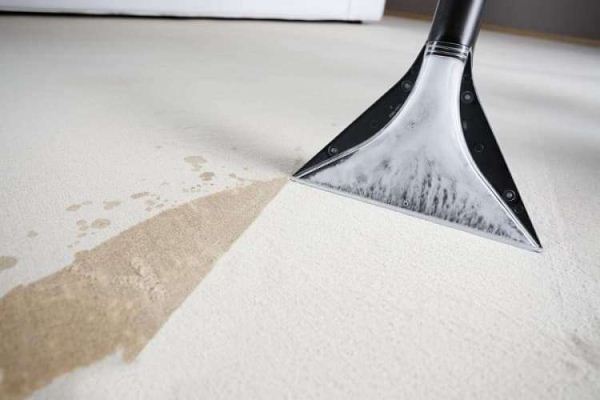
You can also use a steam cleaner, which, thanks to the simultaneous action of high temperature and pressure, will remove old stains. The device is used after a conventional vacuum cleaner, moistening the surface from the center to the edges. The vacuum system collects the dirty solution.
Methods for removing various types of contaminants
Stains should be removed immediately. For this:
- blot excess moisture with dry napkins or paper towels;
- dirt is collected from the edges of the stain to the center, preventing its further spread, absorption;
- apply means in accordance with the composition, color.
If the stain has got on expensive items: silk, handmade, you must contact the cleaning company within the next three days. Often, even professional products cannot cope with old dried spots.
How to clean carpet from urine smell
Urine quickly penetrates into the fibers of the carpet. An old stain serves as a favorable environment for the reproduction of bacteria. To prevent damage to the product, clean the carpet from the smell of urine, you should:
- remove all moisture;
- apply a solution of vinegar and water, prepared in proportions of 1: 3, to the wet area
- leave it for 2-3 hours;
- sprinkle the stain with an absorbent, such as baking soda;
- treat the place with a soapy solution (1 teaspoon of liquid soap, 80 g of hydrogen peroxide per glass of water);
- remove the dried mixture with a broom, brush or vacuum cleaner
- you can lightly spray fabric softener.
The smell of urine of dogs, cats is effectively eliminated by glycerin. This substance dissolves uric acid, resistant to water and alcohol. Alternative options:
- water and vinegar in proportions 4:1;
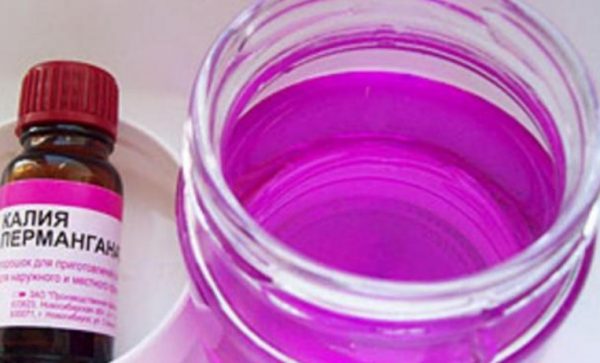
- potassium permanganate;
- lemon juice;
- laundry soap (glycerin).
Remember that the effect of these strong oxidizing agents must first be checked in the most inconspicuous area. If you do not wash the traces of the “puddle” in time, it is likely that the pet will mark the territory again.
Tips for removing tough stains
Most fresh stains are easily removed with a soapy solution, to which a spoonful of ammonia is added. To remove complex pollution will help:
- alcohol, lemon juice (pen ink);
- soap solution (glue stains, dirt, chocolate);
- glycerin (tea, coffee);
- White spirit (will remove paint).
- heated iron and paper towel (wax, paraffin).
Absorbents do an excellent job with fat: chalk, salt, talc. When the powder no longer picks up dirt, try treating the stain with faerie or other dishwashing liquid. Soda and starch should not be applied to dark coatings. They may leave streaks.
 Pre-treatment with a steam cleaner, such as Karcher, will help remove an old stain. The procedure will soften even dried, ingrained dirt. Steaming also:
- disinfects;
- straightens creases;
- lifts the pile, makes it more fluffy.
Vacuum cleaners combine the functions of steaming and collecting garbage. With their help, it is easy to clean the carpet at home as effectively as possible.
How often should you clean your carpet
In pursuit of impeccable cleanliness, it is important to adhere to the measure. For example, wet processing (synthetic coatings) should not be carried out more than once a quarter. To maintain a decent appearance of the product, it is enough:
- weekly vacuum it or clean it with a broom, brush;
- once a season to knock out dust in the fresh air;
- every six months, carefully clean the wrong side.
Many machine washes offer carpet washing services inexpensively. But such advertising should be treated with skepticism.
- Washers use high-pressure cleaners that destroy the texture of the pile.
- Exposure to hard brushes, improper drying leads to damage to the product, deformations.
- The carpet absorbs all the surrounding smells of gasoline, oils, etc.
The best solution is to entrust an expensive carpet to competent specialists. They have equipment for deep cleaning with a professional vacuum cleaner and well-chosen detergents. Annual intensive processing of the carpet will return the product to perfect condition.
Preliminary preparation
The first step before cleaning the carpet at home with improvised means is to determine the material of the product. It will depend on what means can be used. For example, cleaning natural wool or silk carpets with homemade compounds is not a good idea. Also, home remedies are not suitable for suede coverings. In other cases, you need to remember that synthetic rugs are more wear-resistant and easier to clean. But products made from natural materials are more capricious, it is better to be careful with them.
The second step is to understand what part of the product you plan to clean. If cleaning is planned locally, then you can proceed to the next step. If you want to clean the entire coating, you need to move the furniture. Also note that it will take time for the product to dry. Therefore, it is either worth cleaning in parts, or leaving a small path for the passage.
The third step is to completely vacuum the carpet to get rid of any debris or dust that has lodged under the pile. This step will simplify further cleaning.
What improvised means to clean the carpet at home
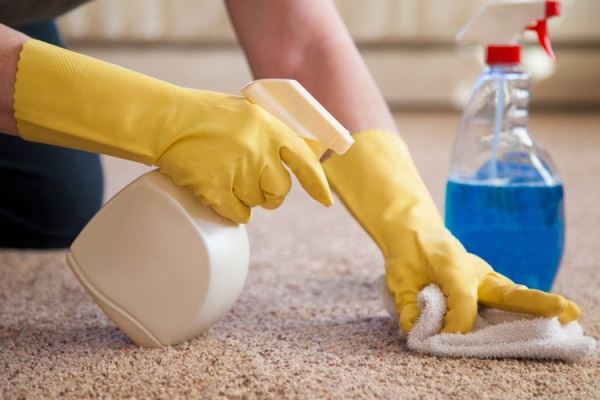
If you do not use chemistry for cleaning your home and decide to clean the coating, then the products that are on hand are suitable for some dirt. They should be used carefully. Before starting the process, it is important to test the composition on an inconspicuous area of the carpet, for example, where it is not visible under the furniture. If after application the textile has changed color, then the composition cannot be used.
- Baking soda is a wonderful natural absorbent. It will remove grease stains and also help get rid of odors. For example, if your pet left a nasty surprise on the floor. For cleaning you will need any convenient container, soda and clean water.
Pour soda powder into a container, add a little water, then stir. You should have a soft paste. It is applied to the stain or other necessary surface and allowed to dry completely. The hardened solution is cleaned with a brush or vacuum cleaner. If the spots persist, you can wipe them with 3% hydrogen peroxide. But it should only be used on light-colored textiles, as it whitens the surface.
- The usual 9% vinegar will help get rid of fresh stains that have not yet had time to soak into the coating.In half a liter of clean water, dilute 2 tbsp. spoons of funds. Apply the resulting mixture to the stain and rub it with a sponge. Vacuum after drying. The composition will help keep animals away from the carpet if they leave puddles on it, as they do not like the smell. However, you need to understand that the aroma can be unpleasant for humans.
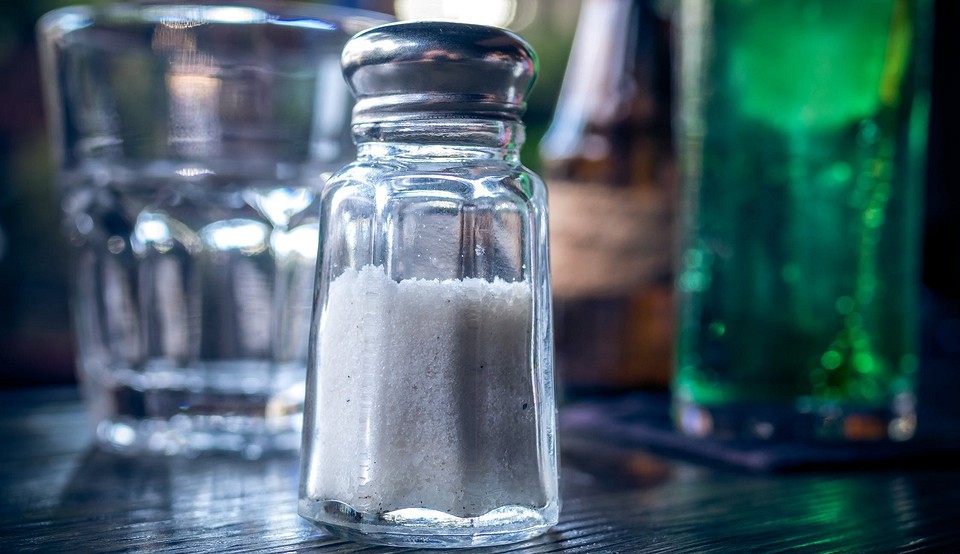
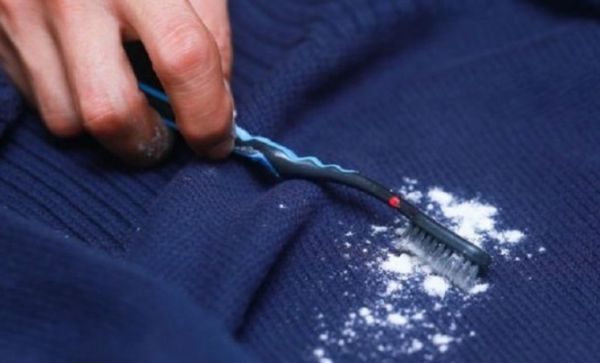
- Salt is another effective remedy. It is quite safe, as there can be no allergies from it. Salt can be used to clean both natural and synthetic materials. She, like soda, can cope with unpleasant odors.For cleaning, the cheapest finely ground salt, for example, the Extra variety, is suitable.
The method of its application is very simple. Sprinkle dry carpet with salt. Then it is distributed over the coating, it is most convenient to do this with a brush or broom. Simultaneously with the distribution, you can slightly lift the pile so that the product penetrates under it. During cleaning, salt particles will become dirty. They should be brushed off with a damp brush dipped in warm water. Then you need to sprinkle salt again and repeat the procedure. When the particles are no longer contaminated, you can complete the cleaning. Allow the coating to dry completely and vacuum over it to remove the product.
- An alternative to salt are sawdust, bran and semolina. They also absorb dirt very well. All products should be used only in dry form. It is advisable to brush off the coating with a dry brush, and at the end of cleaning immediately go through with a vacuum cleaner to get rid of the remaining particles.
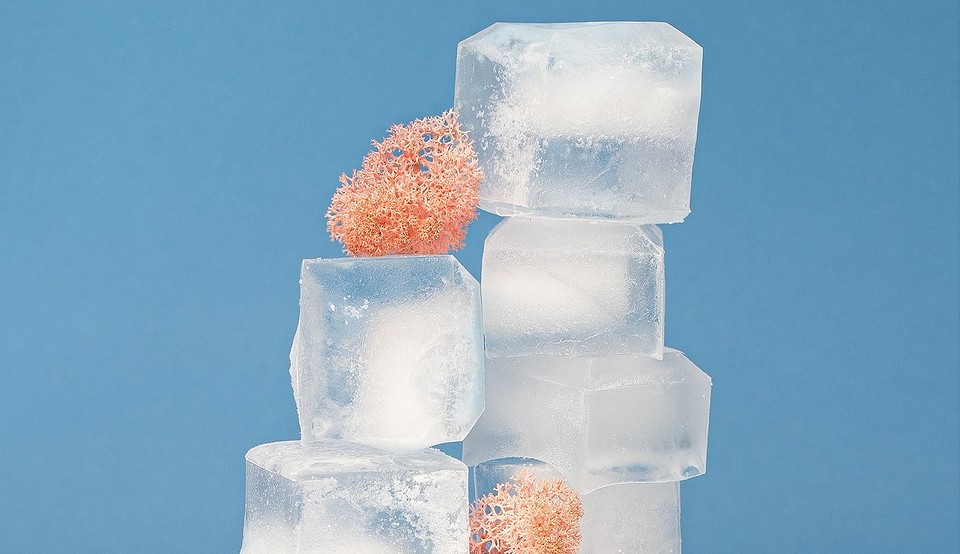
- Ice will help get rid of chewing gum and wax. It needs to be placed in a tight plastic bag, for this, options on a zip fastener are well suited.Then, a bag with ice cubes inside is gently passed over the contamination until it hardens. Then take a blunt object, such as a spatula, and remove the hardened material. The remains are removed with a vacuum cleaner.
If the dirt has not completely gone, you can apply soda on top of it or use a different composition. And after processing, blot with a napkin dipped in warm water.
Also, ice will help straighten dents from standing furniture. On the damaged places you need to put a cube and leave for a couple of minutes. Then carefully comb the pile with a brush, lifting it up.
- Another effective stain remover is ammonia. With it, you can remove greasy and small dirt, so the composition is suitable for regular procedures. Dilute 2/3 tablespoons of alcohol in half a liter of water.Pour the solution into a spray bottle and spray onto textiles. Scrub the surface with a brush or sponge. Let it dry and then vacuum it up for the final time.
- Beating a carpet in the snow is a technique used by our parents and grandparents. It is still popular today because it is very effective. In this way, you can clean out various dirt, including getting rid of bacteria and microorganisms, as they die at sub-zero temperatures. The method is suitable for processing carpets with both short and long pile.
It is worth taking the product outside in frosty weather. Never clean during a thaw, as you can over-moisten the carpet. High humidity is harmful to fibers. Choose an area with pure white snow.It is ideal to carry out the procedure after a snowfall, when the snow has not yet had time to melt in the sun and turn into an ice crust - this will become an obstacle when cleaning, and can also damage the material.
The technique is simple: the laid out carpet should be sprinkled with snow on top. It will collect dirt from the pile, then it must be swept away with a brush or broom. Then the steps are repeated until the snow on top remains clean. You can also take a special beater and walk on top of it to get rid of dust - it will remain on the snow.
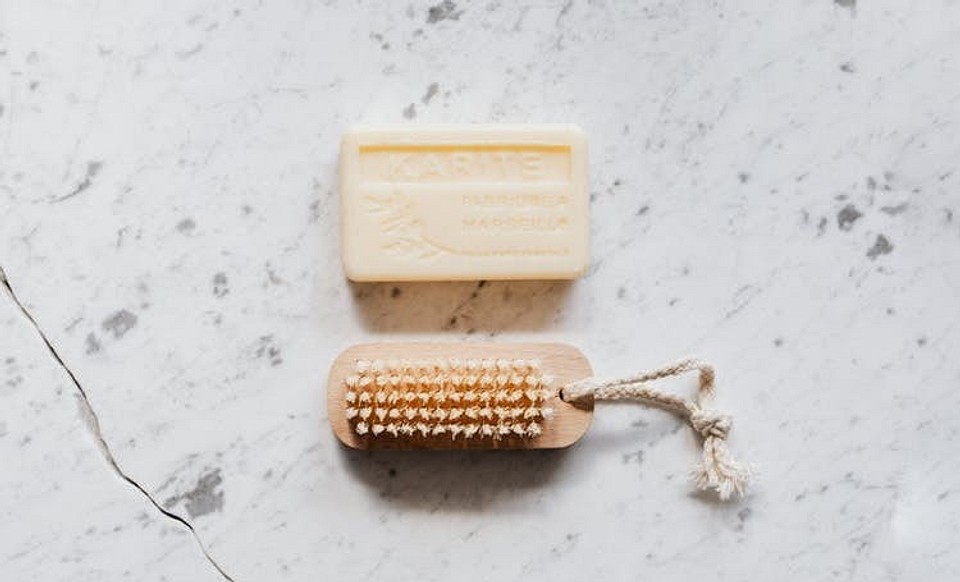
You can clean the coating without additional solutions. For example, using a brush with medium hard bristles (soft ones will not clean the pile, and hard ones can damage it). She needs to “comb” the product against the pile. The brush will collect hair and animal hair that cannot be removed with a vacuum cleaner.
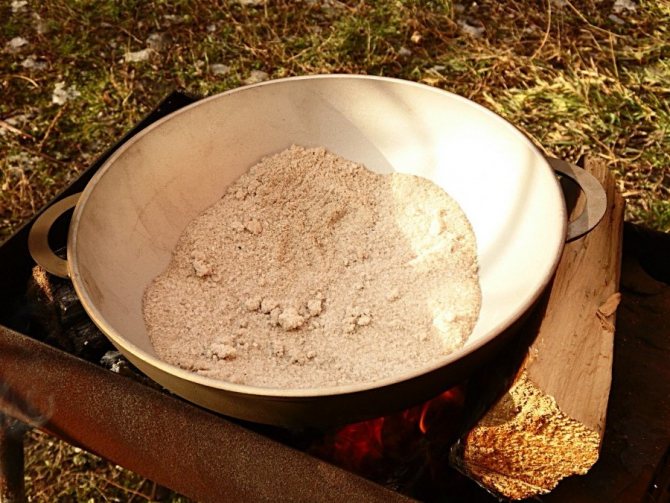
An effective dry cleaning product can be prepared at home with your own hands. However, this requires a little preparation.
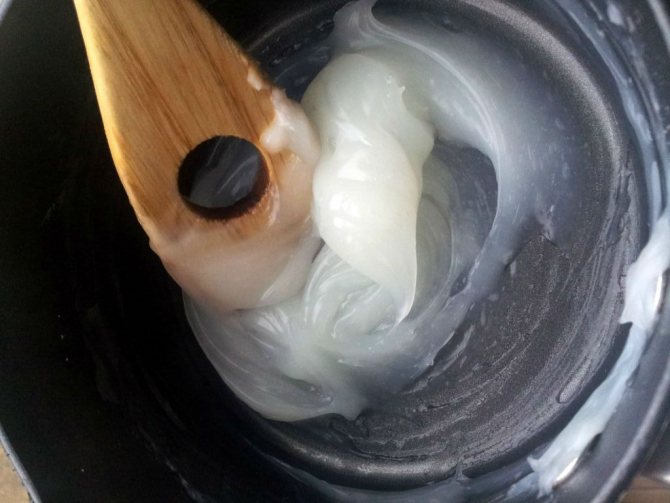
You will need wheat flour, ground pumice and salt. Then you need to mix 6 parts of flour and one part of pumice and salt. The ingredients are placed in a saucepan, add a little water and bring to a boil over low heat. The resulting consistency should be like a thick paste.After thickening, the mixture is allowed to cool. You can pour it into a mold for more convenient use. The cooled solution will be solid and similar to soap. The tool will cope with dirt on textiles as follows: a piece of “soap” is carried over the pile, and then the composition is cleaned from the carpet with a dry brush.
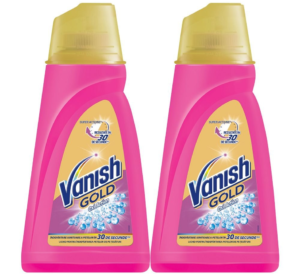
How to clean carpet with Vanish?
It is quite easy to remove various types of contaminants with special chemicals. Among them:
- "Vanish";
- washing powder for hand washing;
- special shampoo.
Cleaning any carpet at home with these products will not be a problem. It is necessary to use detergents that are designed for the material from which the carpet is made. For synthetics and natural fibers, they can be different.
Before applying the product to a contaminated surface, you should carefully study the instructions. But, in general, the cleaning algorithm is the same for powders and Vanish, namely:
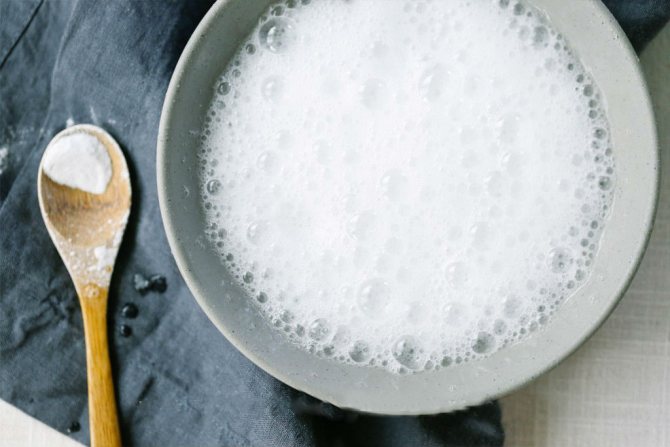
- Prepare the product - it must be well lathered. It is the foam that has cleaning properties.
- Then apply to the entire surface or locally on contamination. Leave for a period of a couple of minutes to several hours, depending on the intensity of contamination and the strength of the product.
- After such treatment, remove the foam with a damp cloth or vacuum cleaner, then dry. In this case, do not use a hair dryer or iron.
Cleaning methods using chemical and mechanical means
Basically, for dry cleaning, devices equipped with various types of nozzles are used. They can be either metal or plastic.
These devices help to quickly and efficiently clean large areas with the least amount of physical effort.
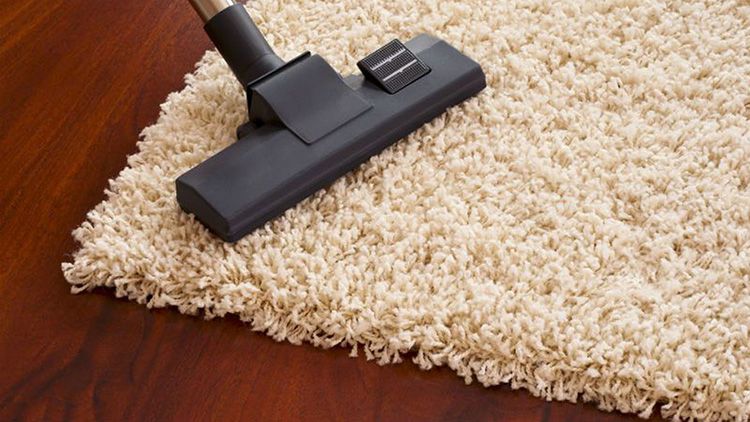
Conventional dry vacuum cleaner
All vacuum cleaners provide dry cleaning of rooms. These are the most requested devices. Their feature set is limited. This is mainly garbage collection, cleaning of coatings, curtains and upholstery of upholstered furniture.
The brushes can be used for both wet and dry cleaning.There are price categories of vacuum cleaners. The more features, the more expensive they are.
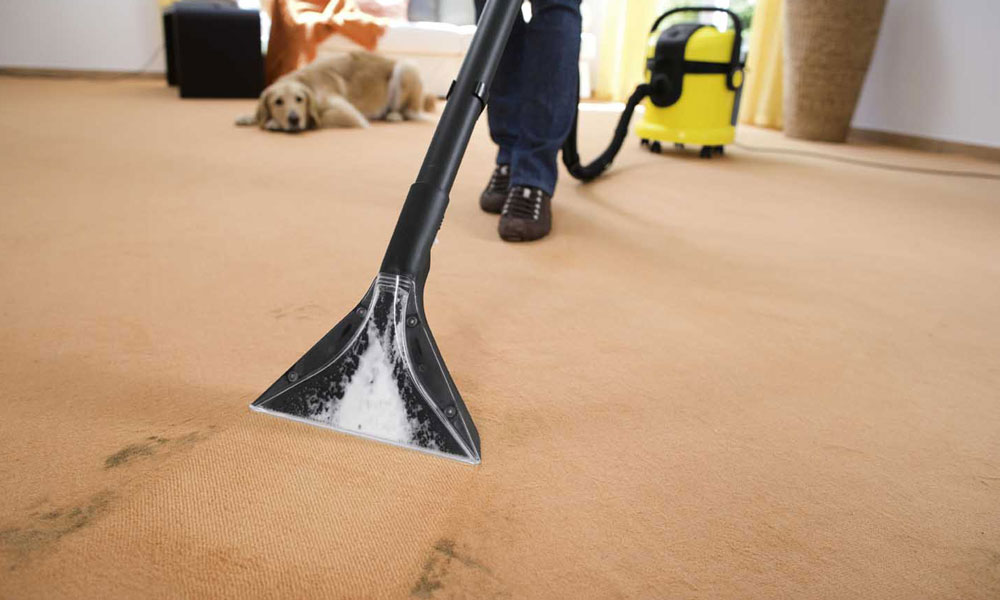
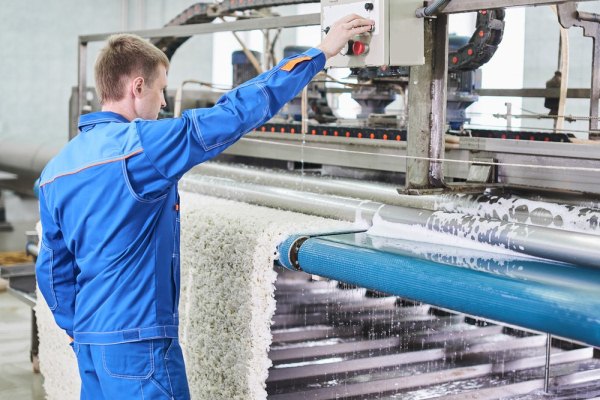
Washing vacuum cleaner and carpet shampoo
The washing vacuum cleaner allows not only to remove dust and stains. It effectively disinfects the carpet.It should be borne in mind that only products made of synthetic materials can be cleaned with them. Other materials must NOT be wetted!
The vacuum cleaner has a tank into which a special detergent without chlorine is poured. These can be detergents Green & Clean, Vanish, Organics.
The nozzle for cleaning is selected according to the length of the pile. For a carpet with a long nap, a long nap nozzle is suitable, for an artificial one, a short nap. During operation, movements are performed smoothly and evenly, but in different directions.
IMPORTANT. Before using the washing vacuum cleaner, debris, dust, pet hair are preliminarily removed.
Processing starts from the edges of the carpet, gradually moving over the entire surface from the periphery to the center. After cleaning, the water in the tank is replaced with clean water and vacuumed again. At the end of the work, the nozzle is changed to a suction one and the carpet is thoroughly dried.
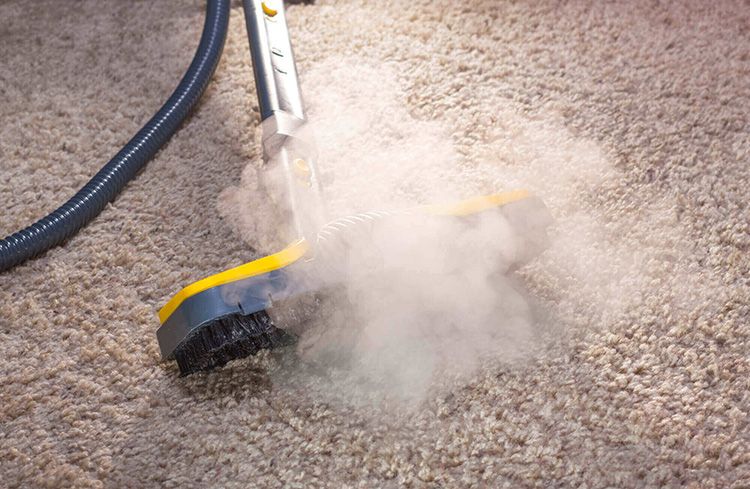
steam generator
Cleaning with a steam generator is a simple and uncomplicated method. Under the influence of hot steam, contaminants are softened, which are then easy to remove.
REFERENCE. The steam cleaner is suitable for various materials except for wool. To avoid a musty smell, work is carried out in a warm, dry room.
- Before starting work, the surface of the carpet is freed from foreign objects.
- Water of any temperature is poured into the tank - in the process it will heat up.
- The steam generator is first put on a brush designed to remove dust.
- She processes the carpet from the edge to the center around the entire perimeter.
- Then increase the mode of supply of the steam jet. It should be strong enough, but it is impossible to completely wet the carpet.
- After re-treatment of carpet products, they are left to dry completely.It should be noted that you can not walk on them until they are completely dry.
Several ways to wash the carpet at home
The carpet is a bulky thing, when it is dirty, hand washing is not entirely convenient and the question arises - is it possible to wash the carpet in a washing machine at home or in an apartment? But it should be understood that washing rugs is significantly different from washing socks.
This is a much more complex process that will require a lot of effort, skills and time from you. If you do not have the desire and opportunity to deal with this problem, it is better to shift it onto the shoulders of a specialist.
Especially if you are not sure about the composition and quality of the flooring. If you are determined to wash it yourself, then you need to pay attention to several factors:
- The composition of the carpet. Natural materials do not like moisture. It is not recommended to wash products made of viscose, silk and wool, at least on your own. But products made of artificial fabrics are less capricious, but even before washing them, you must follow a certain procedure, which will be discussed later.
- If your carpet is a handmade product, it is better to entrust its washing to specialists, since washing it yourself you run a very high risk of ruining it. Wet cleaning such things without the necessary skills is also contraindicated. If the flooring is synthetic and adhesive-based, then it is also not advisable to wash it, since after washing it will not last long.
- Bright carpets, in the production of which cheap paints were used, can easily lose their appearance after washing. Before sending such a thing in the wash, you first need to make sure that it does not shed.To do this, check how the liquid product works on the floor covering in an inconspicuous area.
- An important point is the size of your carpet.It is better not to wash a large carpet on your own - it is easier and more reliable to send it to a dry cleaner. On such a large thing, you can only remove stains on your own, and washing it completely is risky, it may not dry out corny. As a result, a fungus or mold can start, then the decomposition process and an unpleasant odor will begin.
- Another important factor is the length of the pile. If the flooring has a long, thick and large pile, then it is unlikely that you can dry it yourself at home. In addition, when wet, the carpet will simply become unliftable, and not a hefty force will be needed to, for example, turn it over.
If your carpet does not belong to the "problem" it can be washed in the bathroom, on the street or right in the room.
Washing small carpets in the bathroom
The most convenient option for compact products is washing in the bathroom and here is a brief instruction on how to wash the carpet:
- The carpet must be neatly folded or rolled into a roll.
- Next, fill the bath with water, dilute the detergent in it.
- Lay the floor covering and leave for about half an hour. The pile should be saturated with foam.
- Go over the accessible areas of the carpet with the brush, then turn it over and repeat the process.
- Next, you need to drain the dirty water and collect fresh. The pad does not need to be removed.
- After this procedure, you need to remove the remaining foam with a jet of water; for this, use the “shower” function.
On the street
It is most convenient to wash carpets in the summer, in the yard.
- If you will be doing this on pavement, sweep it first.
- Use household chemicals or prepare the product yourself (recipe for washing in the bath).
- Apply it to the material, lather with a brush and wash.
- Leave for a while and then rinse off the foam with a hose.
Carpet washing services
If there is no desire or opportunity to clean the carpet on your own and if there is any doubt that the carpet can be spoiled by independent actions, then it is better to turn to specialists. Moreover, in any city there are similar services.
Machine wash
Did you know that you can wash your carpet at a machine wash? But you should know that this option is not safe, because it will be cleaned using the same products that are used when washing cars, and they do not provide for a gentle treatment for soft tissues.
Moreover, the carpet can be even more dirty during transportation. However, if the carpet is dark, not natural, and if it can be thrown away in case of failure, then it is worth the risk.
Dry cleaning
The safest and least hassle way to restore your carpet to its former glory is to send it to the dry cleaners. There, when processing such surfaces, safe means are used and there are special devices for washing such bulky things.
Not recommended for washing
- Do not wash the carpet with hot water. The maximum allowable threshold is 50 degrees. The fact is that many carpets use adhesive bonding and, when interacting with hot water, it will simply wash out. It is clear that after such a test, the carpet can simply be thrown away. In addition, high temperatures will spoil the colored and natural materials from which it is woven.
- Hard brushes are also contraindicated for carpet, especially if they treat the surface against the direction of the pile.Such procedures will also harm the product.
- Soaking the carpet and leaving it damp in poorly ventilated or damp areas is also prohibited.
- Even if you wash a small stain without treating the entire surface, the wet area must be thoroughly dried with a hair dryer on both sides.
- Moisture has a bad effect on the structure of the carpet, it corrodes the coating and holes may appear because of this. You should not walk on the carpet immediately after washing it, let it dry.
Important! It is undesirable to use cheap powders and detergents when washing the carpet. They spoil the flooring and may not completely wash out of the pile.
How to dry a carpet
The best way to dry your carpet at home is to dry it outside. It can be hung on a balcony, on a fence or on a horizontal bar.
If none of these options is suitable, then air conditioning will help to quickly dry the product.
The carpet must be spread as close as possible to the Split system and the heating function must be installed on the air conditioner, directing the blinds down.
Another dry carpet will quickly help the fan, which is used by dry cleaners.
Removing bad smell from carpet
 The causes of an unpleasant odor can be not only food residues or animal excrement. A new carpet may smell bad from the chemical industry or absorb odors during shipping. Thus, there may be a serious need to remove foreign odors.
The carpet may smell due to improper drying after dry cleaning or become saturated with a tobacco smell if someone in the family smokes.
As a rule, it is not difficult to determine the cause, but sometimes it is difficult to get rid of it.
Smell after washing
The musty smell of carpet after washing is associated with improper drying. This often happens when the carpet has been dried in a cold, damp, unventilated area.
 The source of the unpleasant odor is mold spores that have settled on the surface of the carpet. Most often, carpets made of natural materials are affected by bacteria. They are rarely treated with antiseptic preparations during manufacture, and they are more likely to suffer from such a problem.
To handle carpets, you need to protect yourself - for this, wear rubber gloves and a mask.
For processing, you will need an antifungal agent. The label should contain instructions for the use of this substance, which must be strictly followed. Simultaneously with the carpet, the floor and adjacent surfaces are treated.
After processing and holding the time required according to the instructions, the carpet is washed on both sides with clean water and completely dried again.
To completely remove chemicals from the premises after treatment, it is ventilated for 3-4 days.
Tips & Tricks
Getting rid of stains is even easier if you follow these tips:
- Do not use hot water to clean any coatings.
- Remove the stain as soon as it appears. Old stains gradually eat into the coat, it is much more difficult to remove them.
- Cleaning with a brush or broom is carried out exclusively in the direction of the pile.
- The remains of the cleaning agent after processing are carefully removed so that the pile does not stick together.
- After work, the carpet must be dried well.
- The room is ventilated after removing stains.
Pollution Prevention
In order not to resort to serious cleaning, carpets should be properly looked after. Natural products are well worth it.But, if they are dirty, they will create an unpleasant impression about the owners of the house.
Periodically, carpets must be cleaned at special chemical enterprises. It is recommended to do this once a year and a half.
 It is recommended to vacuum carpets weekly. If stains are found, remove immediately. The longer the stains remain on the carpet, the deeper they penetrate into the pile, the more difficult it will be to remove them later.
To care for carpets, it is better to purchase special products. Many of the commercially available can be used both for manual processing and in washing vacuum cleaners.
Carpets decorate the home, create comfort and serve as evidence of the taste of the owners. In order for them to please their appearance for a longer time, it is important to properly care for them. Proper and regular cleaning of carpets is the key to their longevity.
 PROOF states.


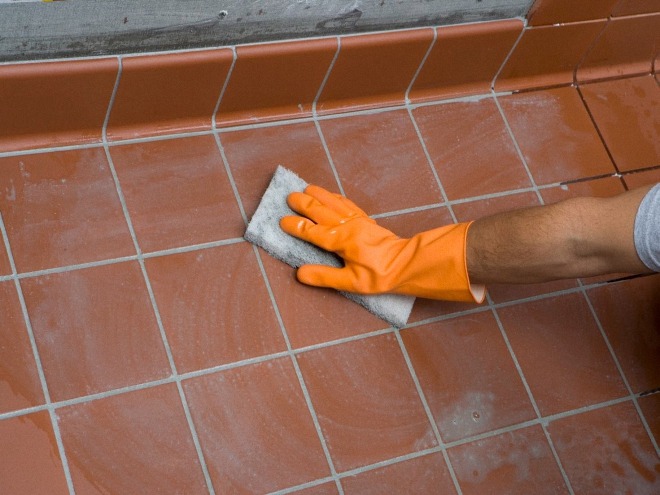
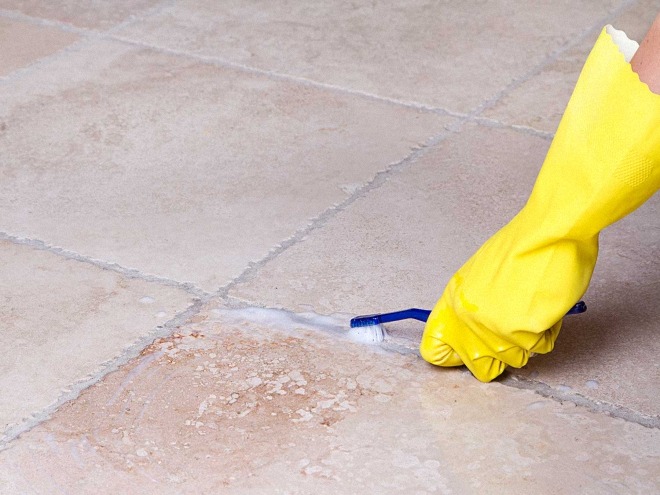
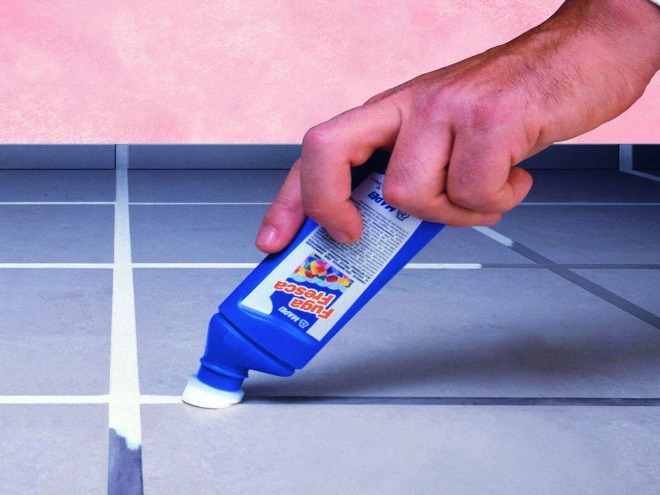
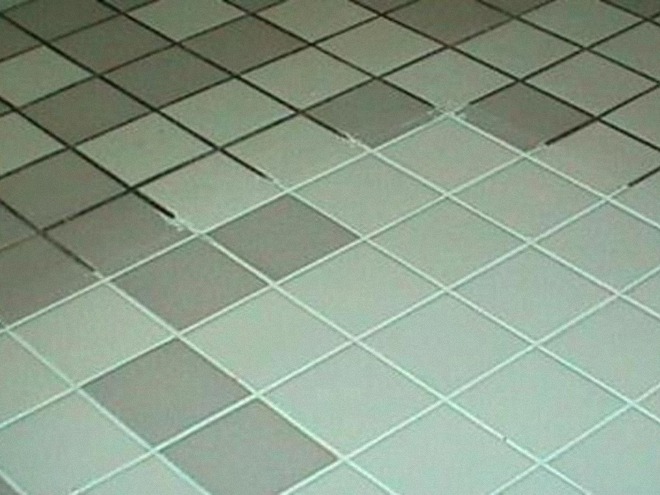
 Washing tiles in the bathroom.
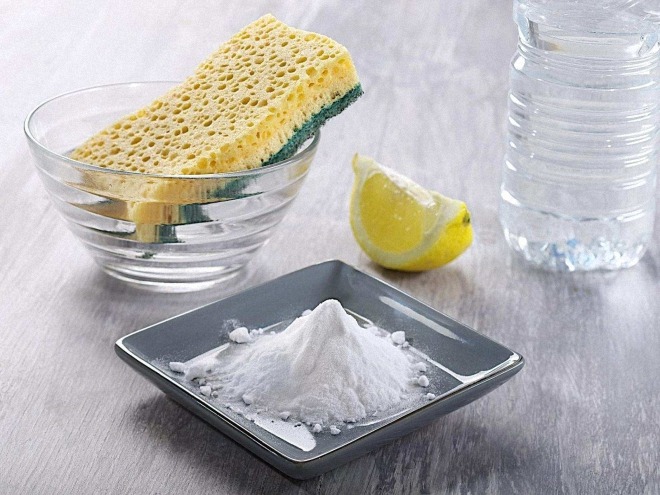
 Washing tiles with a soapy soda solution.
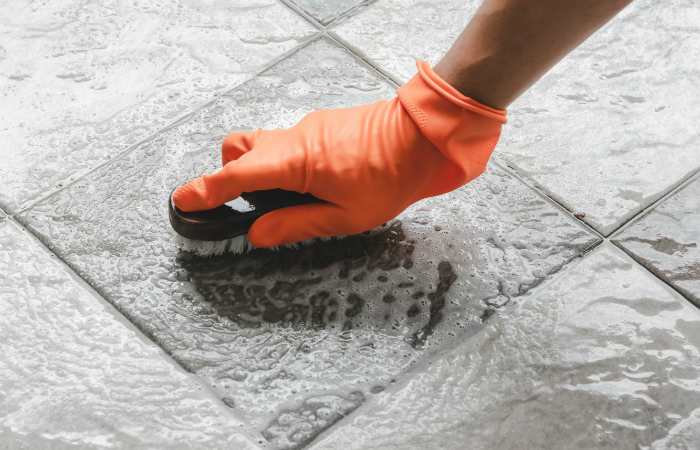
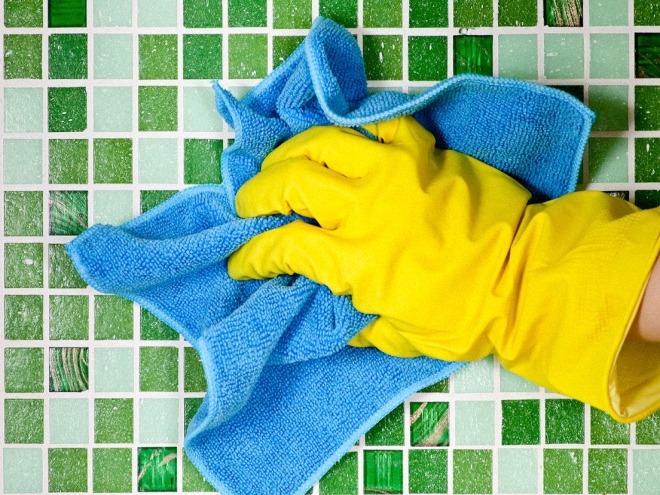
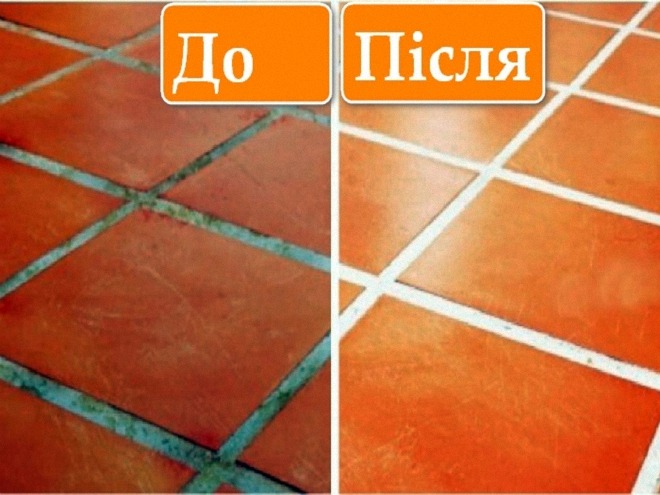
 Vinegar and lemon juice remove limescale on tiles.
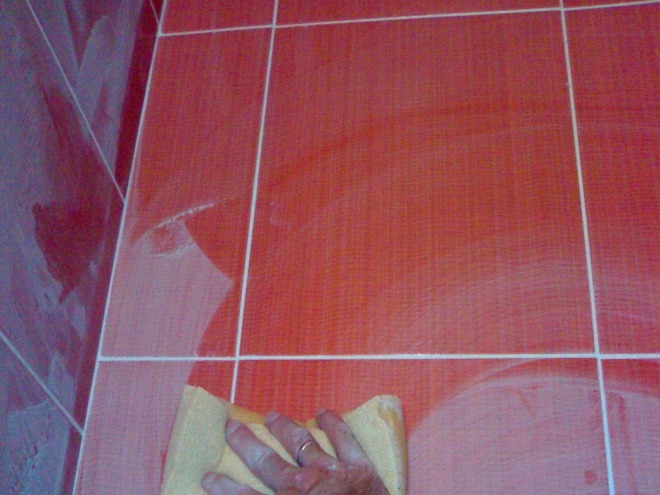
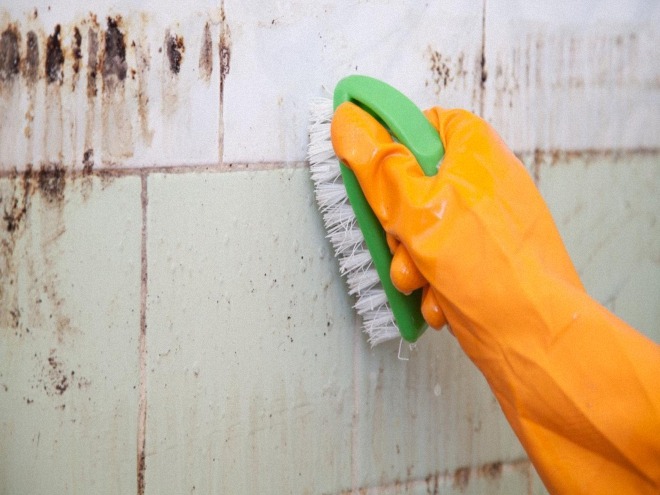

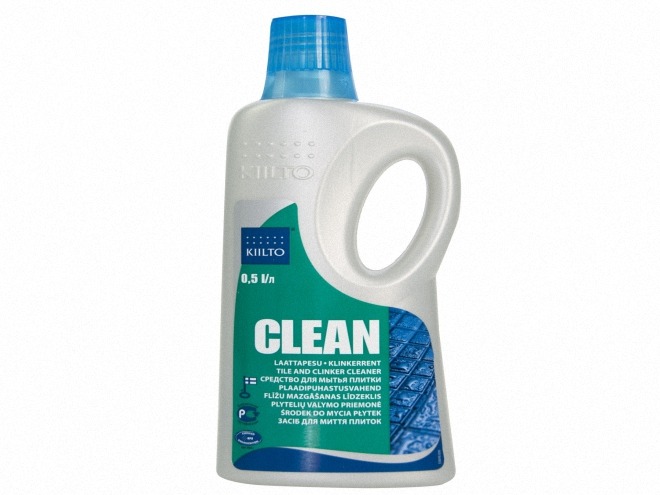
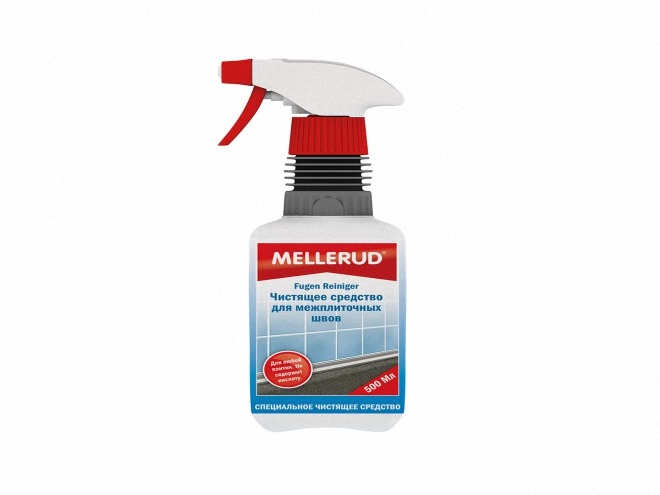
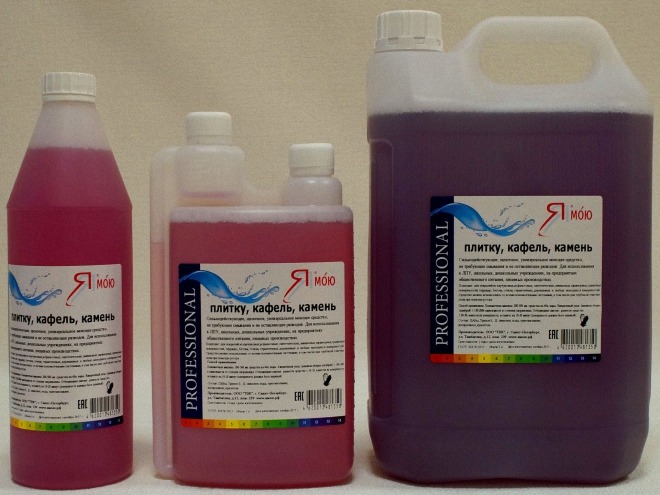
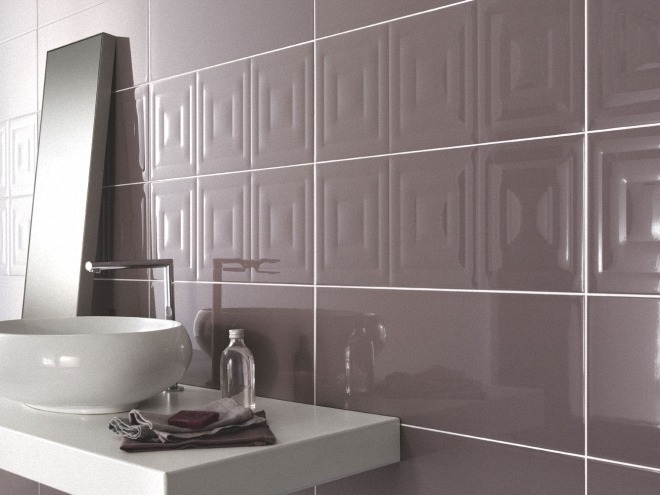
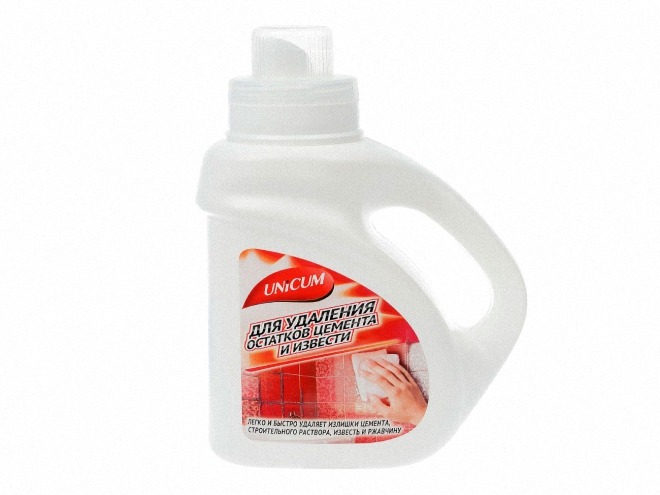 For cleaning ceramic tiles that need to be restored to a radiant appearance, solutions containing isopropyl alcohol are produced. This component allows you to achieve the desired result. For tiles in stores, products based on weak solvents are presented. Care must be taken when handling such liquids, as aggressive substances, if used incorrectly, can damage the surface of the ceramic.
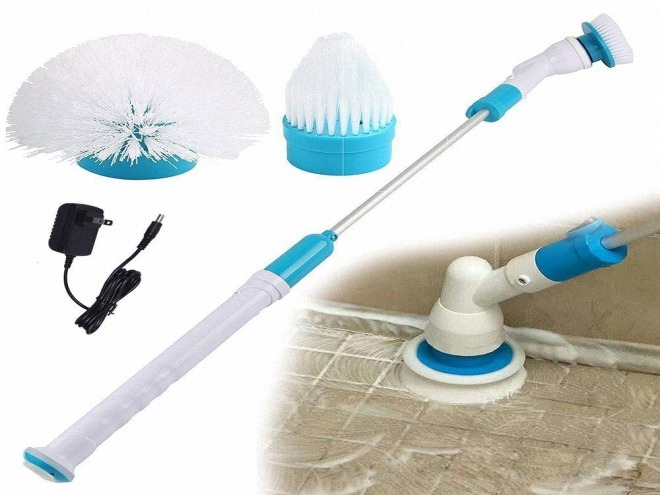
 If the steam cleaner has such a nozzle, it will greatly facilitate the work.


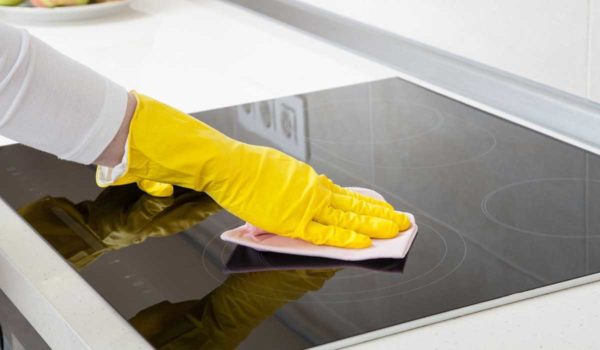
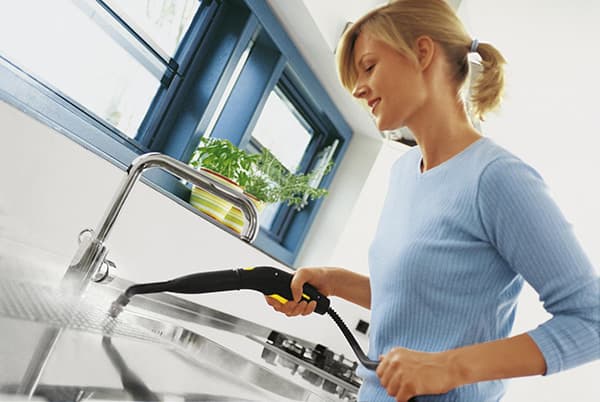
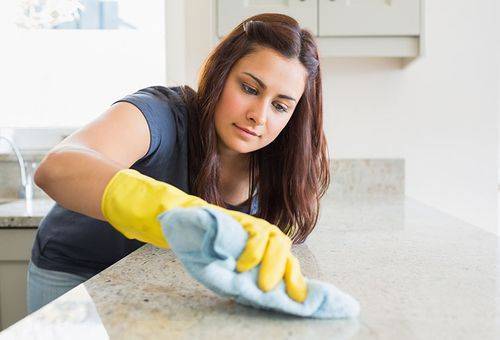
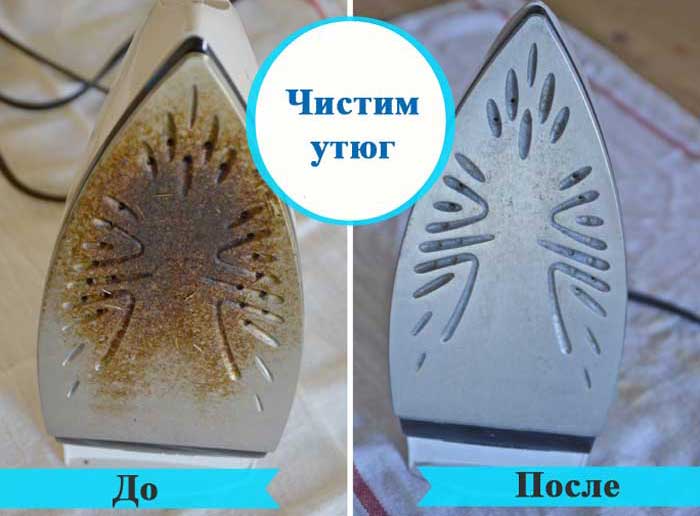
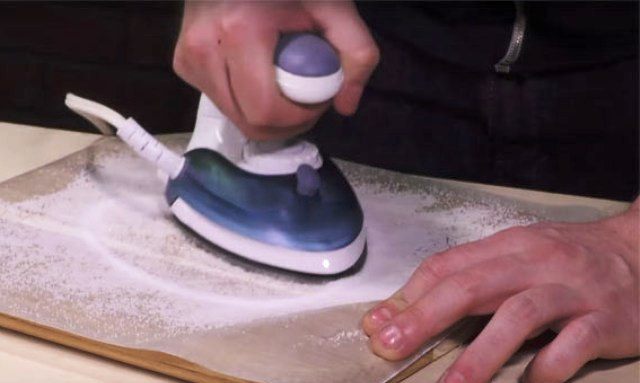
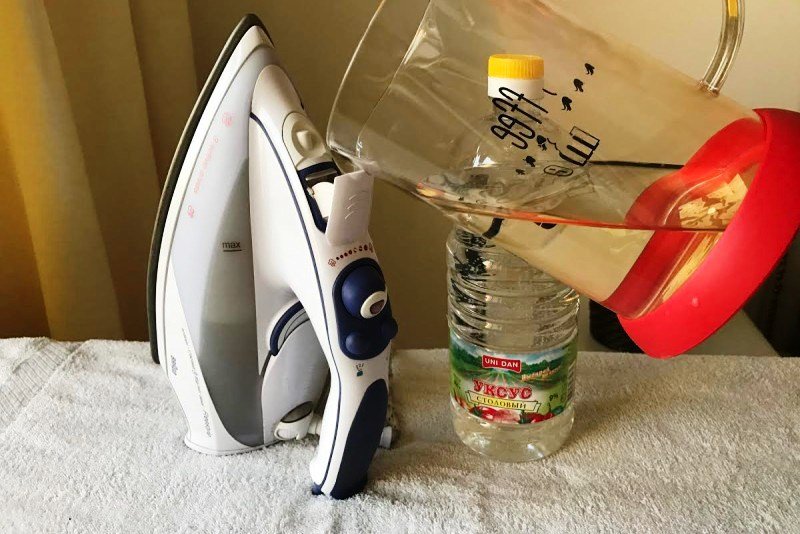
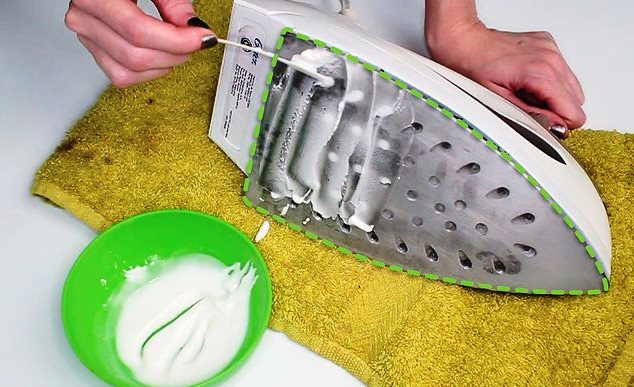 Table vinegar.If the burn is deep, and special pencils do not help, then you should use this method. Soak any cotton fabric well with vinegar and put on the sole for several hours. After that, any surface is easy to clean with a sponge.
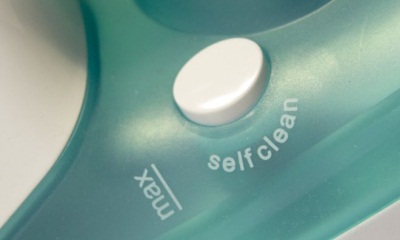
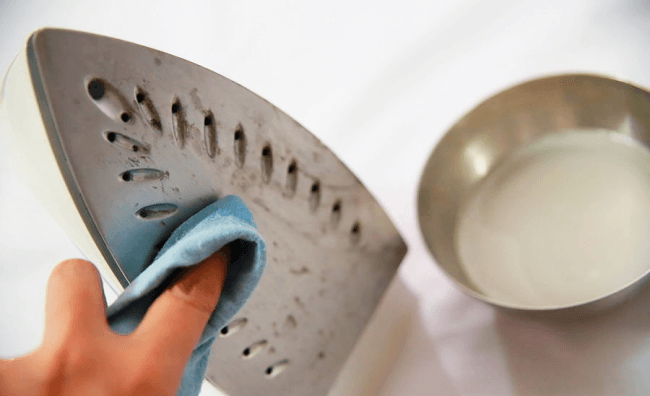 Modern models are equipped with a self-cleaning system. But even they are not immune from the appearance of rust, scale and soot. Much depends on the material of the surface. It is of the following types:
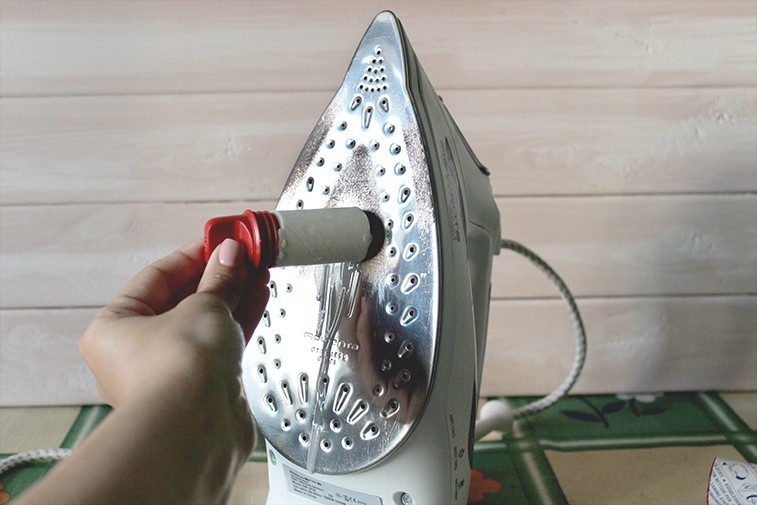 Any of the procedures at home should be carried out without children and with protective gloves.
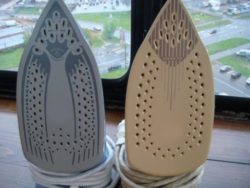
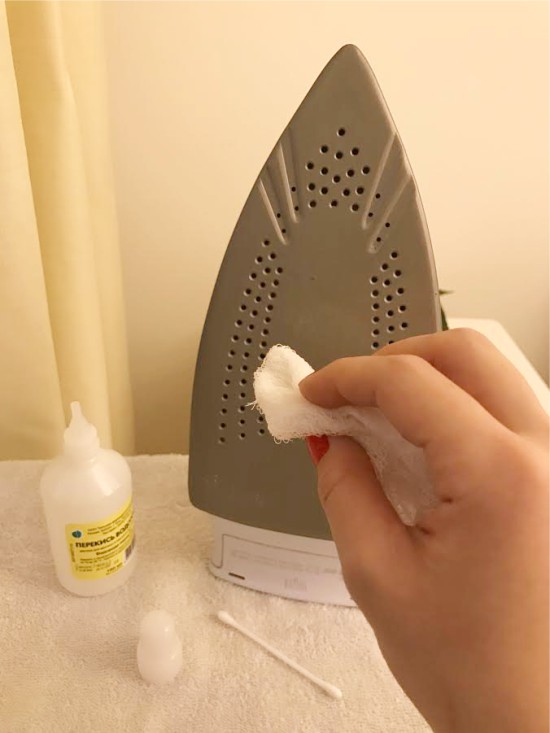 Cleaning the soleplate with hydrogen peroxide
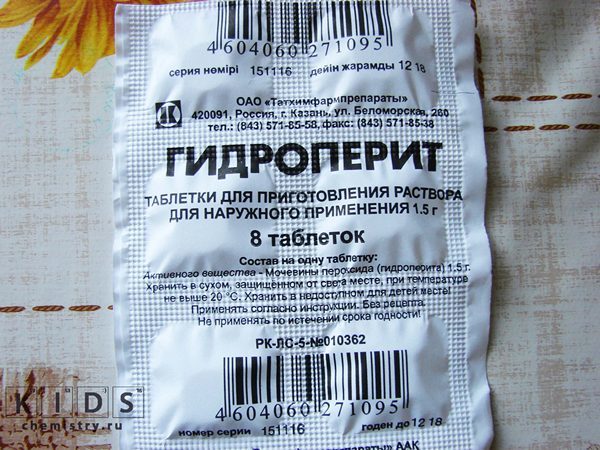 Hydroperite tablets
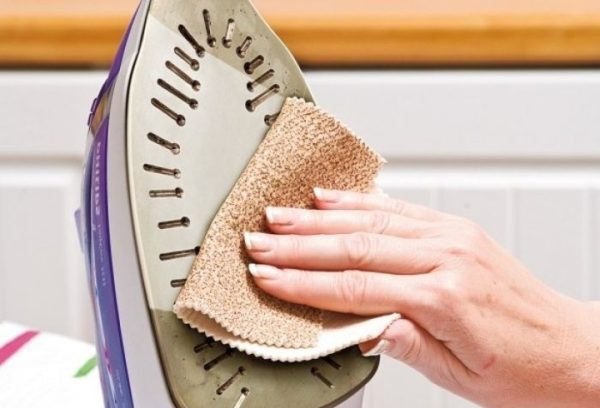 Cleaning is completed with a damp cloth.
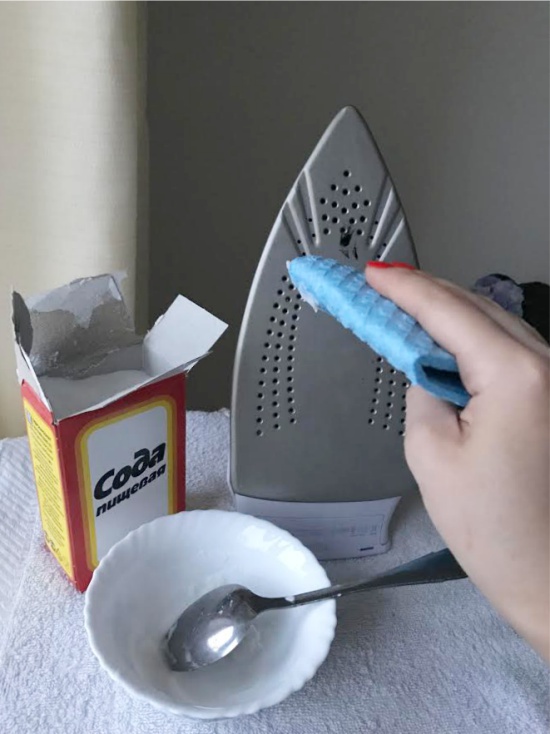 Sole cleaning with soda
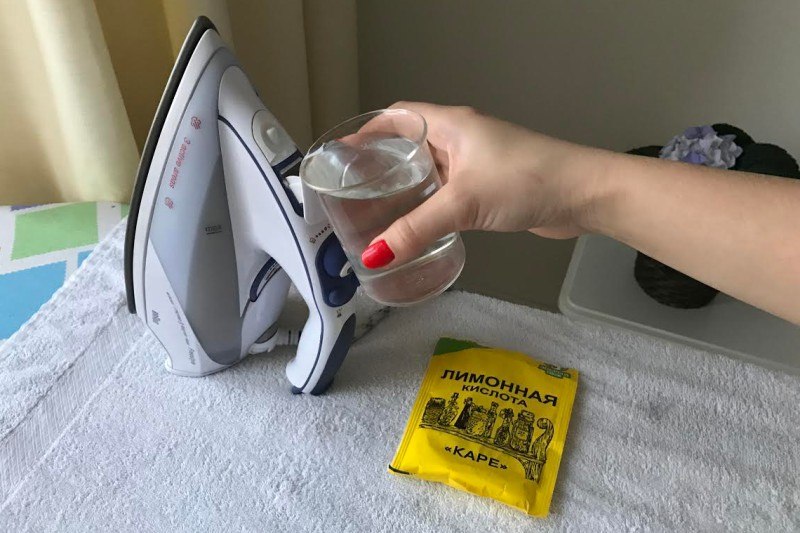
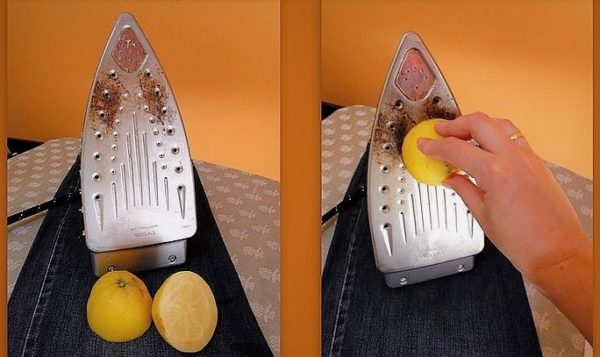 Cleaning the iron with lemon
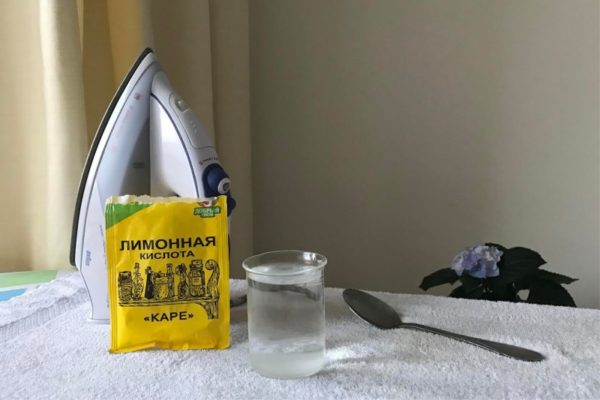 The use of citric acid
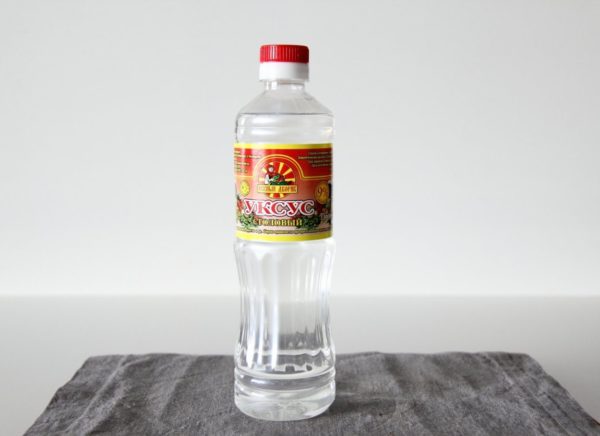 Vinegar - another remedy for soot on the iron
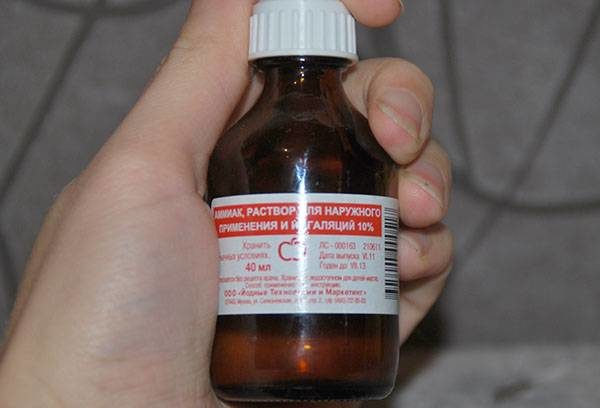 Ammonia
 For 10 minutes it is worth putting the structure on a small fire. Vapors of vinegar can quickly clean the steam iron. The procedure should be done twice. After that, the soleplate must be rinsed with clean water, wiped with a cloth, and the device left upright to dry naturally for at least 12 hours.
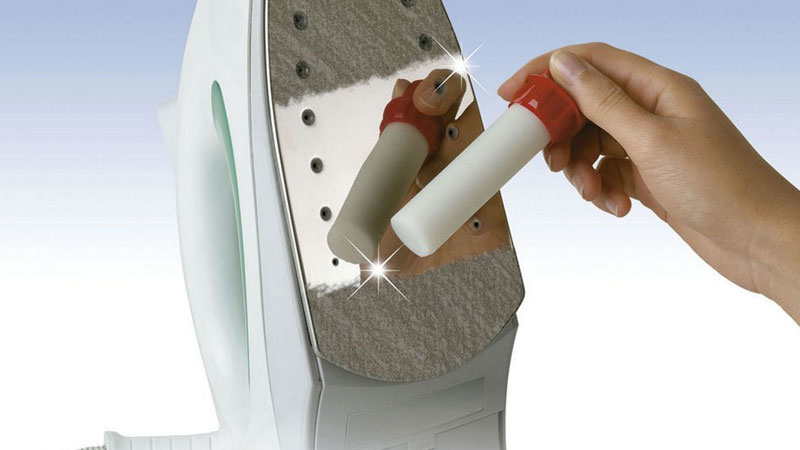 Advice! The procedure should be done in a ventilated area, in the absence of children. The fact is that the pencil emits harmful fumes.
 With hydrogen peroxide.
 Next, you need to pour the resulting solution into the iron tank. Activate the steam boost mode by setting the iron to full power.
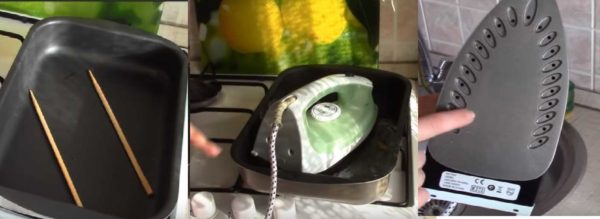
 A special tank is filled with distilled water (other cleaning products or ordinary tap water must not be used).

 Do not use any products that could scratch the soleplate of the iron.
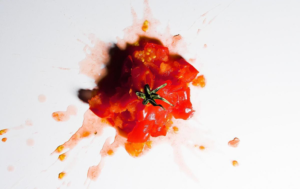


 Another way to remove stains: mix vinegar with salt, make a gruel, rub the contamination with it from the edge to the center. Further processing of clothes is the same.
 How to remove tomato stains
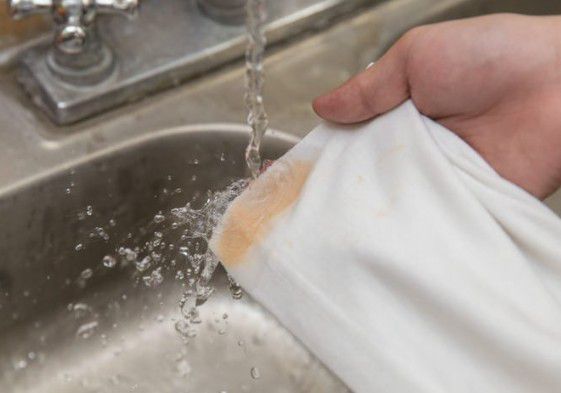 You can get rid of a tomato stain by quickly washing it with laundry soap.
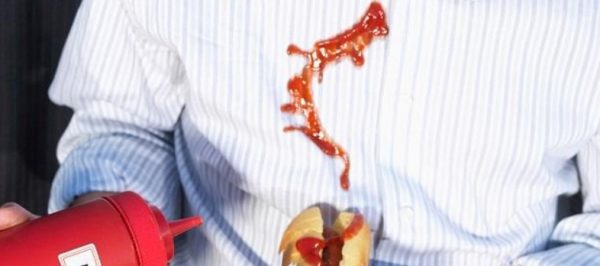 If the spot is small, you can apply a drop of undiluted hydrogen oxide to it.
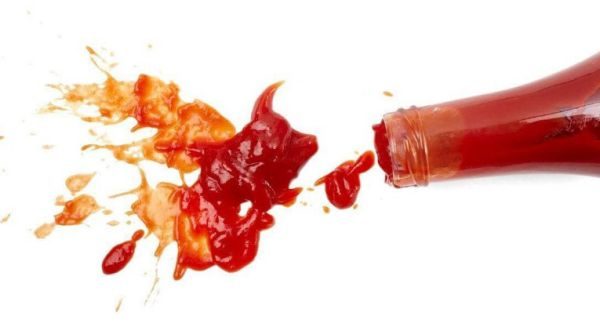
 How to peel a tomato from colored fabrics
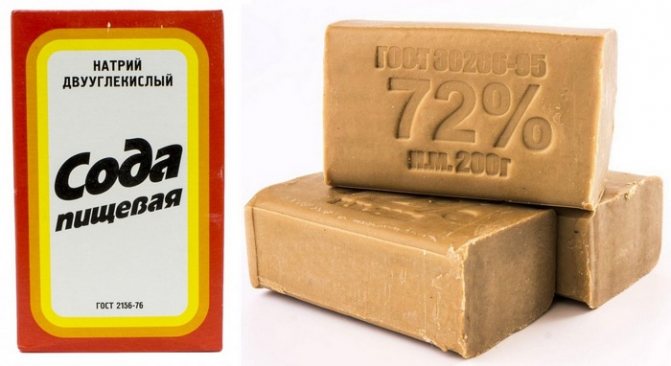 Also, soap soaked in hot water with the addition of soda removes traces from colored clothes.
 Attention! You can also remove tomato stains on white with chlorine-containing products. The main thing is that the fabric is resistant to such aggressive substances.
 Sometimes, when you open the refrigerator, you want to pinch your nose.
 Don't keep spoiled food in the refrigerator: expired place in the bin!
 Eliminate rotten smell from the refrigerator with home remedies
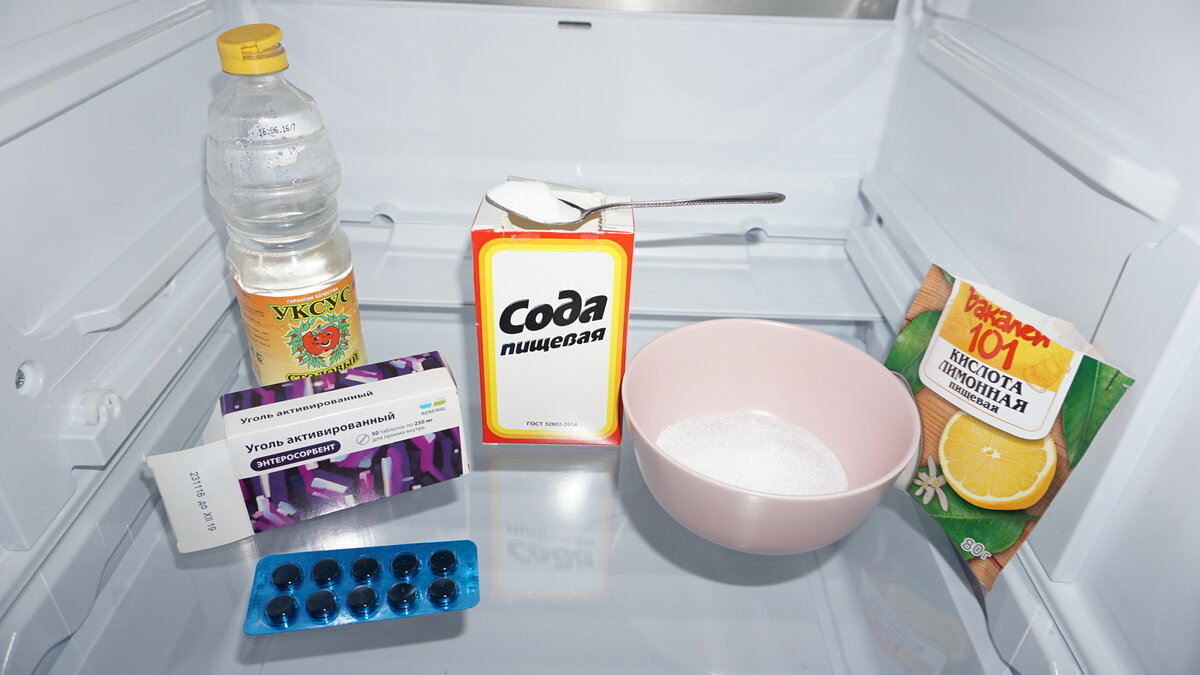 Universal cleaners and odor absorbers
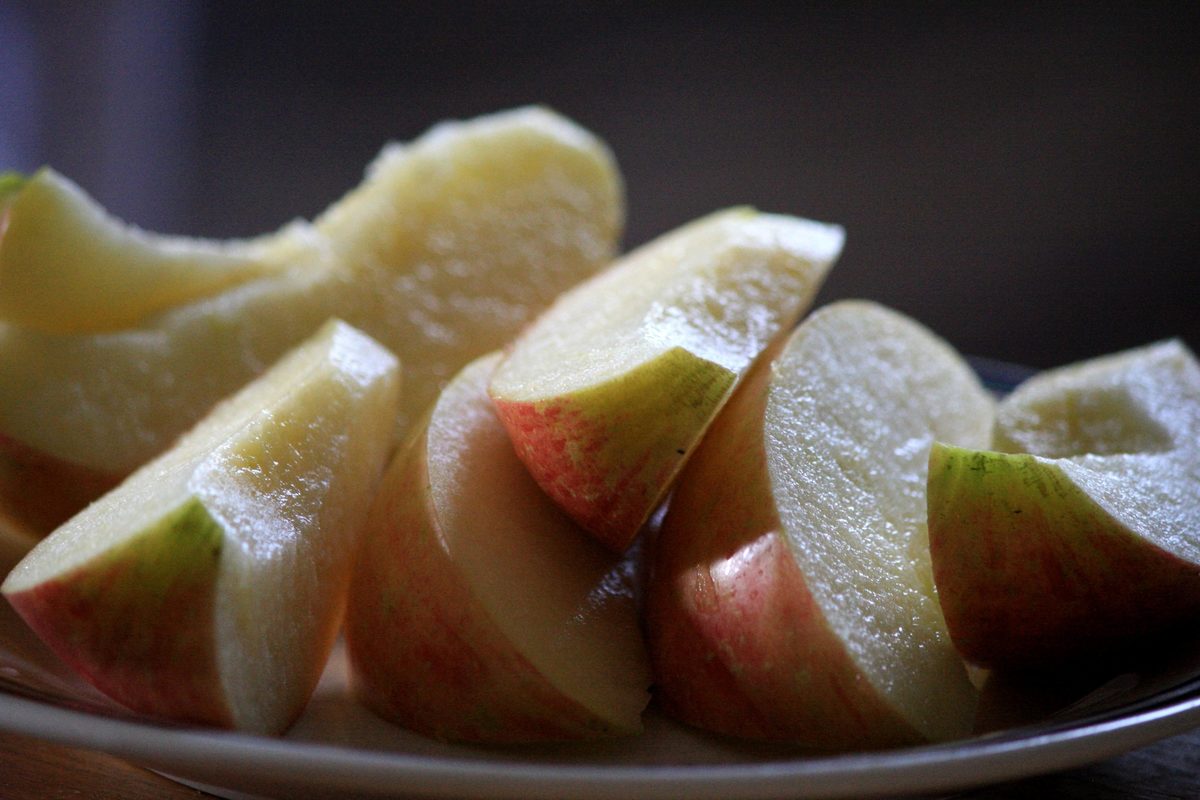 Apple slices absorb odors
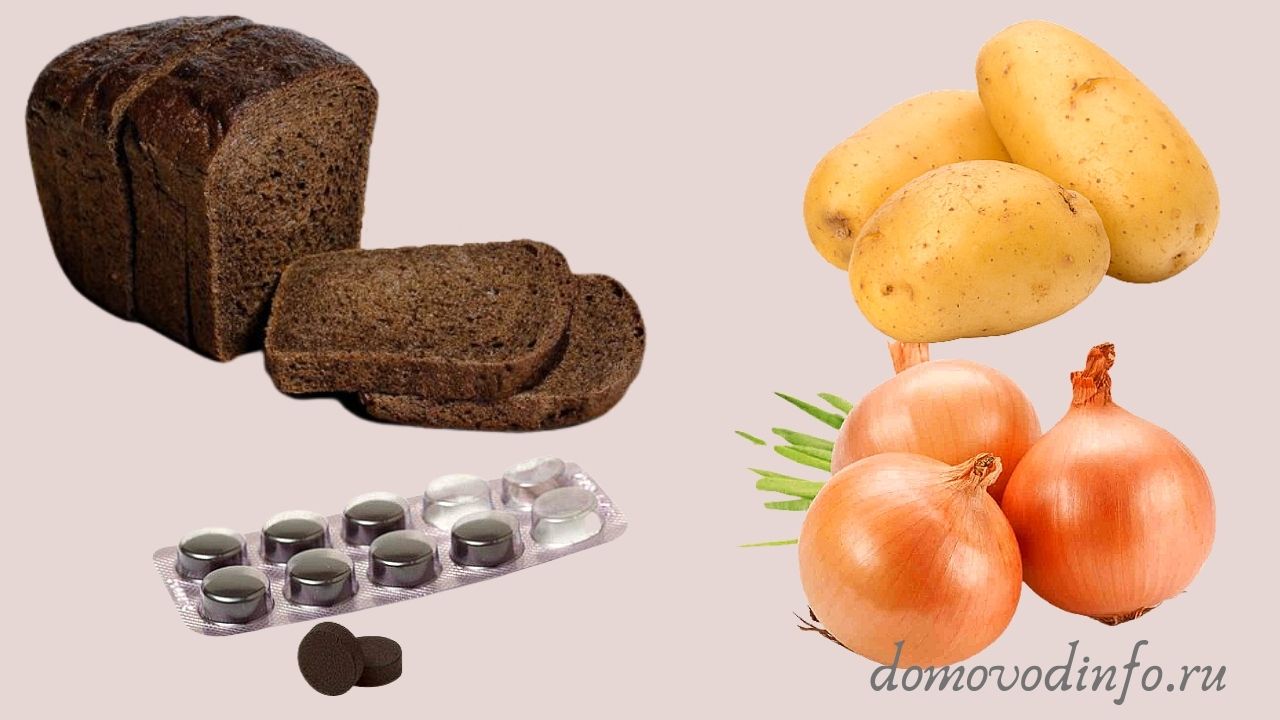 Food products are good adsorbents
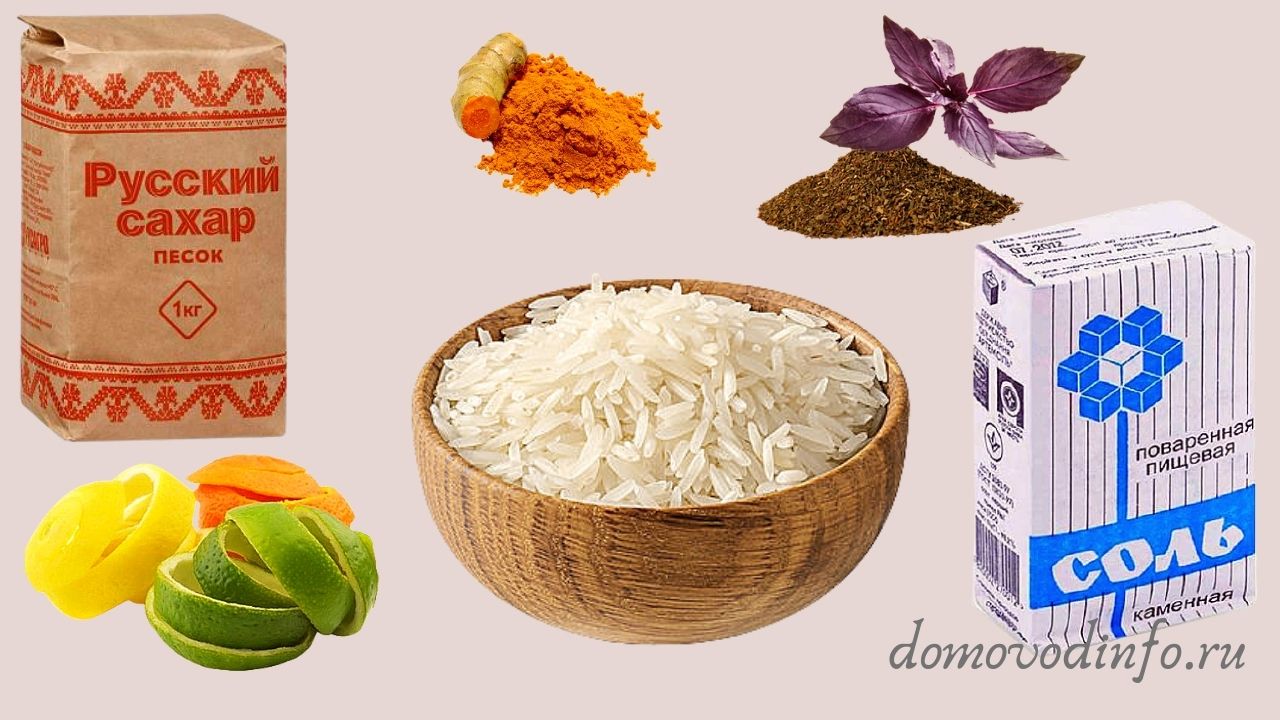 Products absorb not only odors and moisture, but can also work as odorants.
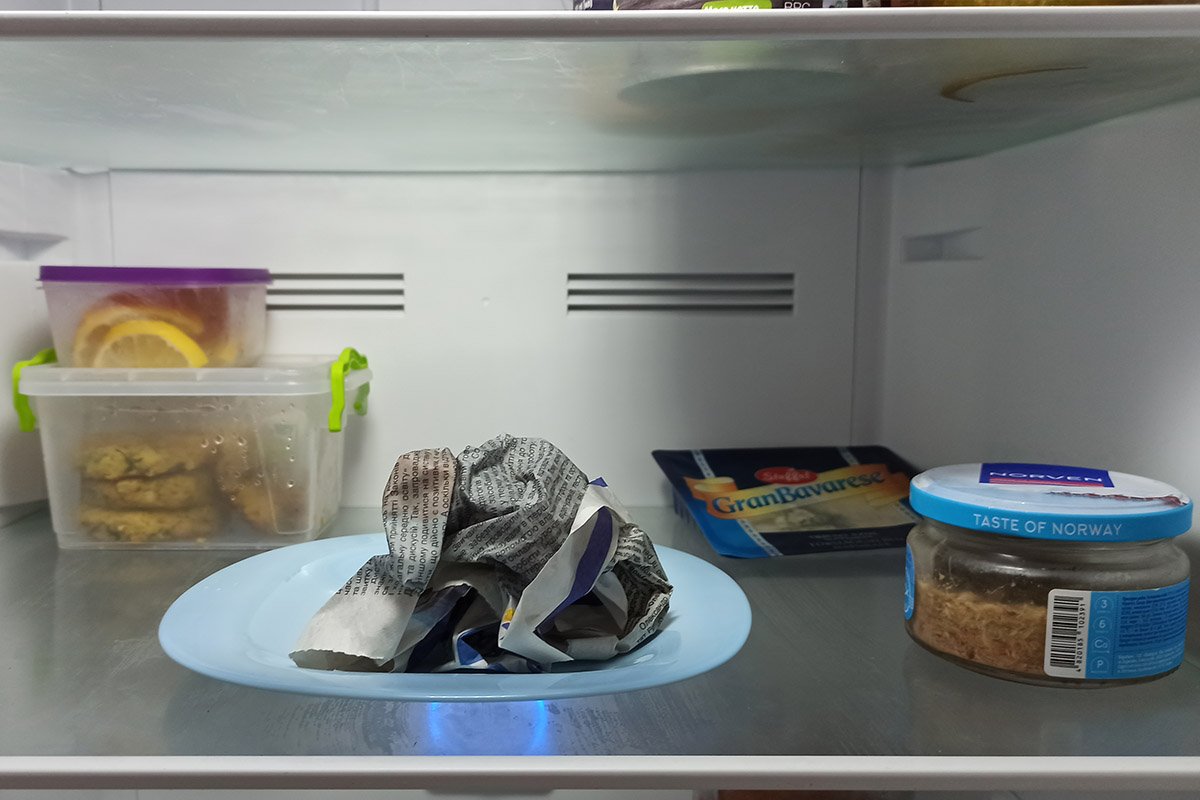 Paper will remove the odor in 2 days
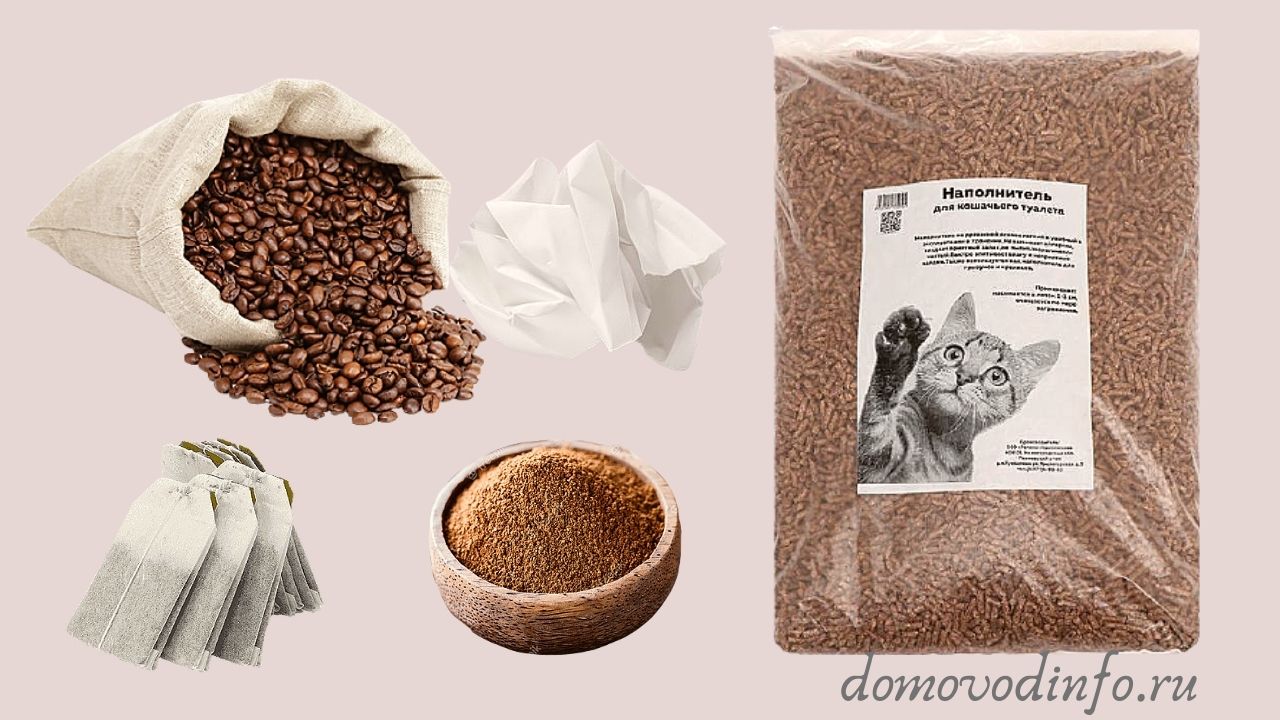 To choose the right odor absorber, you need to test several
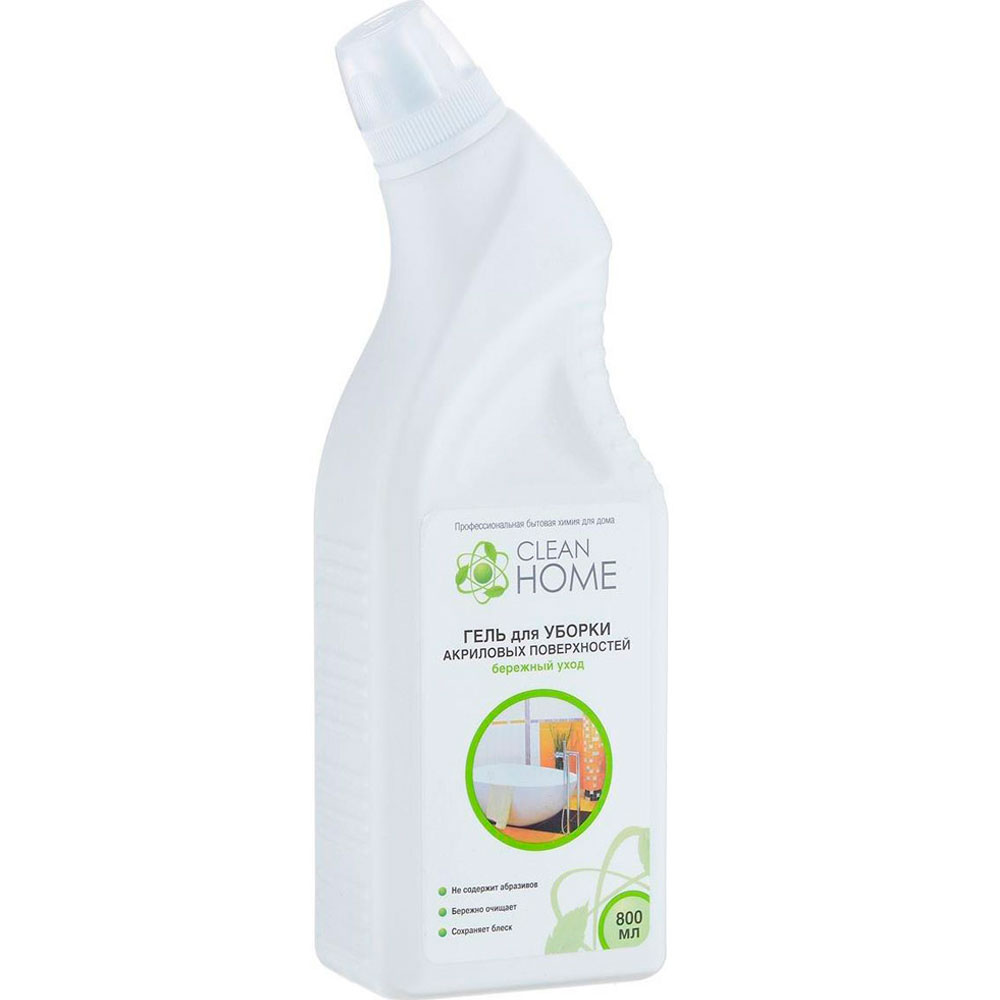 Safe Clean Home
 The new refrigerator requires special attention. Before connecting to the mains, it must be thoroughly washed inside and out, and then dried well.
 For many housewives, despite the wide range of cleaning products, soda remains a favorite. This is not surprising, because at a low price it allows you to observe an excellent result. Soda is also suitable for refrigerators.
 At least twice a year it is necessary to carry out a complete defrosting of the device. It is recommended to clean the main cooking chamber weekly
 To get rid of mold yourself, you can use a combination of baking soda and vinegar. It is enough to wipe the surface with a soda solution, and then apply a solution of vinegar; wash off the mixture preferably after a while. It is better to dry the treated shelves and walls with an ultraviolet lamp or a hair dryer with a stream of hot air.
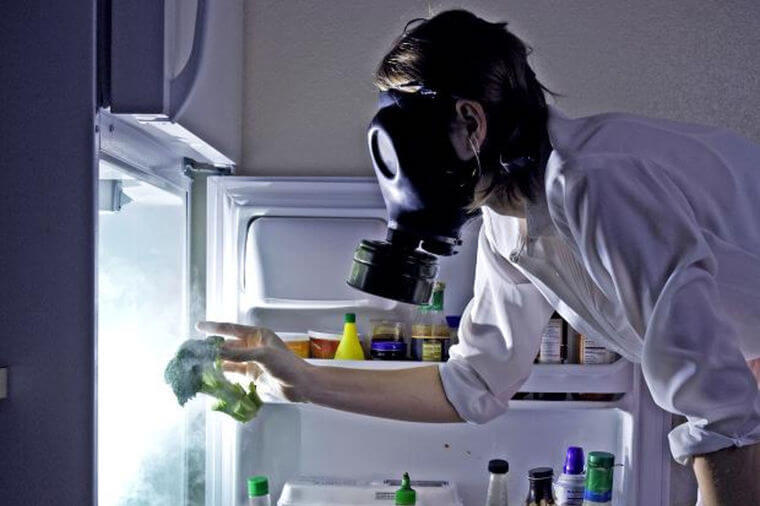


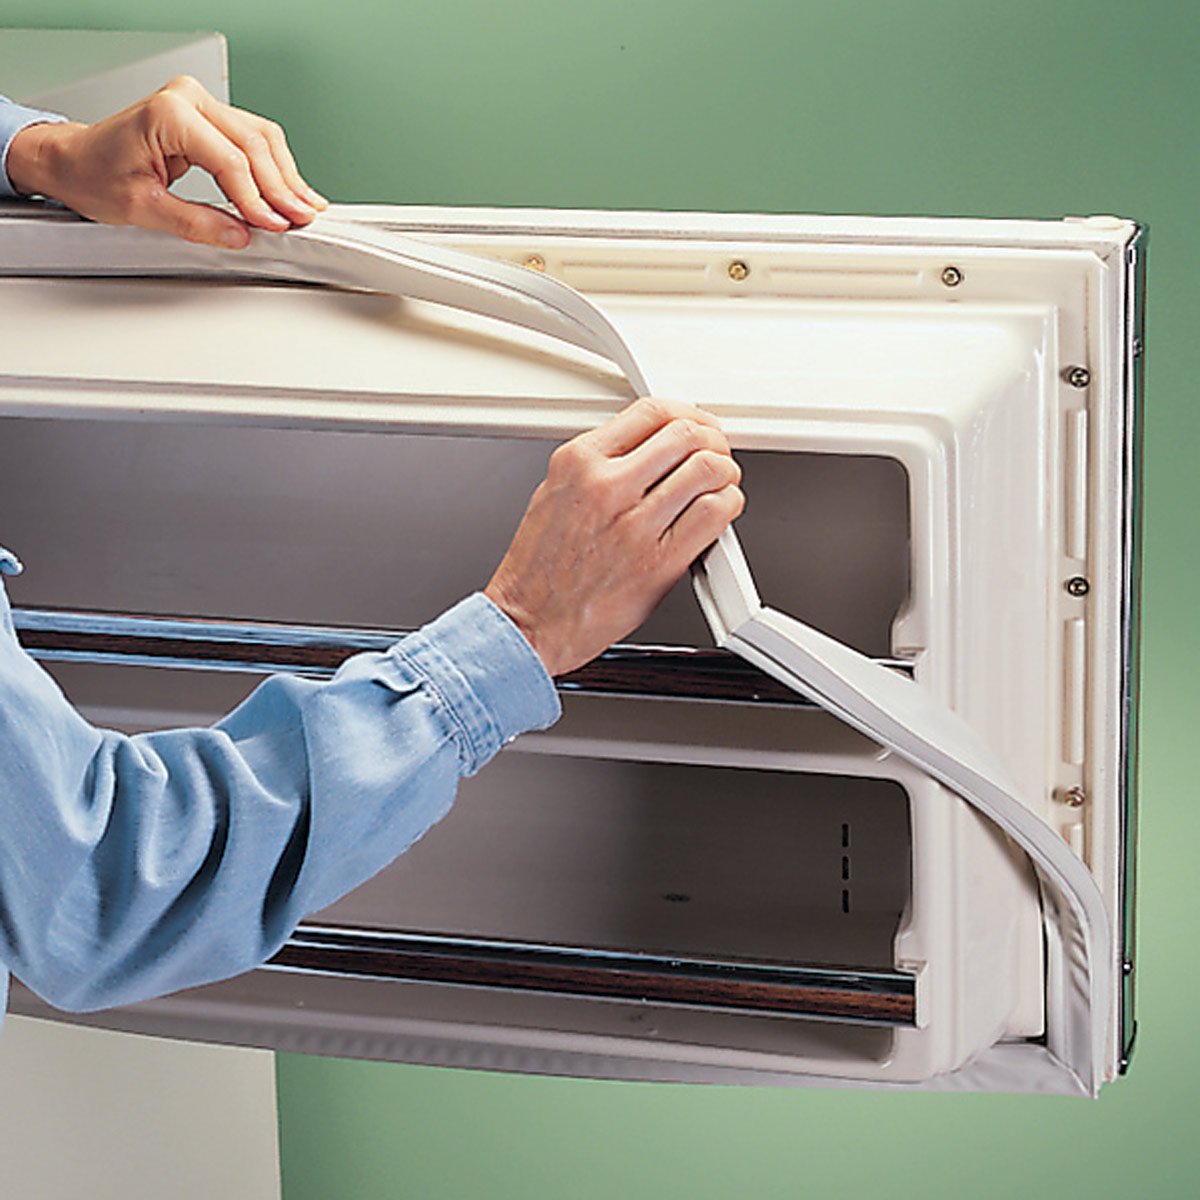 It could be a seal failure.
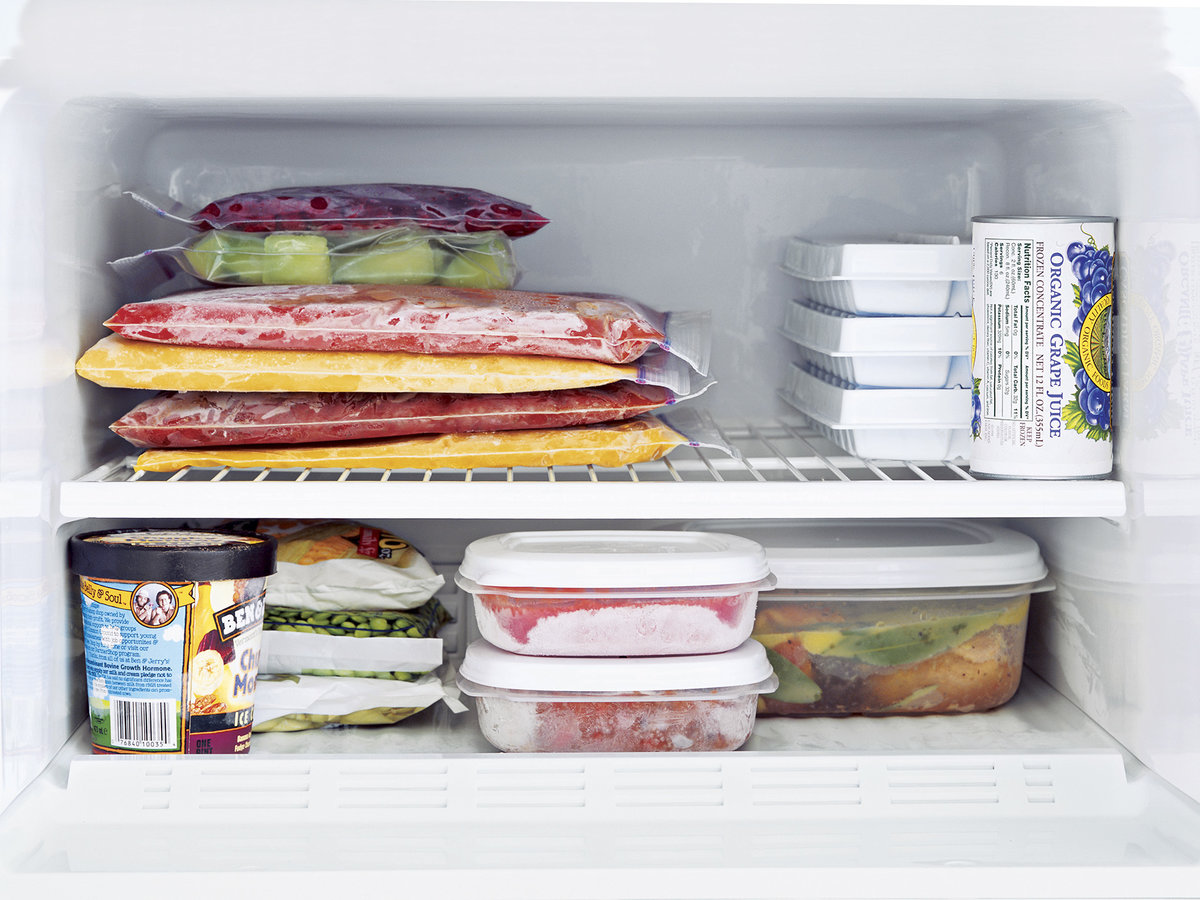 Products should not be stored in plastic bags.
 Dispose of spoiled meat immediately.
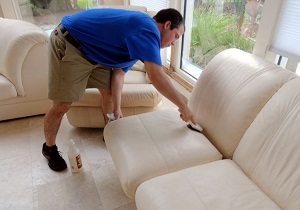
 Saving the sofa, do not spare toilet paper
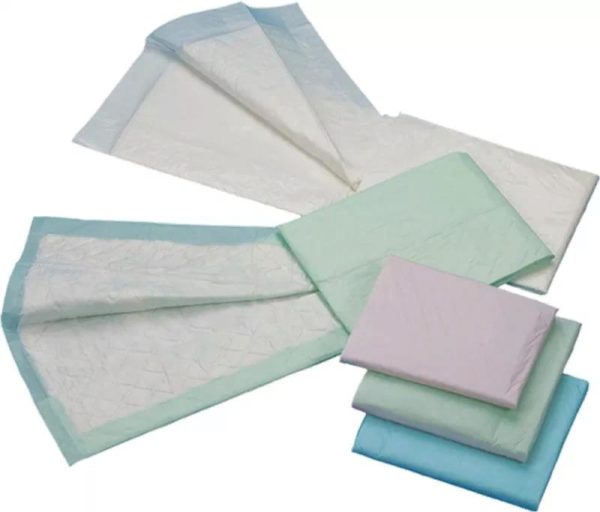 Disposable diapers are the best way to absorb any wet marks and odors
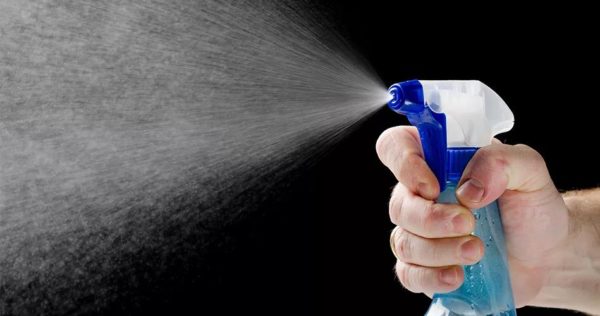 It is necessary to spray abundantly the place where the stain was
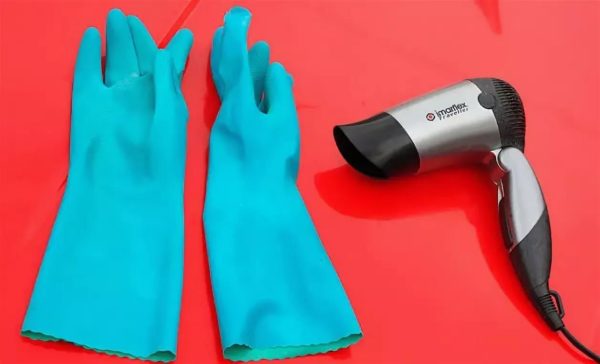 Heat the stain with a hairdryer for no longer than five to seven minutes.
 Baking soda cleans light rugs well. For carpets with dark pile, salt, potato starch, chalk chips or talc are suitable. They will not discolor the finish.
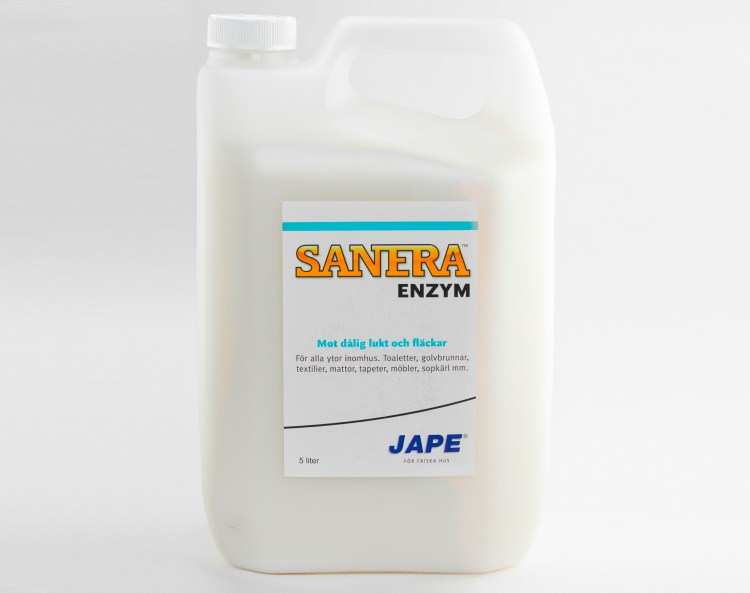
 Using professional household chemicals, you should always do a test. If the pile is not discolored, not faded, has retained its structure, the composition can be used for basic cleaning.
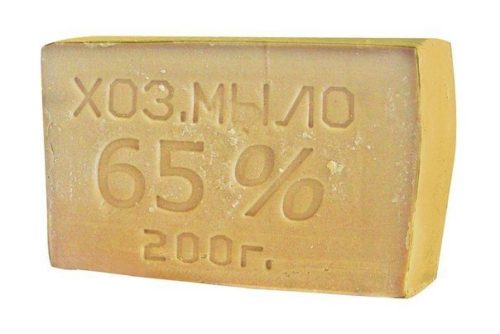 We remove old stains from the sofa with laundry soap
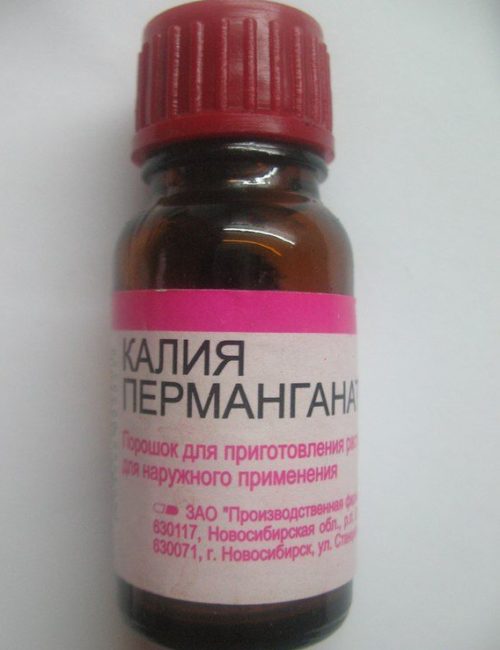 We remove old stains from the sofa with potassium permanganate
 With improper or irregular care of plumbing, an unpleasant smell from the toilet bowl may be present in the toilet.
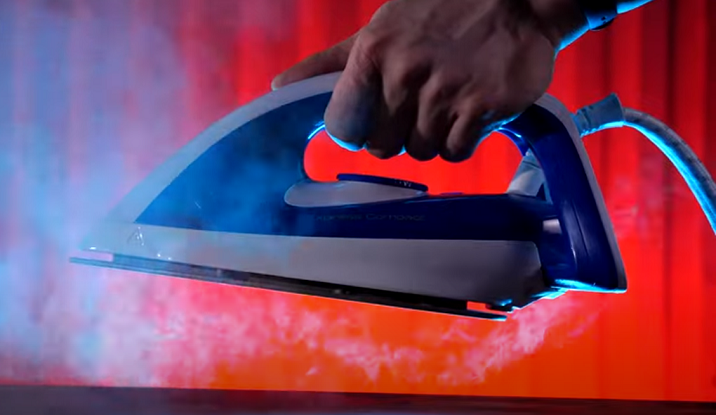 Freezer, chemicals that can be found in every home - vinegar, alcohol, or even hot boiling water - all this can be used to get rid of a stubborn stain.
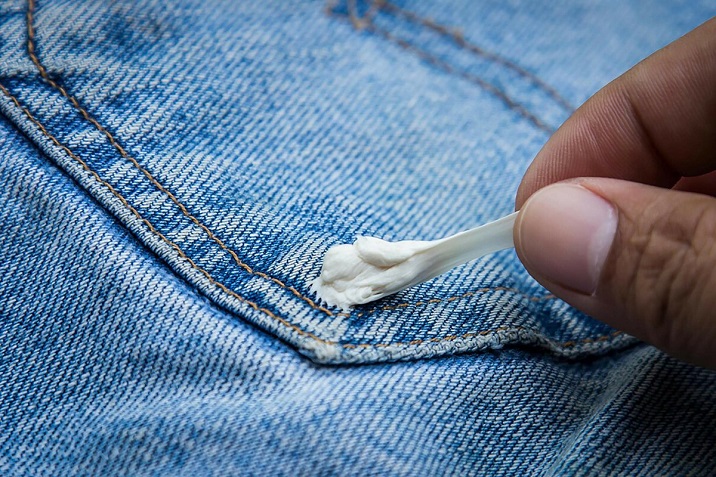 The only thing to be wary of is that jeans may shed or the fibers will be damaged from mechanical cleaning.
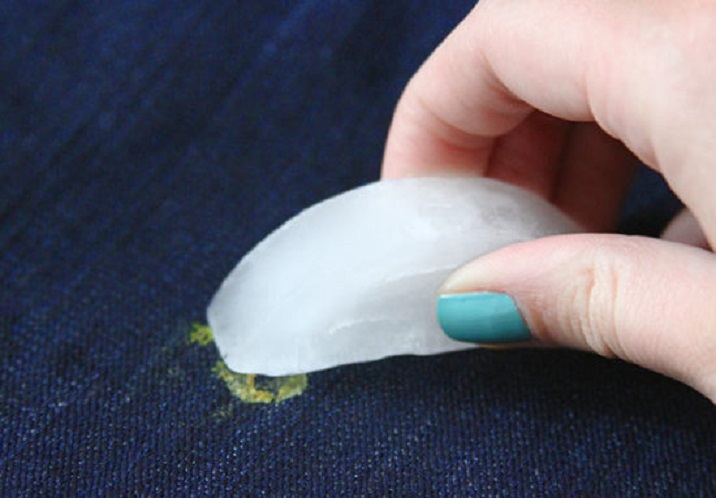
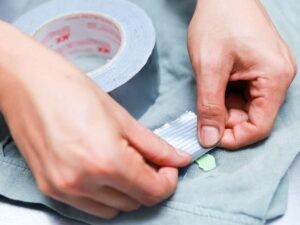 Adhesive tape is suitable for all types of fabric - with pile, woolen, leatherette, etc.
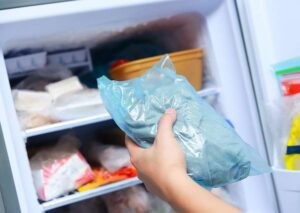 Wiping marks after exposure to cold is one of the easiest, most effective and inexpensive ways:
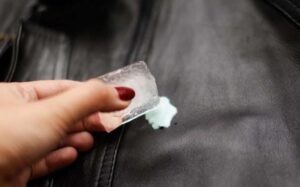 Local exposure to cold. It is not necessary to completely put a thing in the freezer, the area is cooled.
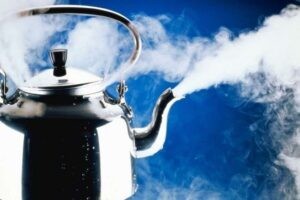 The option is not suitable for delicate items that need to be protected from washing with hot water.
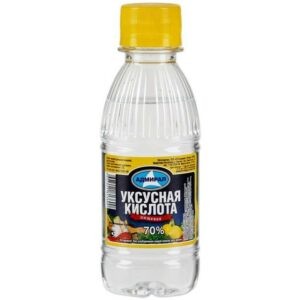 You can remove chewing gum from clothes with vinegar without financial and time costs. Procedure:
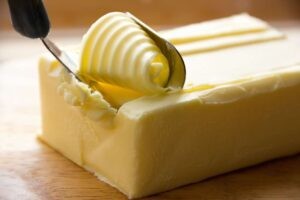 Butter is a product that can remove a stain. The sequence of actions is simple:
 An analogue of butter, mayonnaise peels off the gum from the fabric due to the fat content. Reviews recommend rubbing 1-2 tbsp. l. mayonnaise for a few minutes. Pollution leaves in layers, they are removed, and the mayonnaise is rubbed again until eliminated.
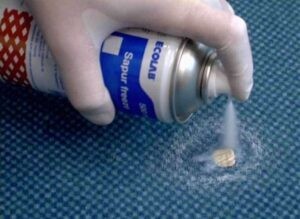 Hairspray will help to remove sticky gum without streaks on your favorite clothes.The instruction is simple:
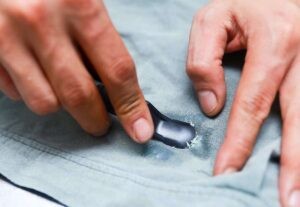 She can be found in every home. How to remove chewing gum from clothes with toothpaste in a few steps:
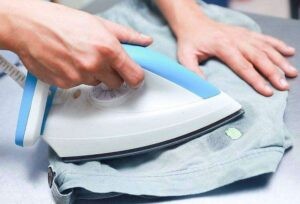 The heating option is no less effective than freezing.
 Alcohol peels off the stuck gum, it can wash off residual deposits.
 Baking soda paste will help you peel off the chewing gum yourself. You can find it in every grocery store or kitchen.
 Disposable, alcohol-soaked wipes are an alternative to vodka. The principle of operation of an alcohol wipe is similar to liquid:
 Another way is with heating. Using a hair dryer to remove stubborn chewing gum from clothes is very simple:
 Household chemicals available at home are a good helper. You can remove chewing gum from the fabric with liquid soap or washing gel on any clothes - both on tight jeans and on a delicate blouse.
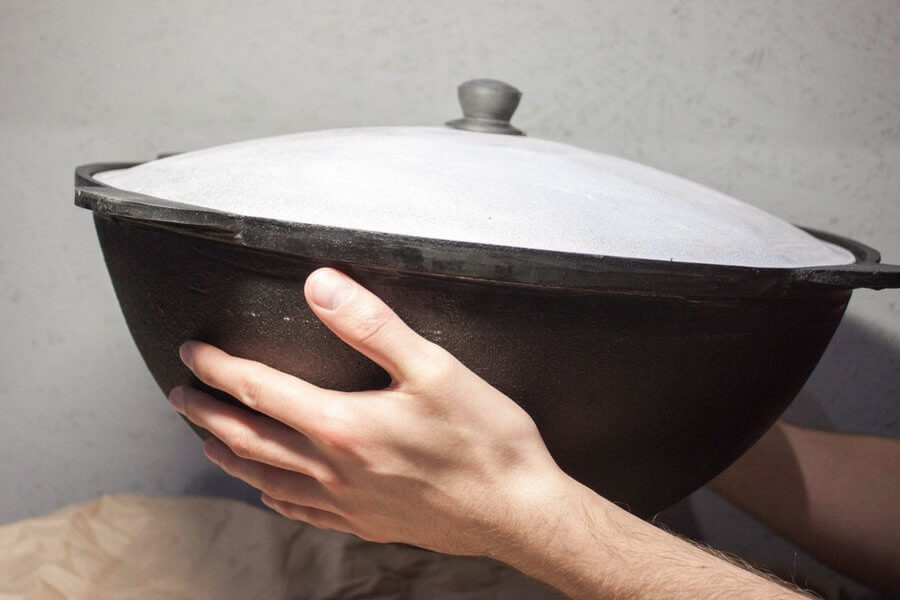
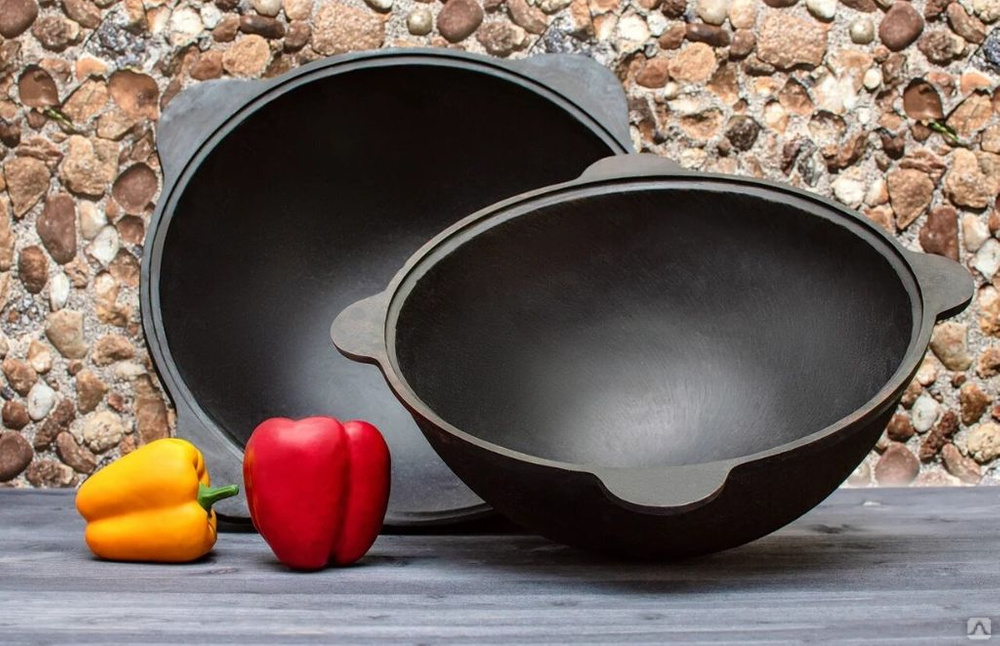
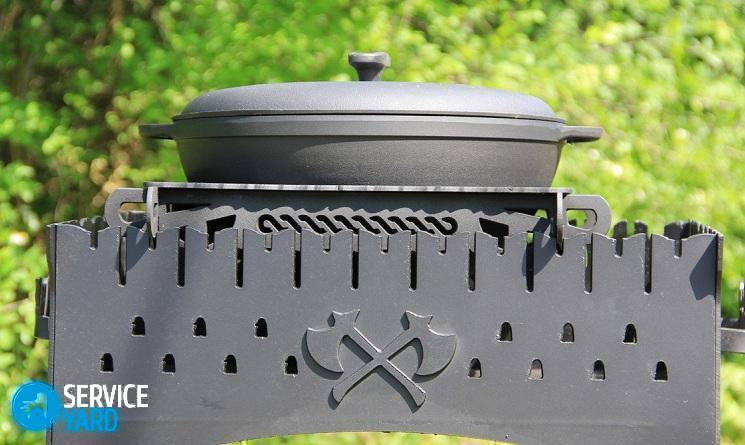
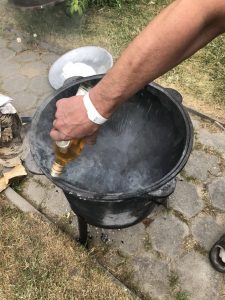
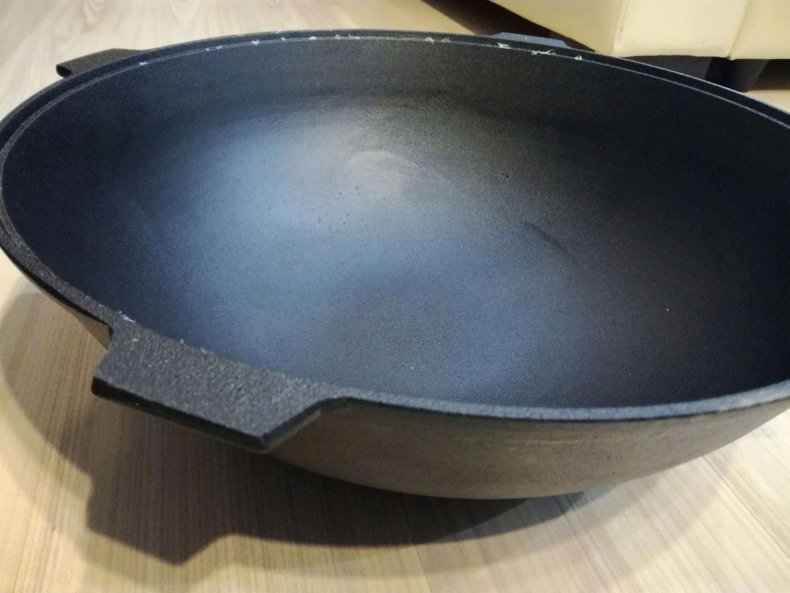
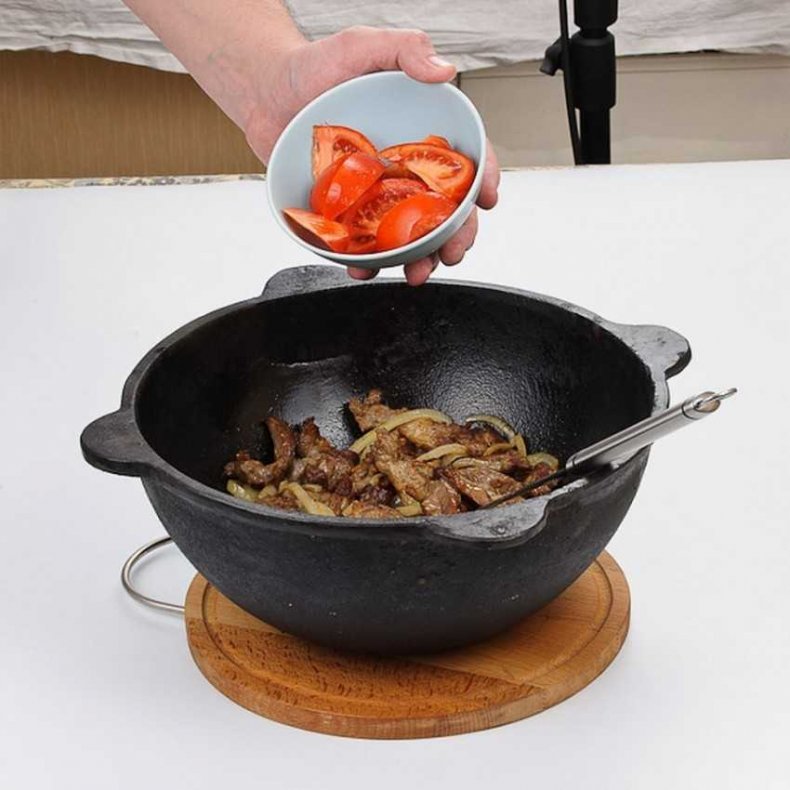
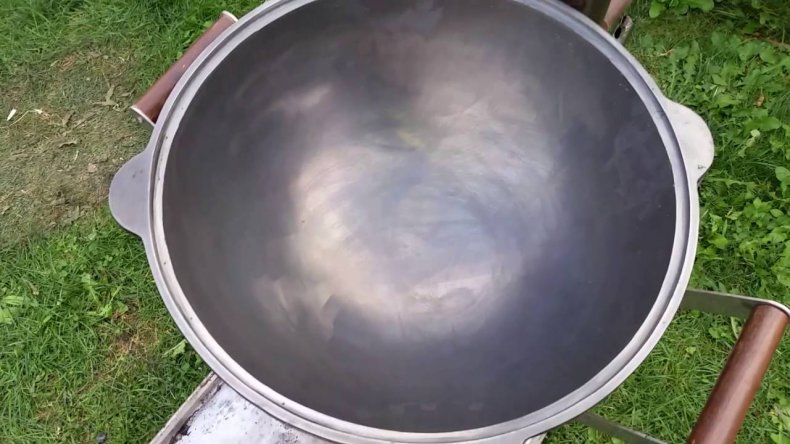
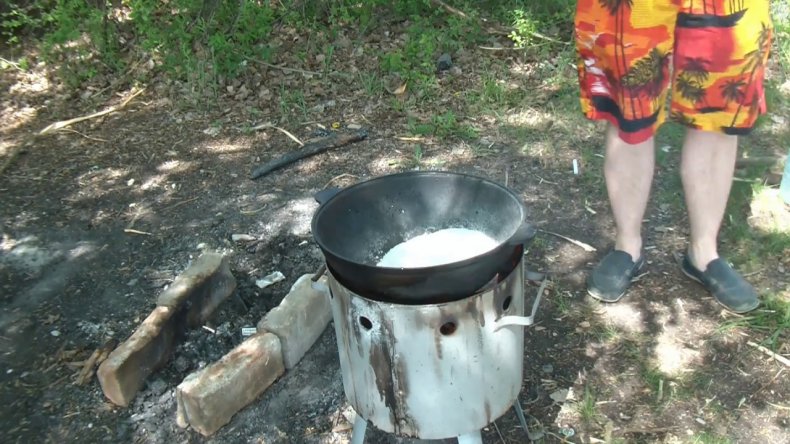
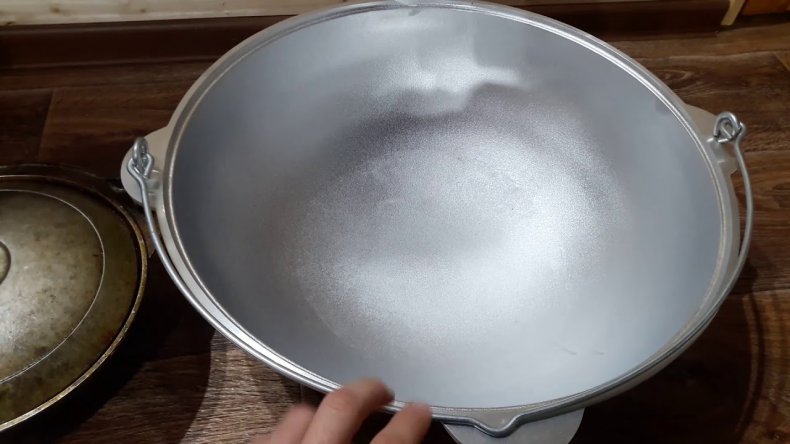
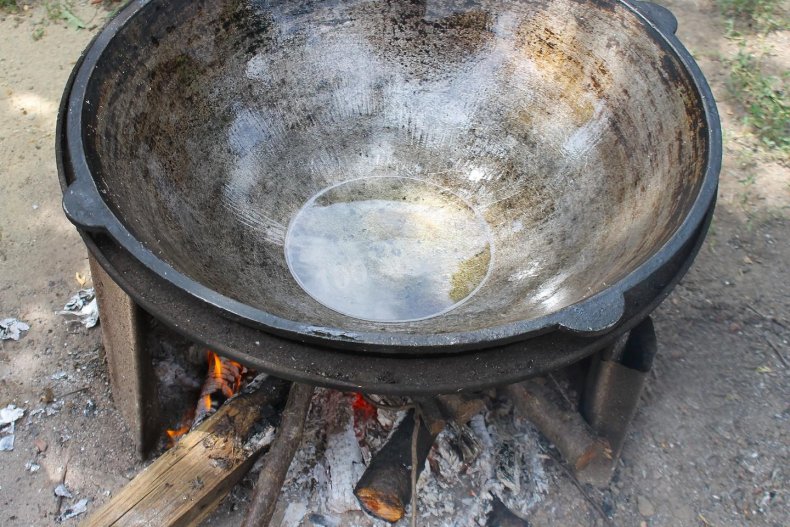
 Kazan is the national dishware of the peoples of Central Asia.
 The cauldron is convenient for outings into nature.
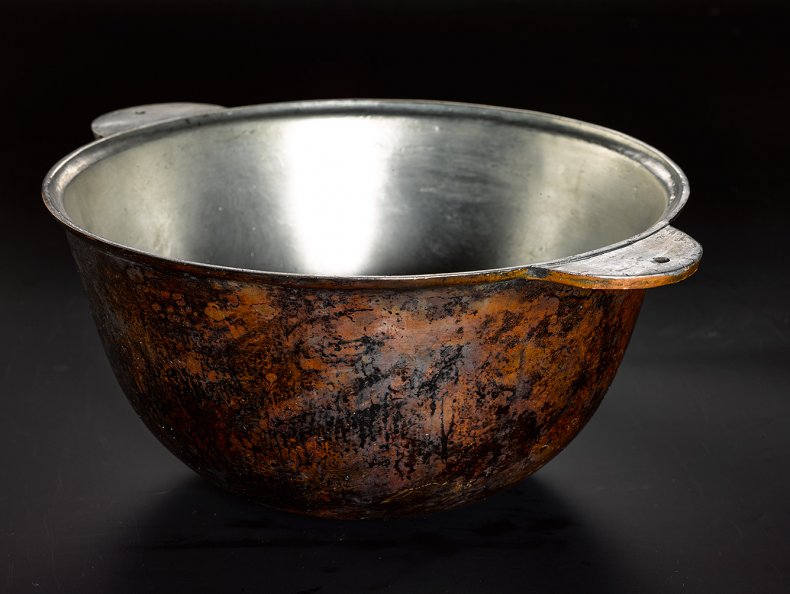
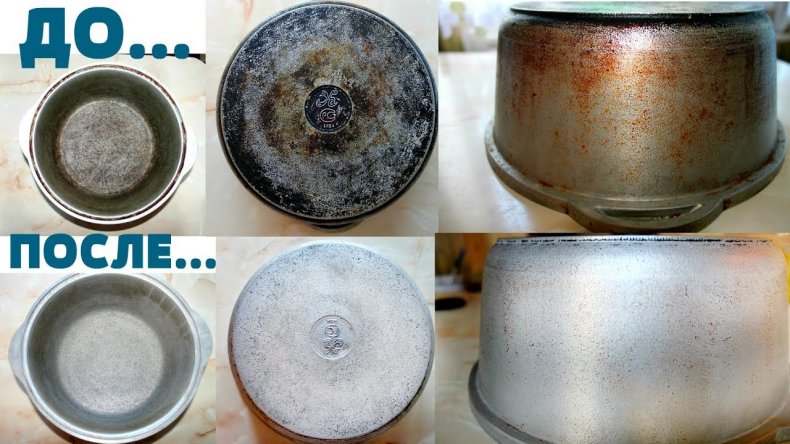
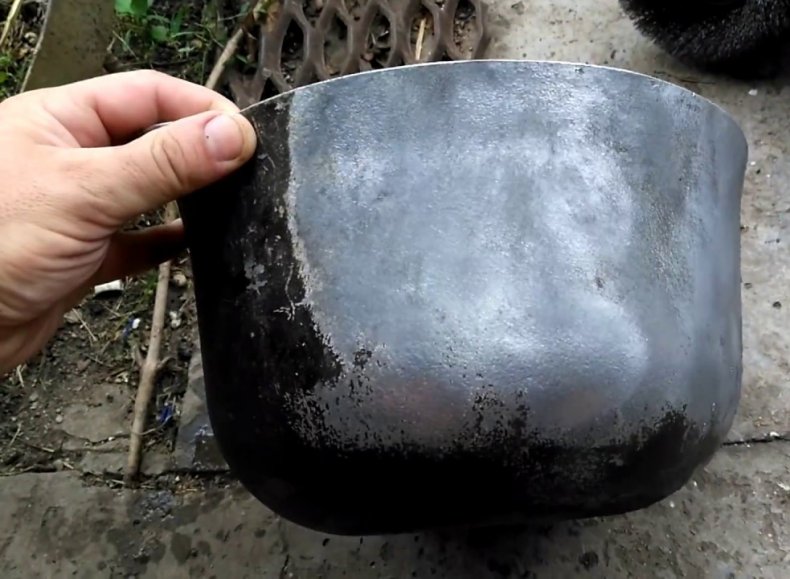
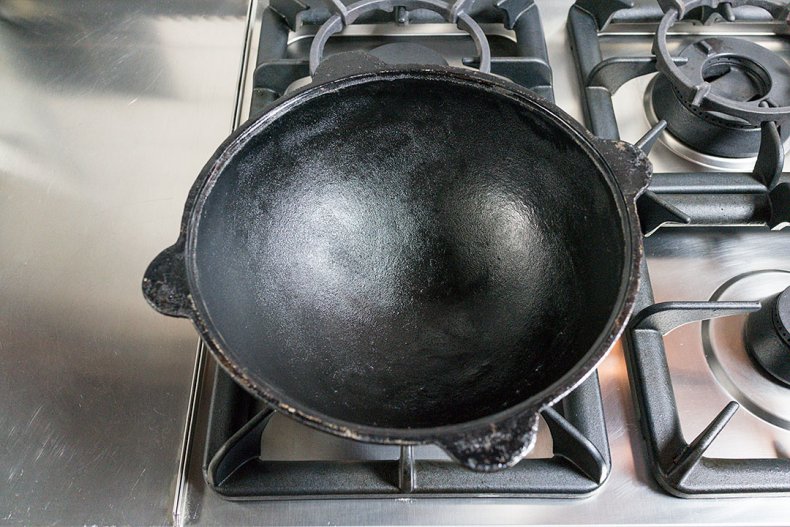
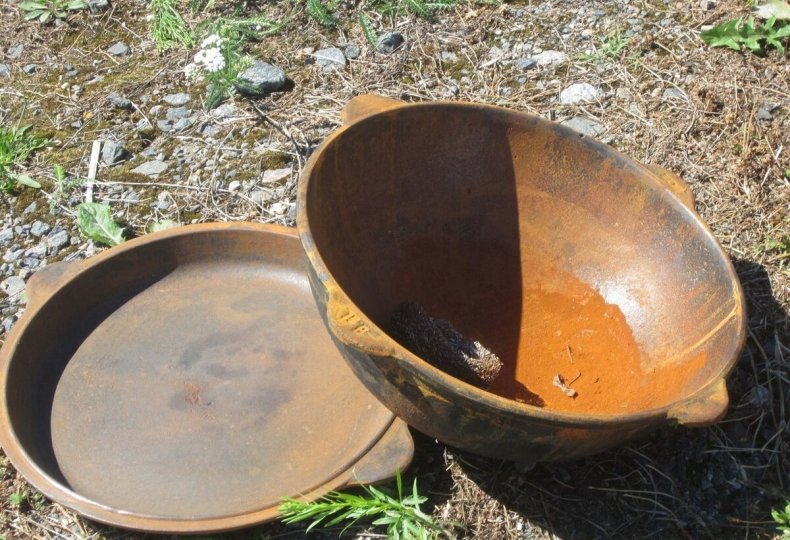
 A cast-iron cauldron can break from falling.


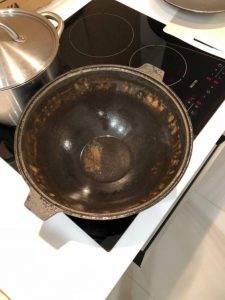
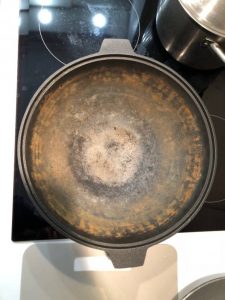

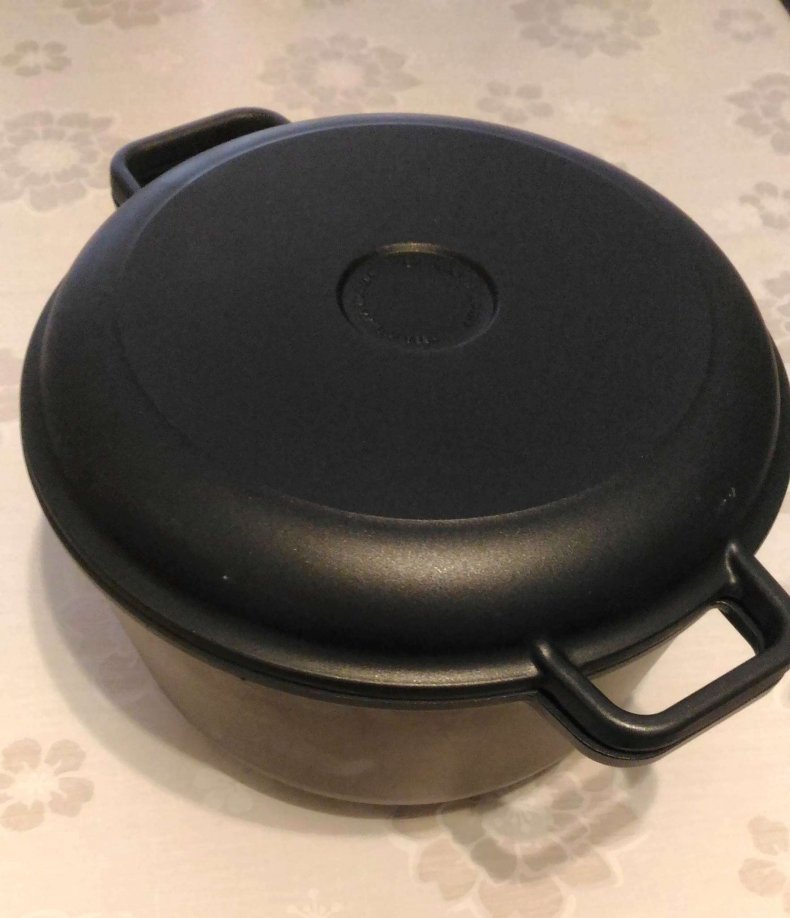
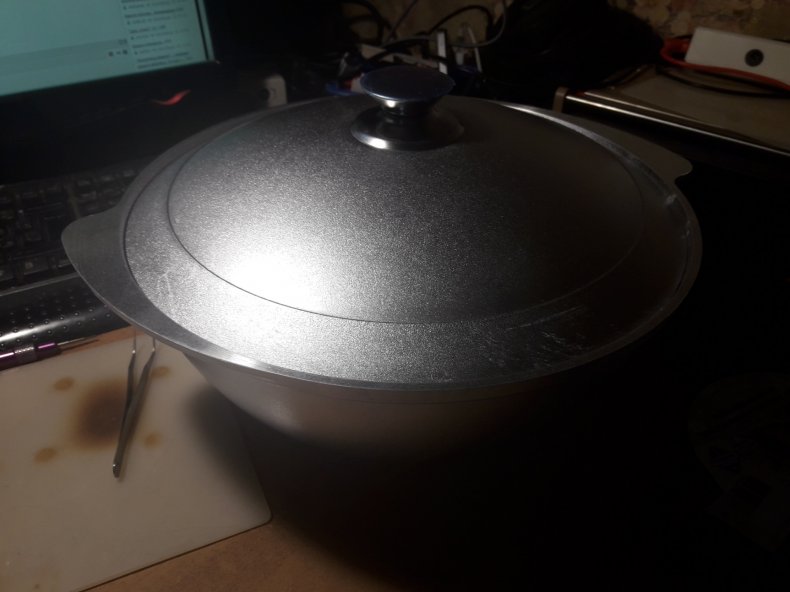
 Store cast iron cookware in a dry place in an oiled cloth. The cauldron should be protected from high humidity so that rust does not form. After that, the dishes will be unsuitable for cooking.
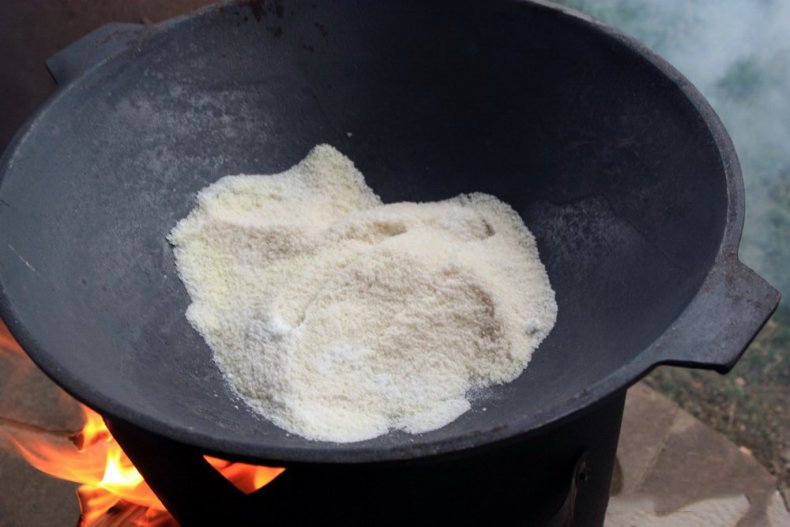
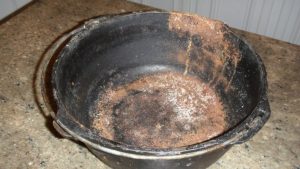
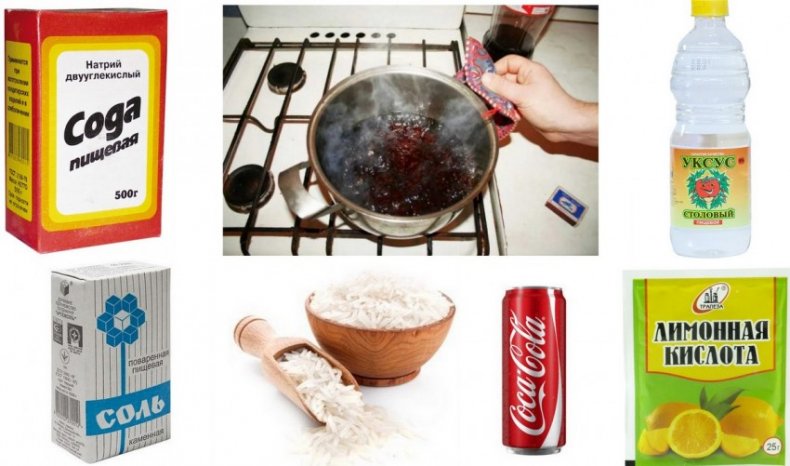
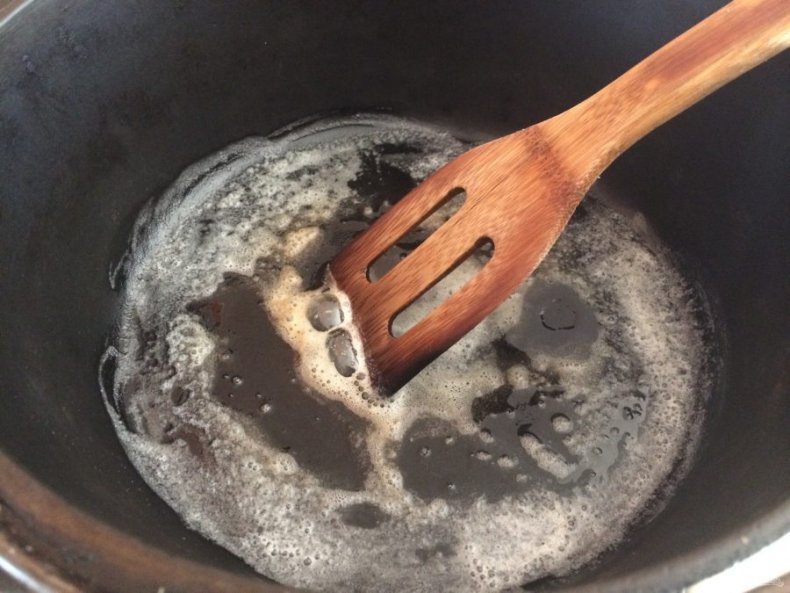
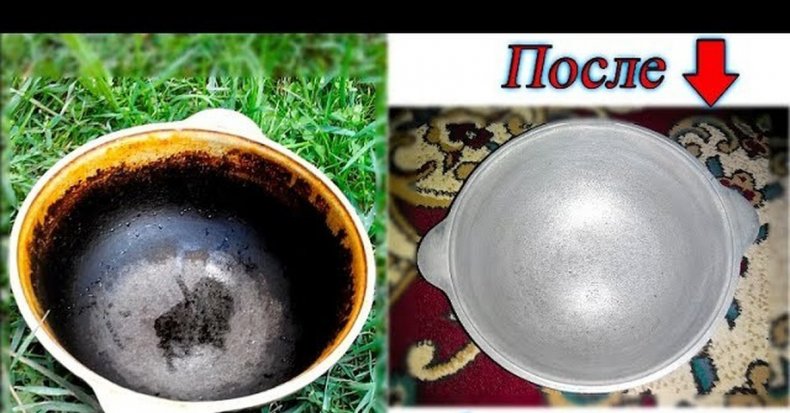
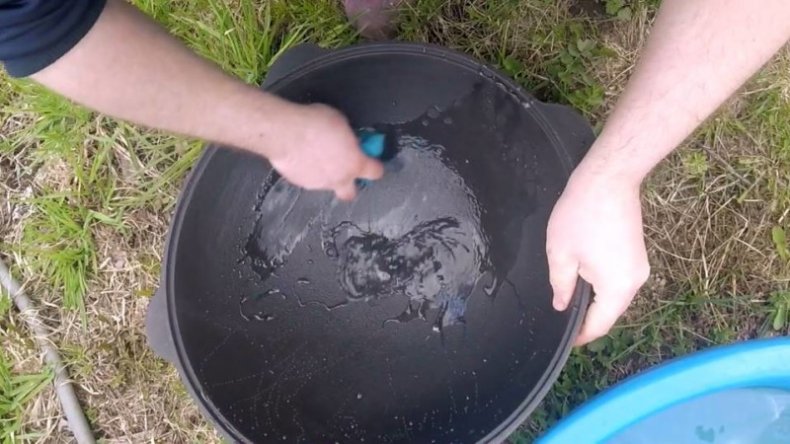
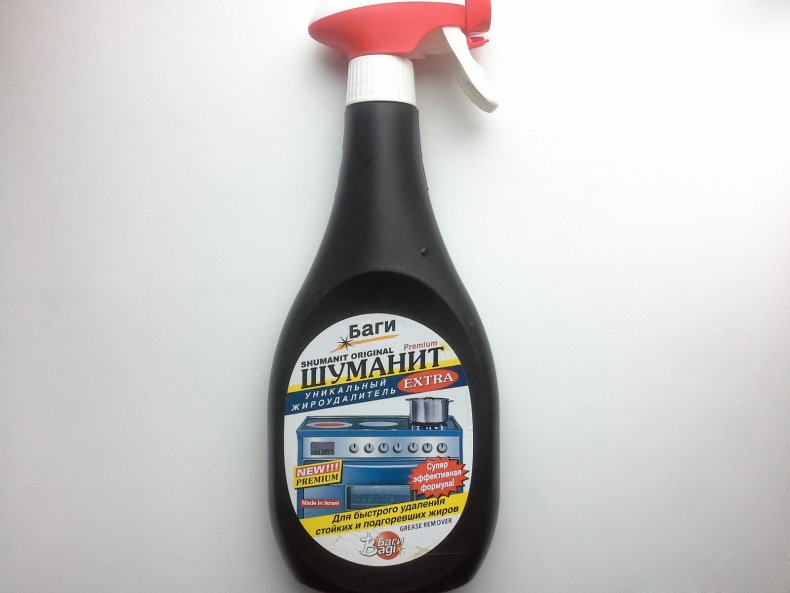
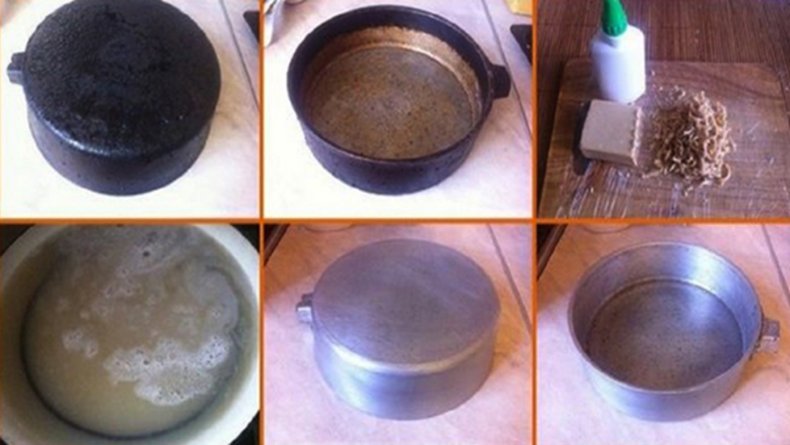
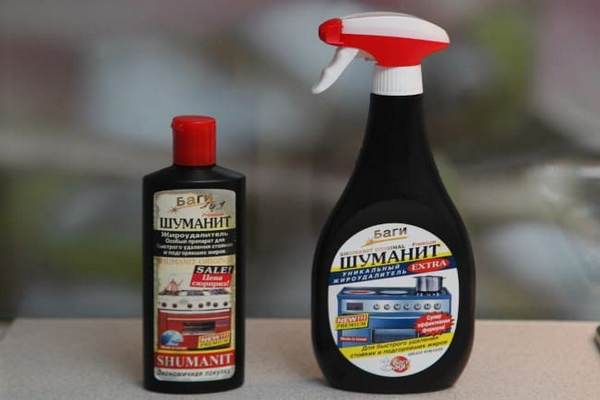 Not only with the help of folk recipes you can put the cauldron in order. Consider the most popular household chemicals among hostesses:
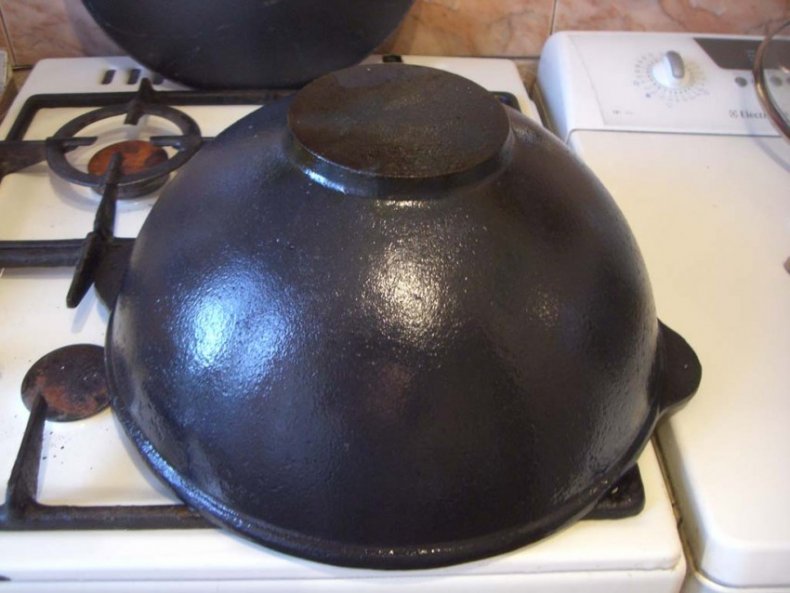
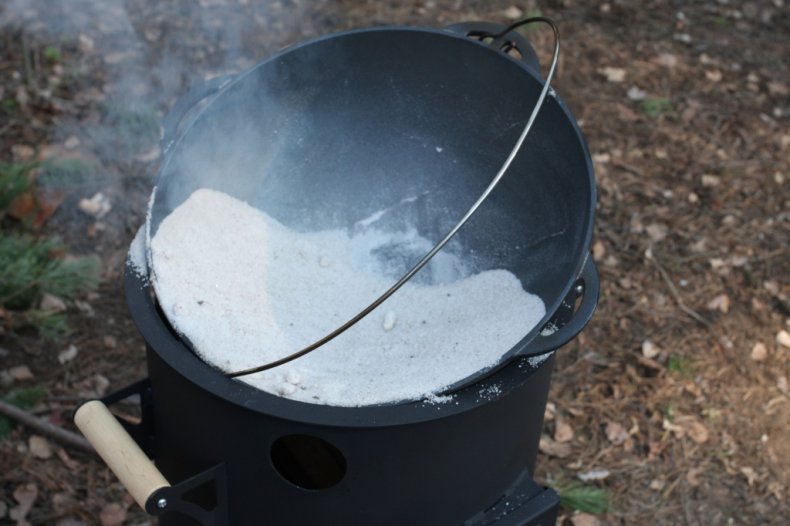
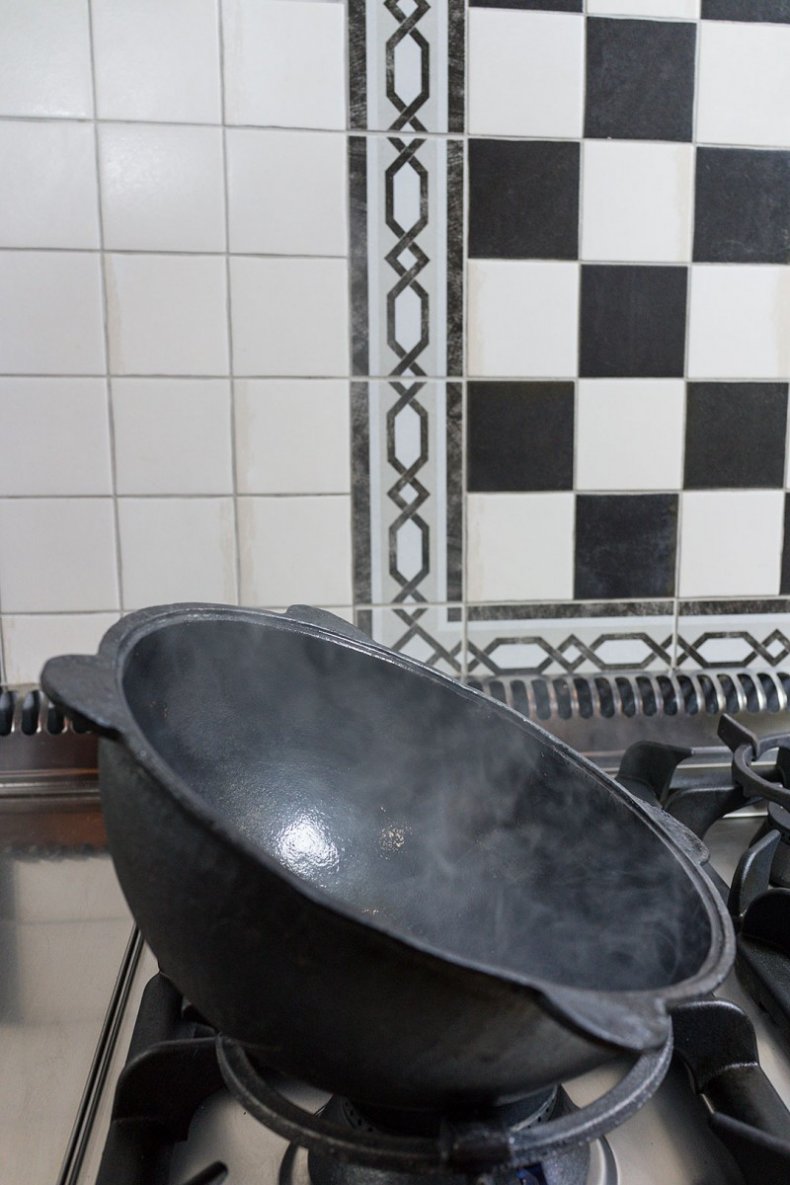
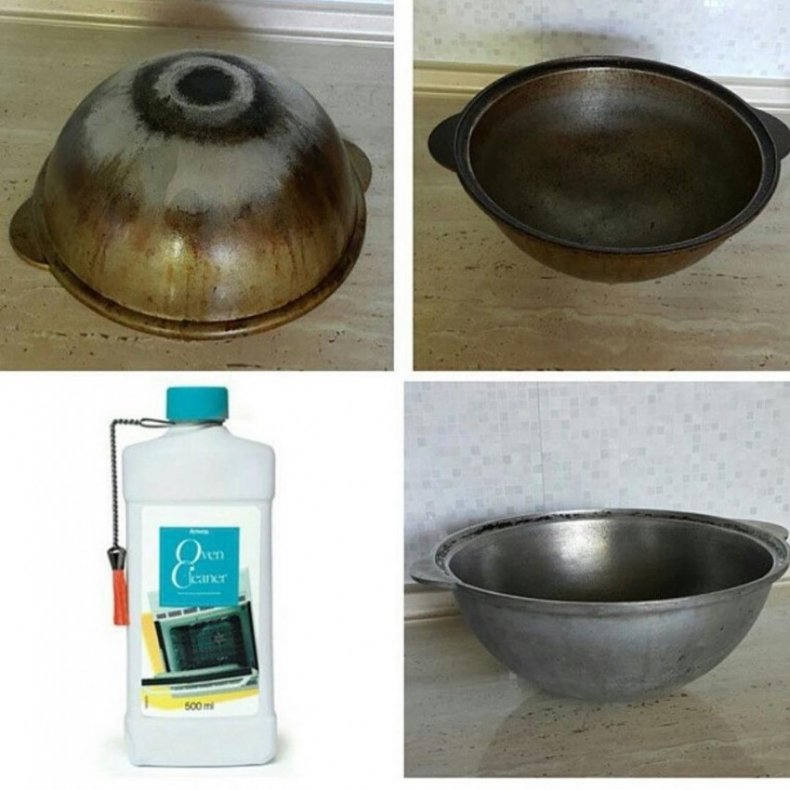
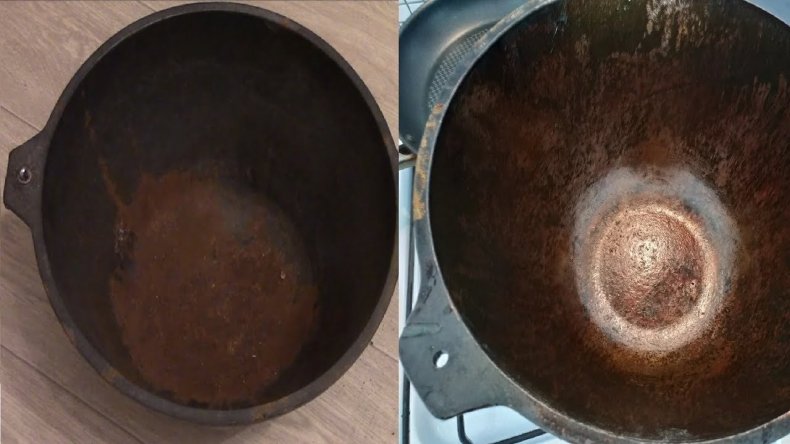
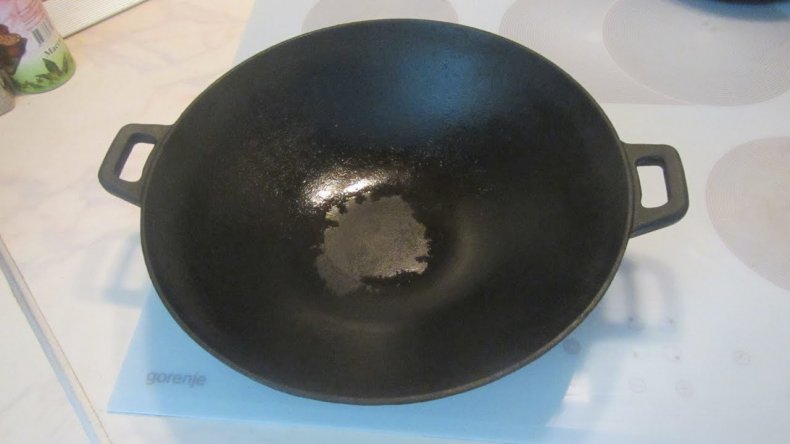
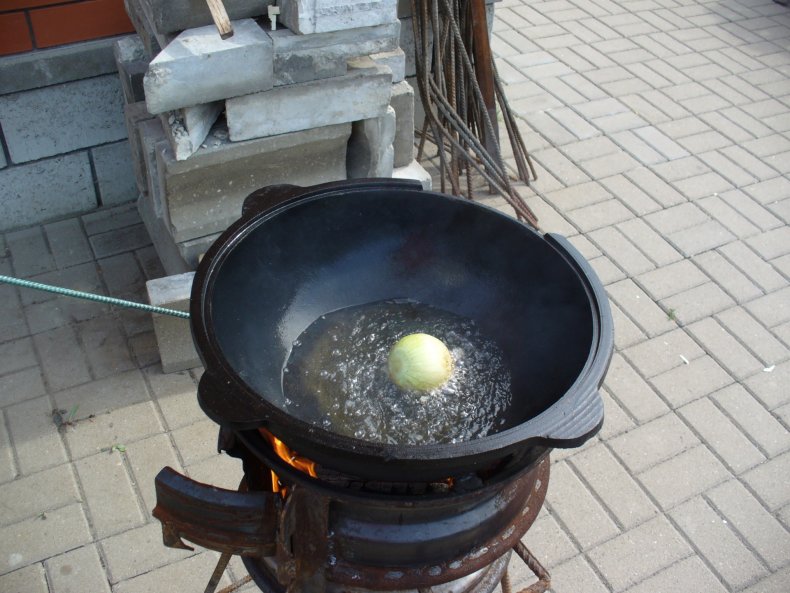

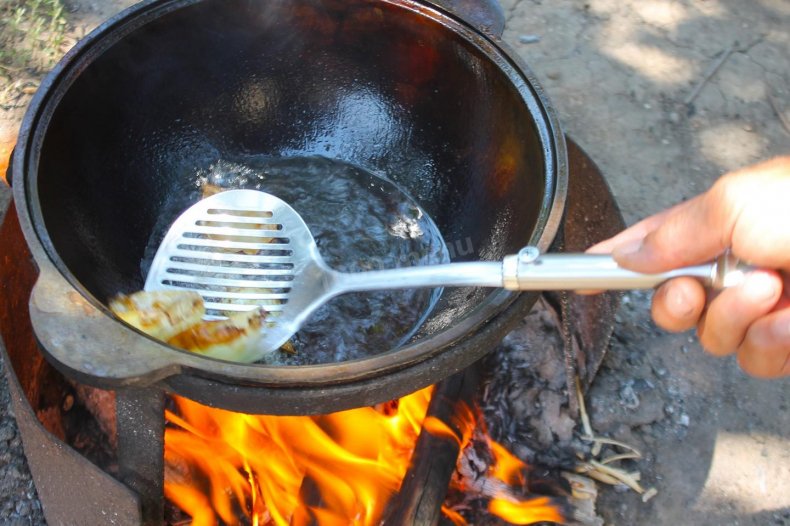
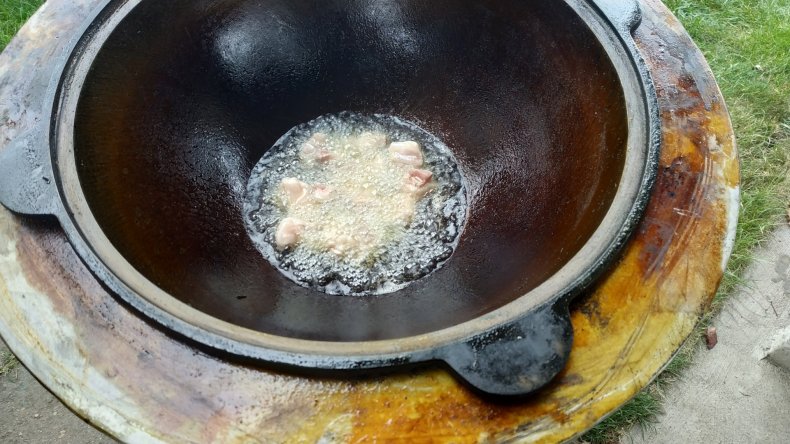
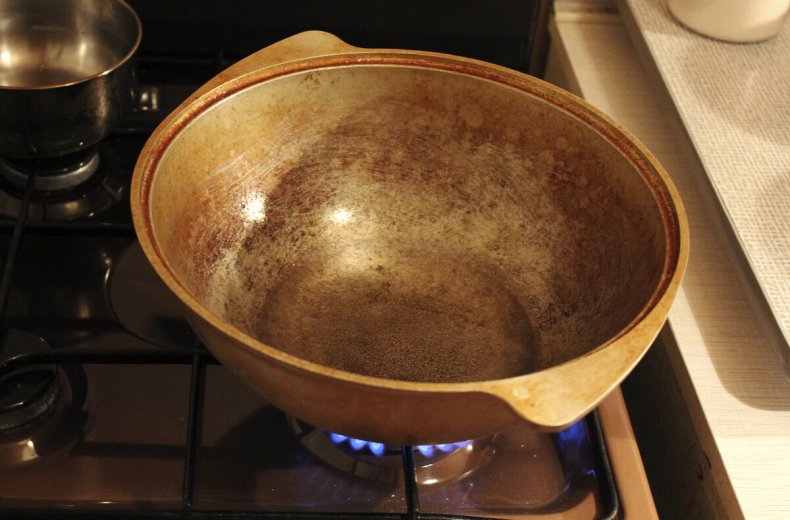
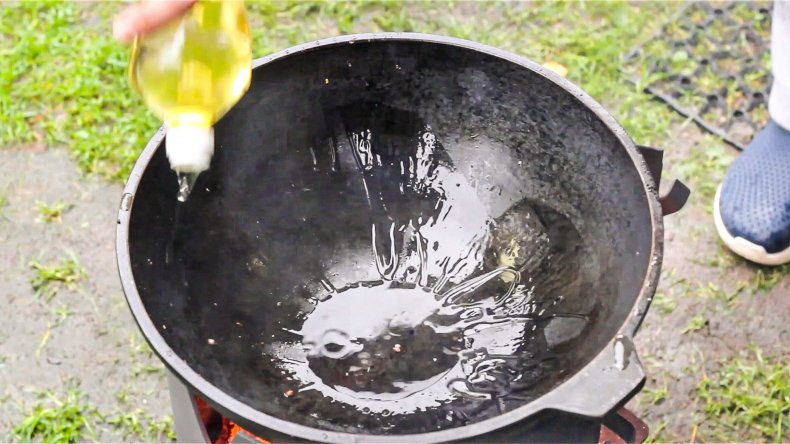
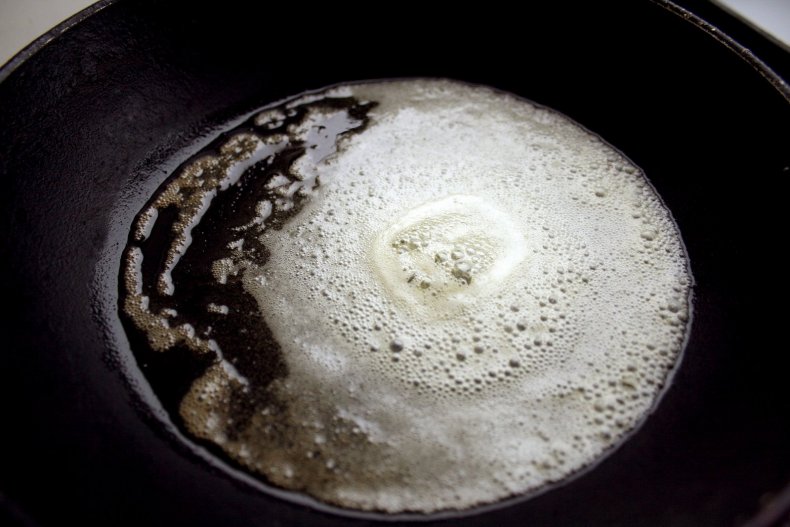
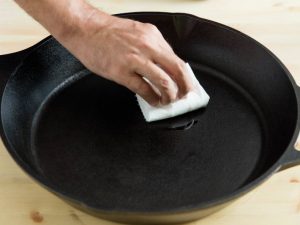
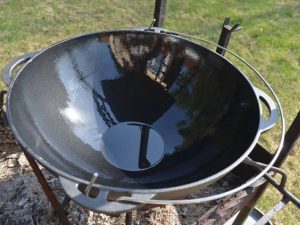
 Requires bluing - oil firing, creates anti-corrosion protection and non-stick layer.
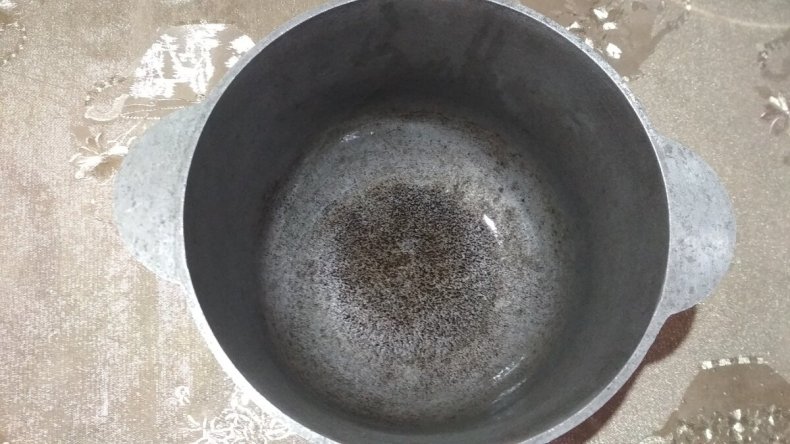
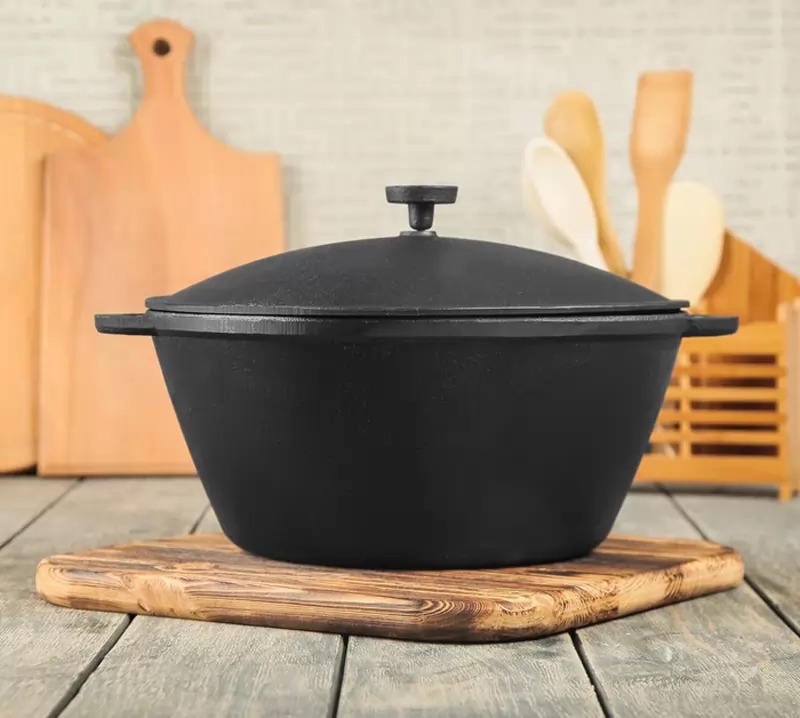 Cast iron does not like scratching, this destroys the oily layer, opens micropores, and food particles clog in them.
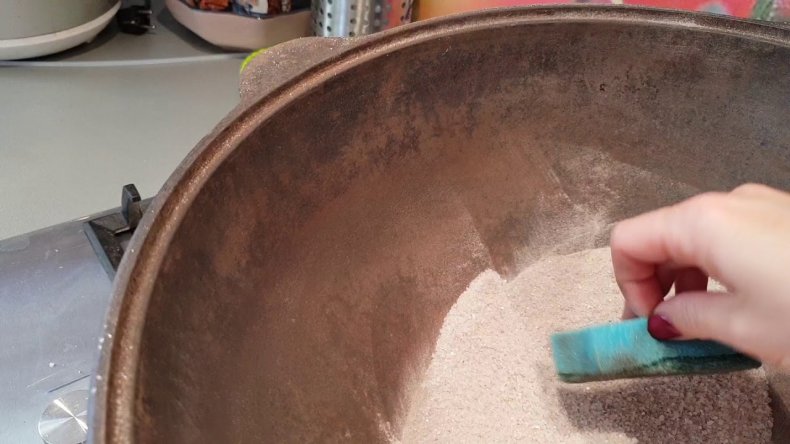
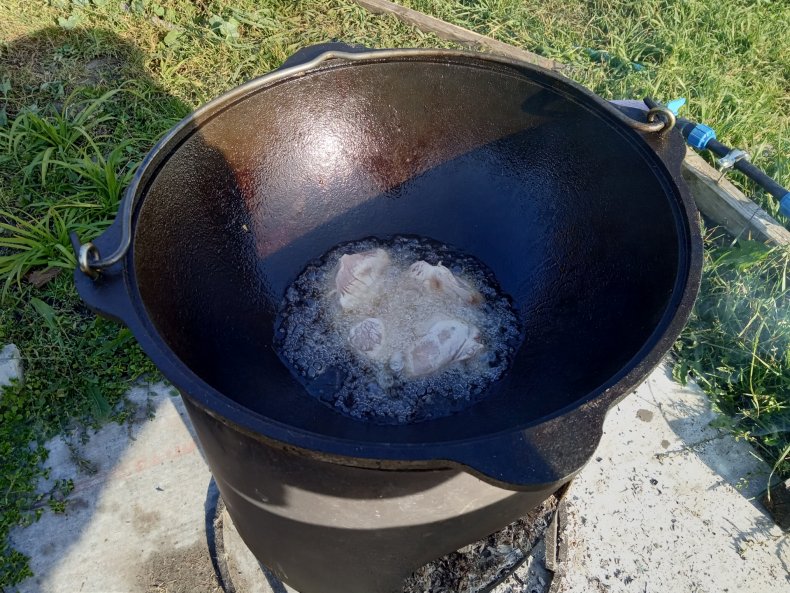
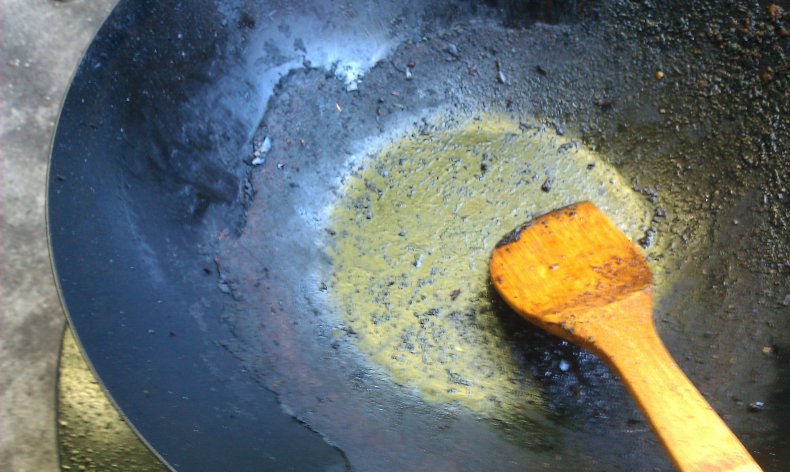
 Peeled potatoes will help remove plaque from the cauldron.
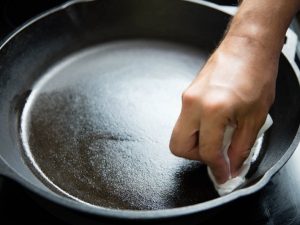
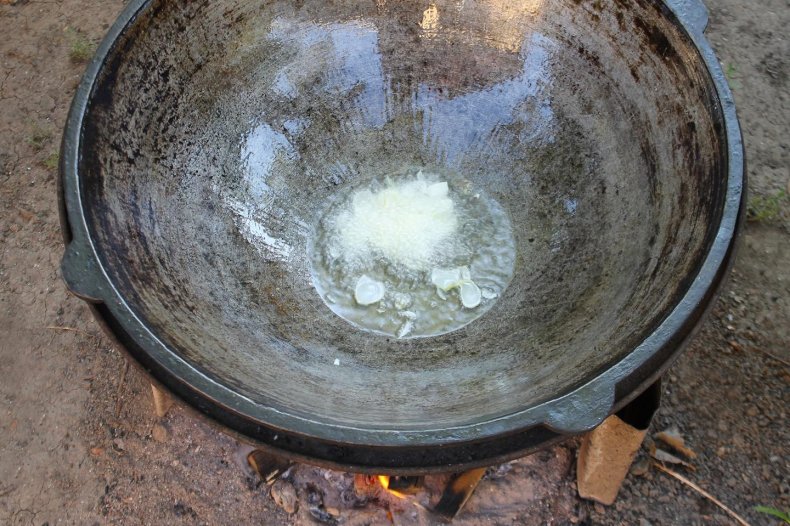
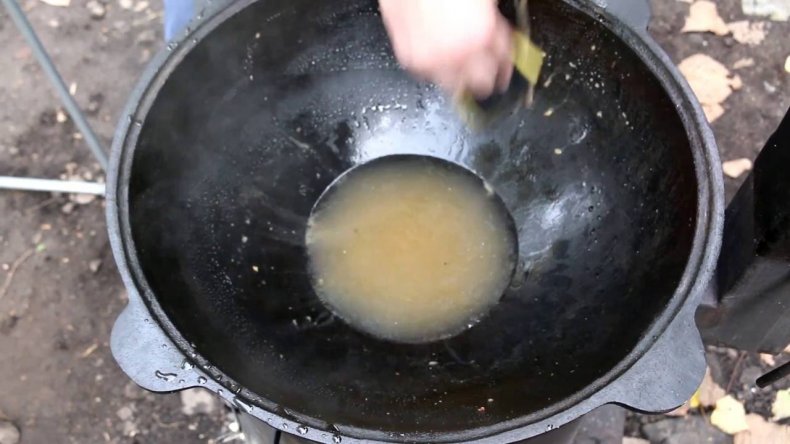
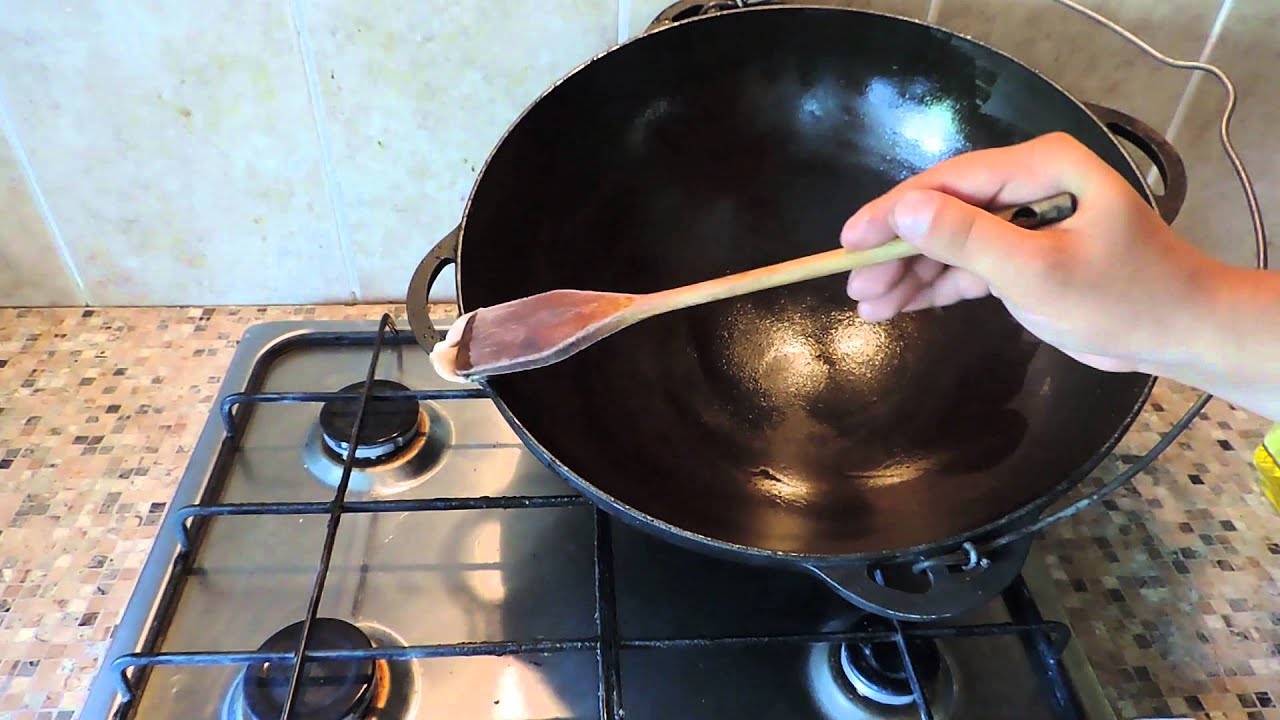
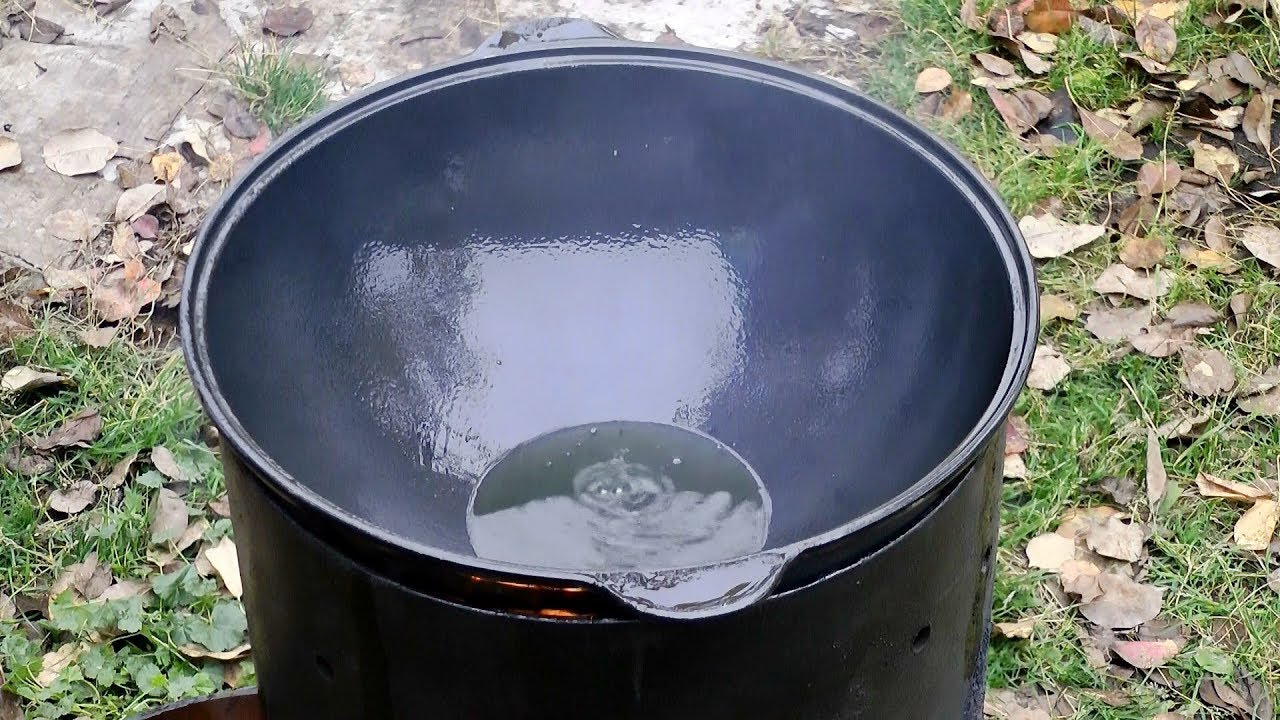 From oil hardening, cast iron becomes shiny, shiny.
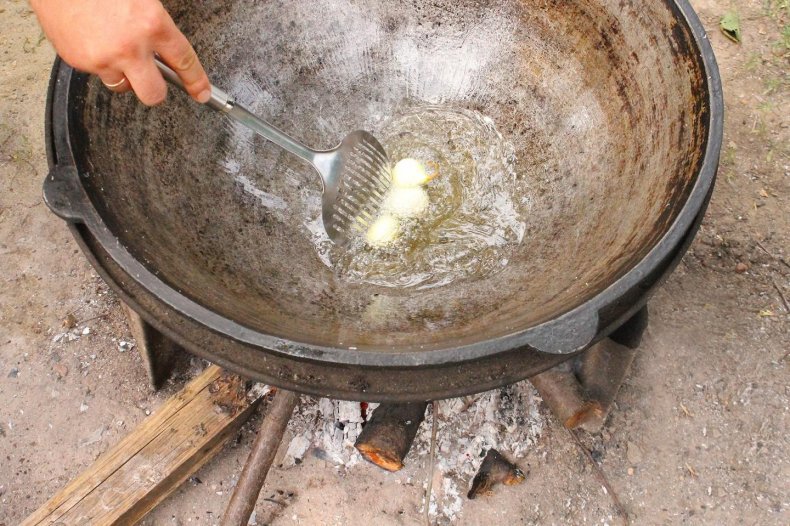
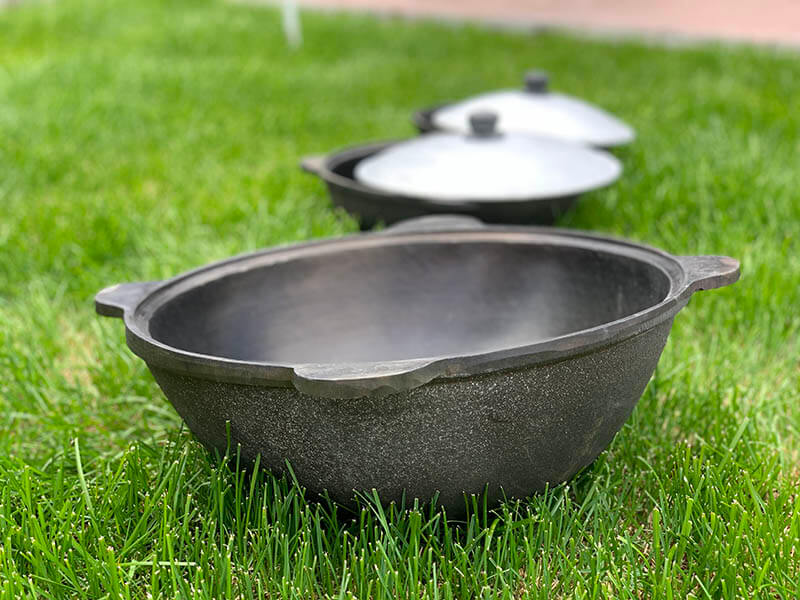 In a processed cauldron, food will never burn, it will be tasty, healthy.
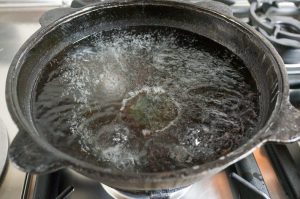
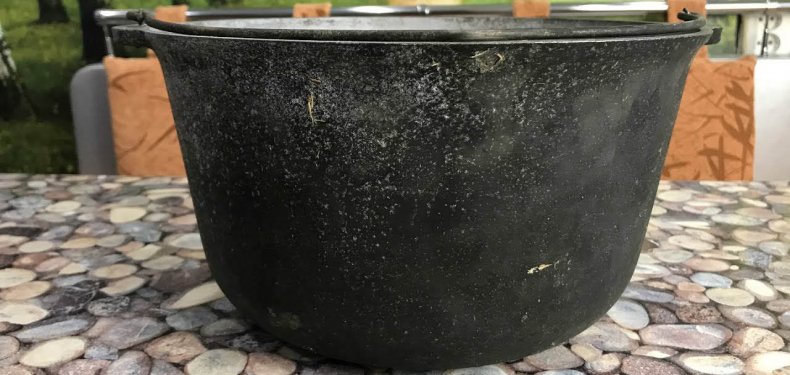
 With the constant use of dishes, calcination is carried out at least twice a year.
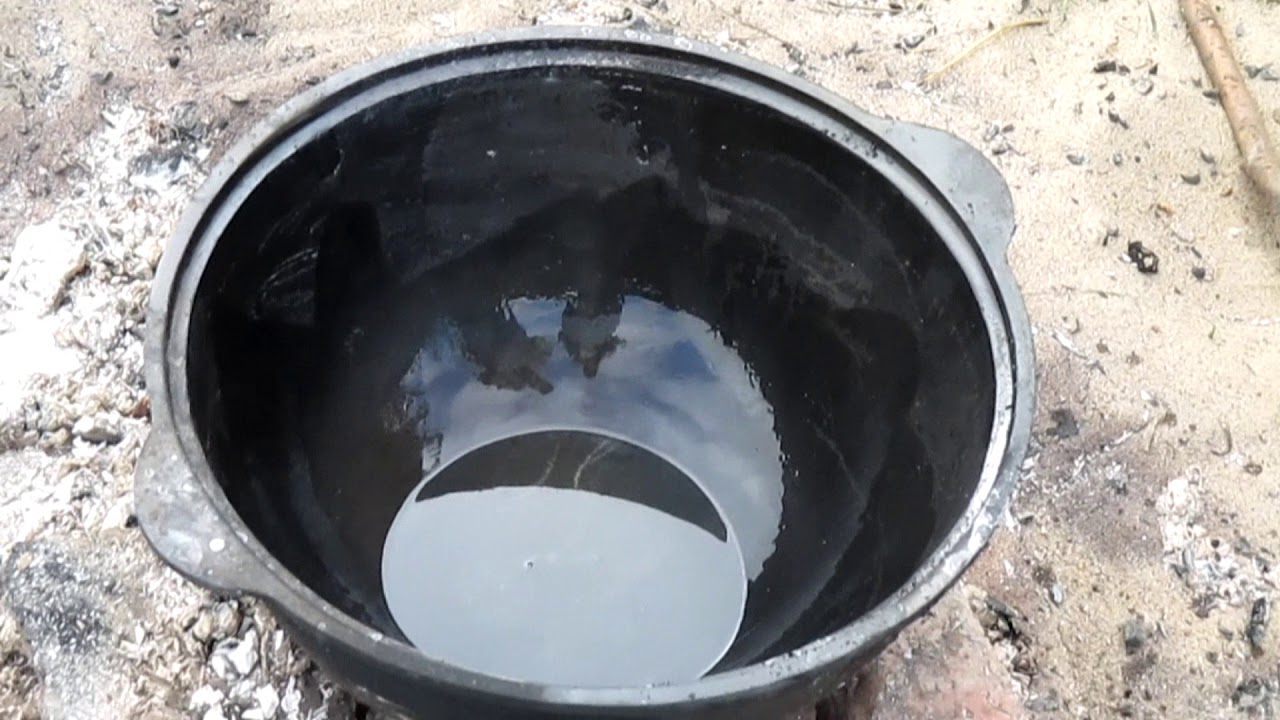
 Store cast iron in oiled cloth or paper.
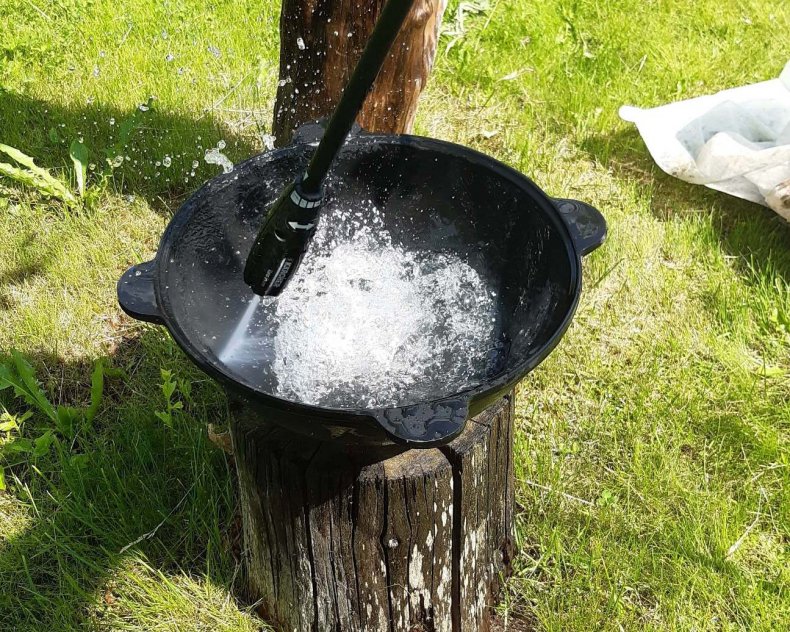
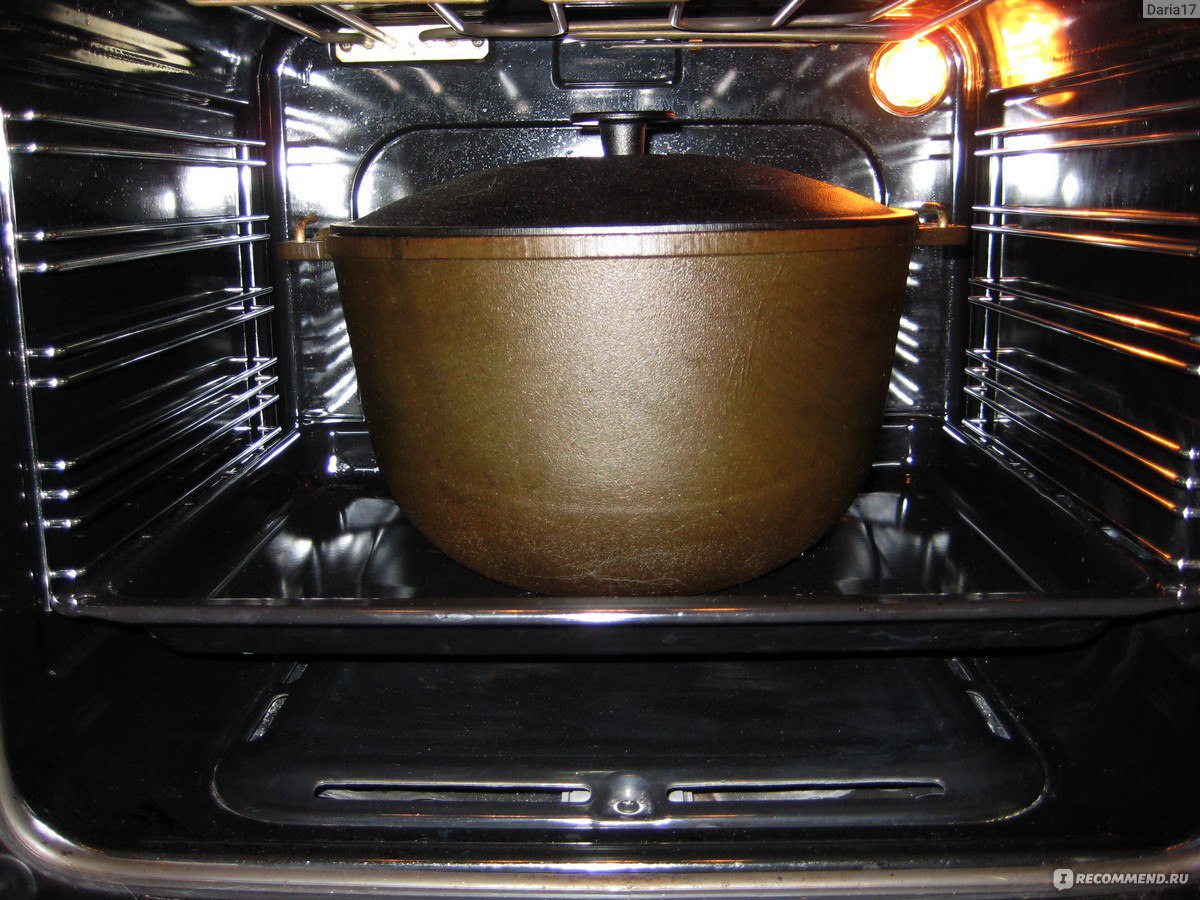 After cleaning, be sure to wash the cauldron with warm water using detergents.